New Darkroom!
I’m printing again!
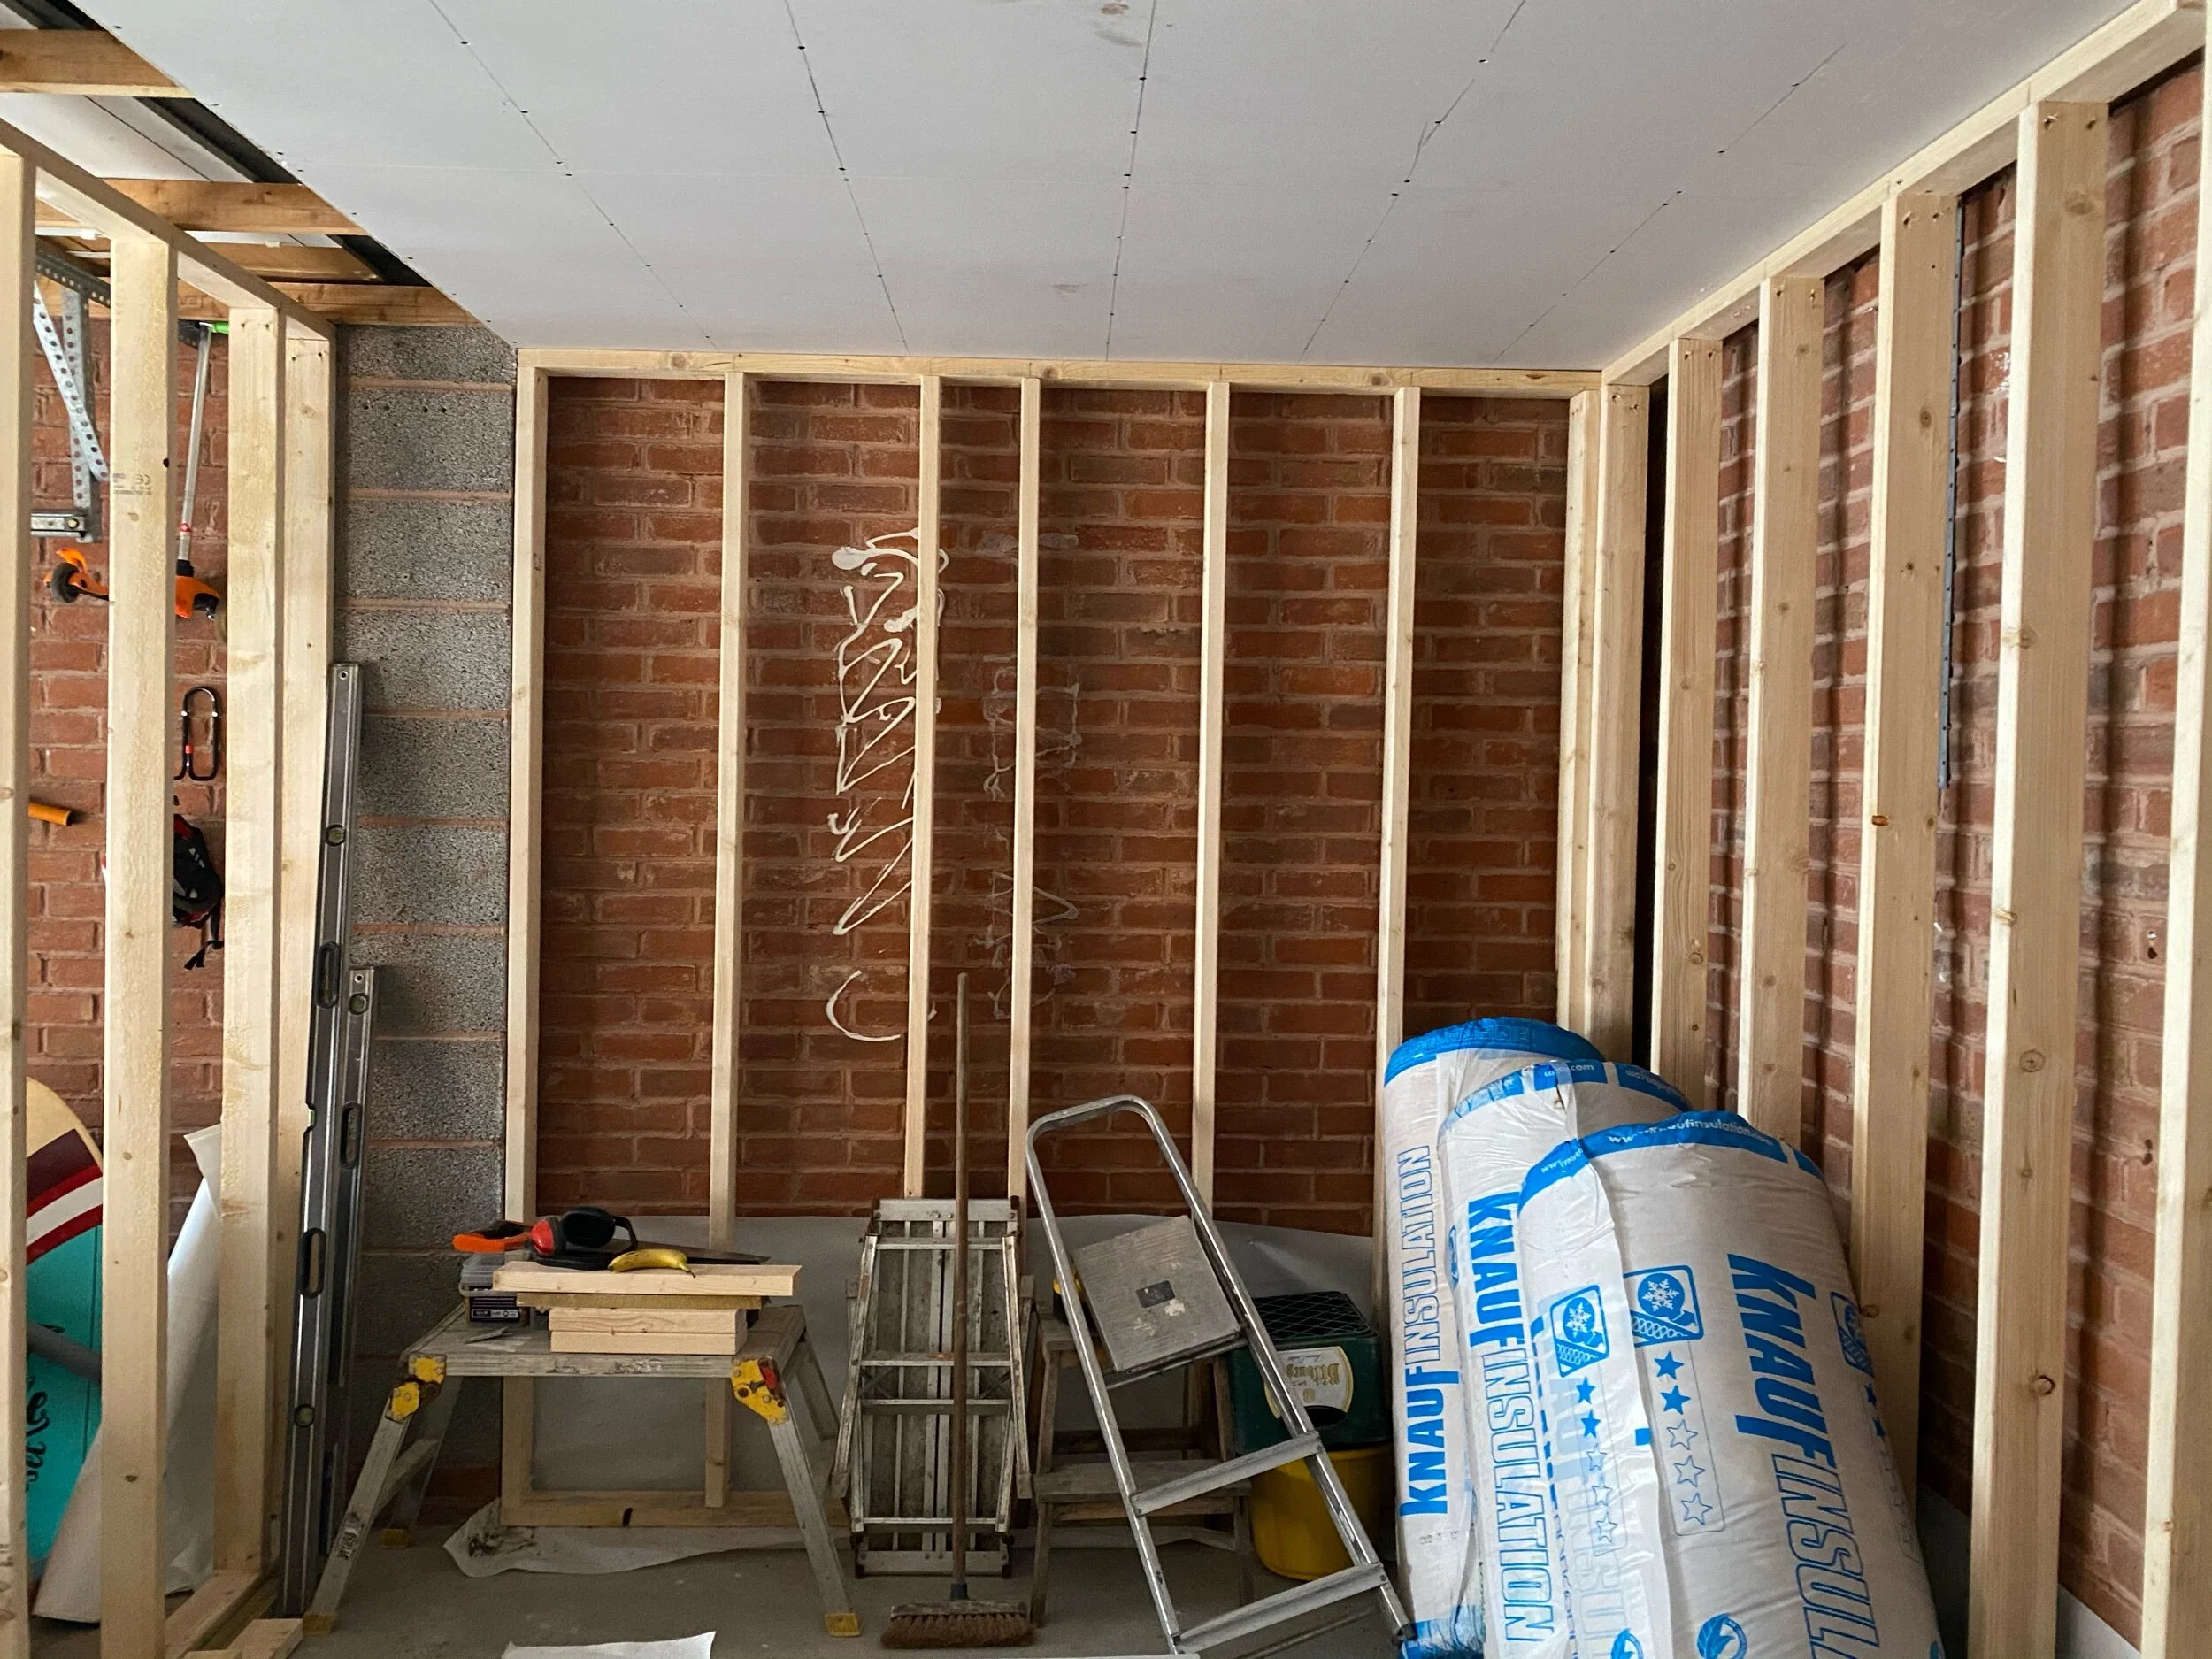
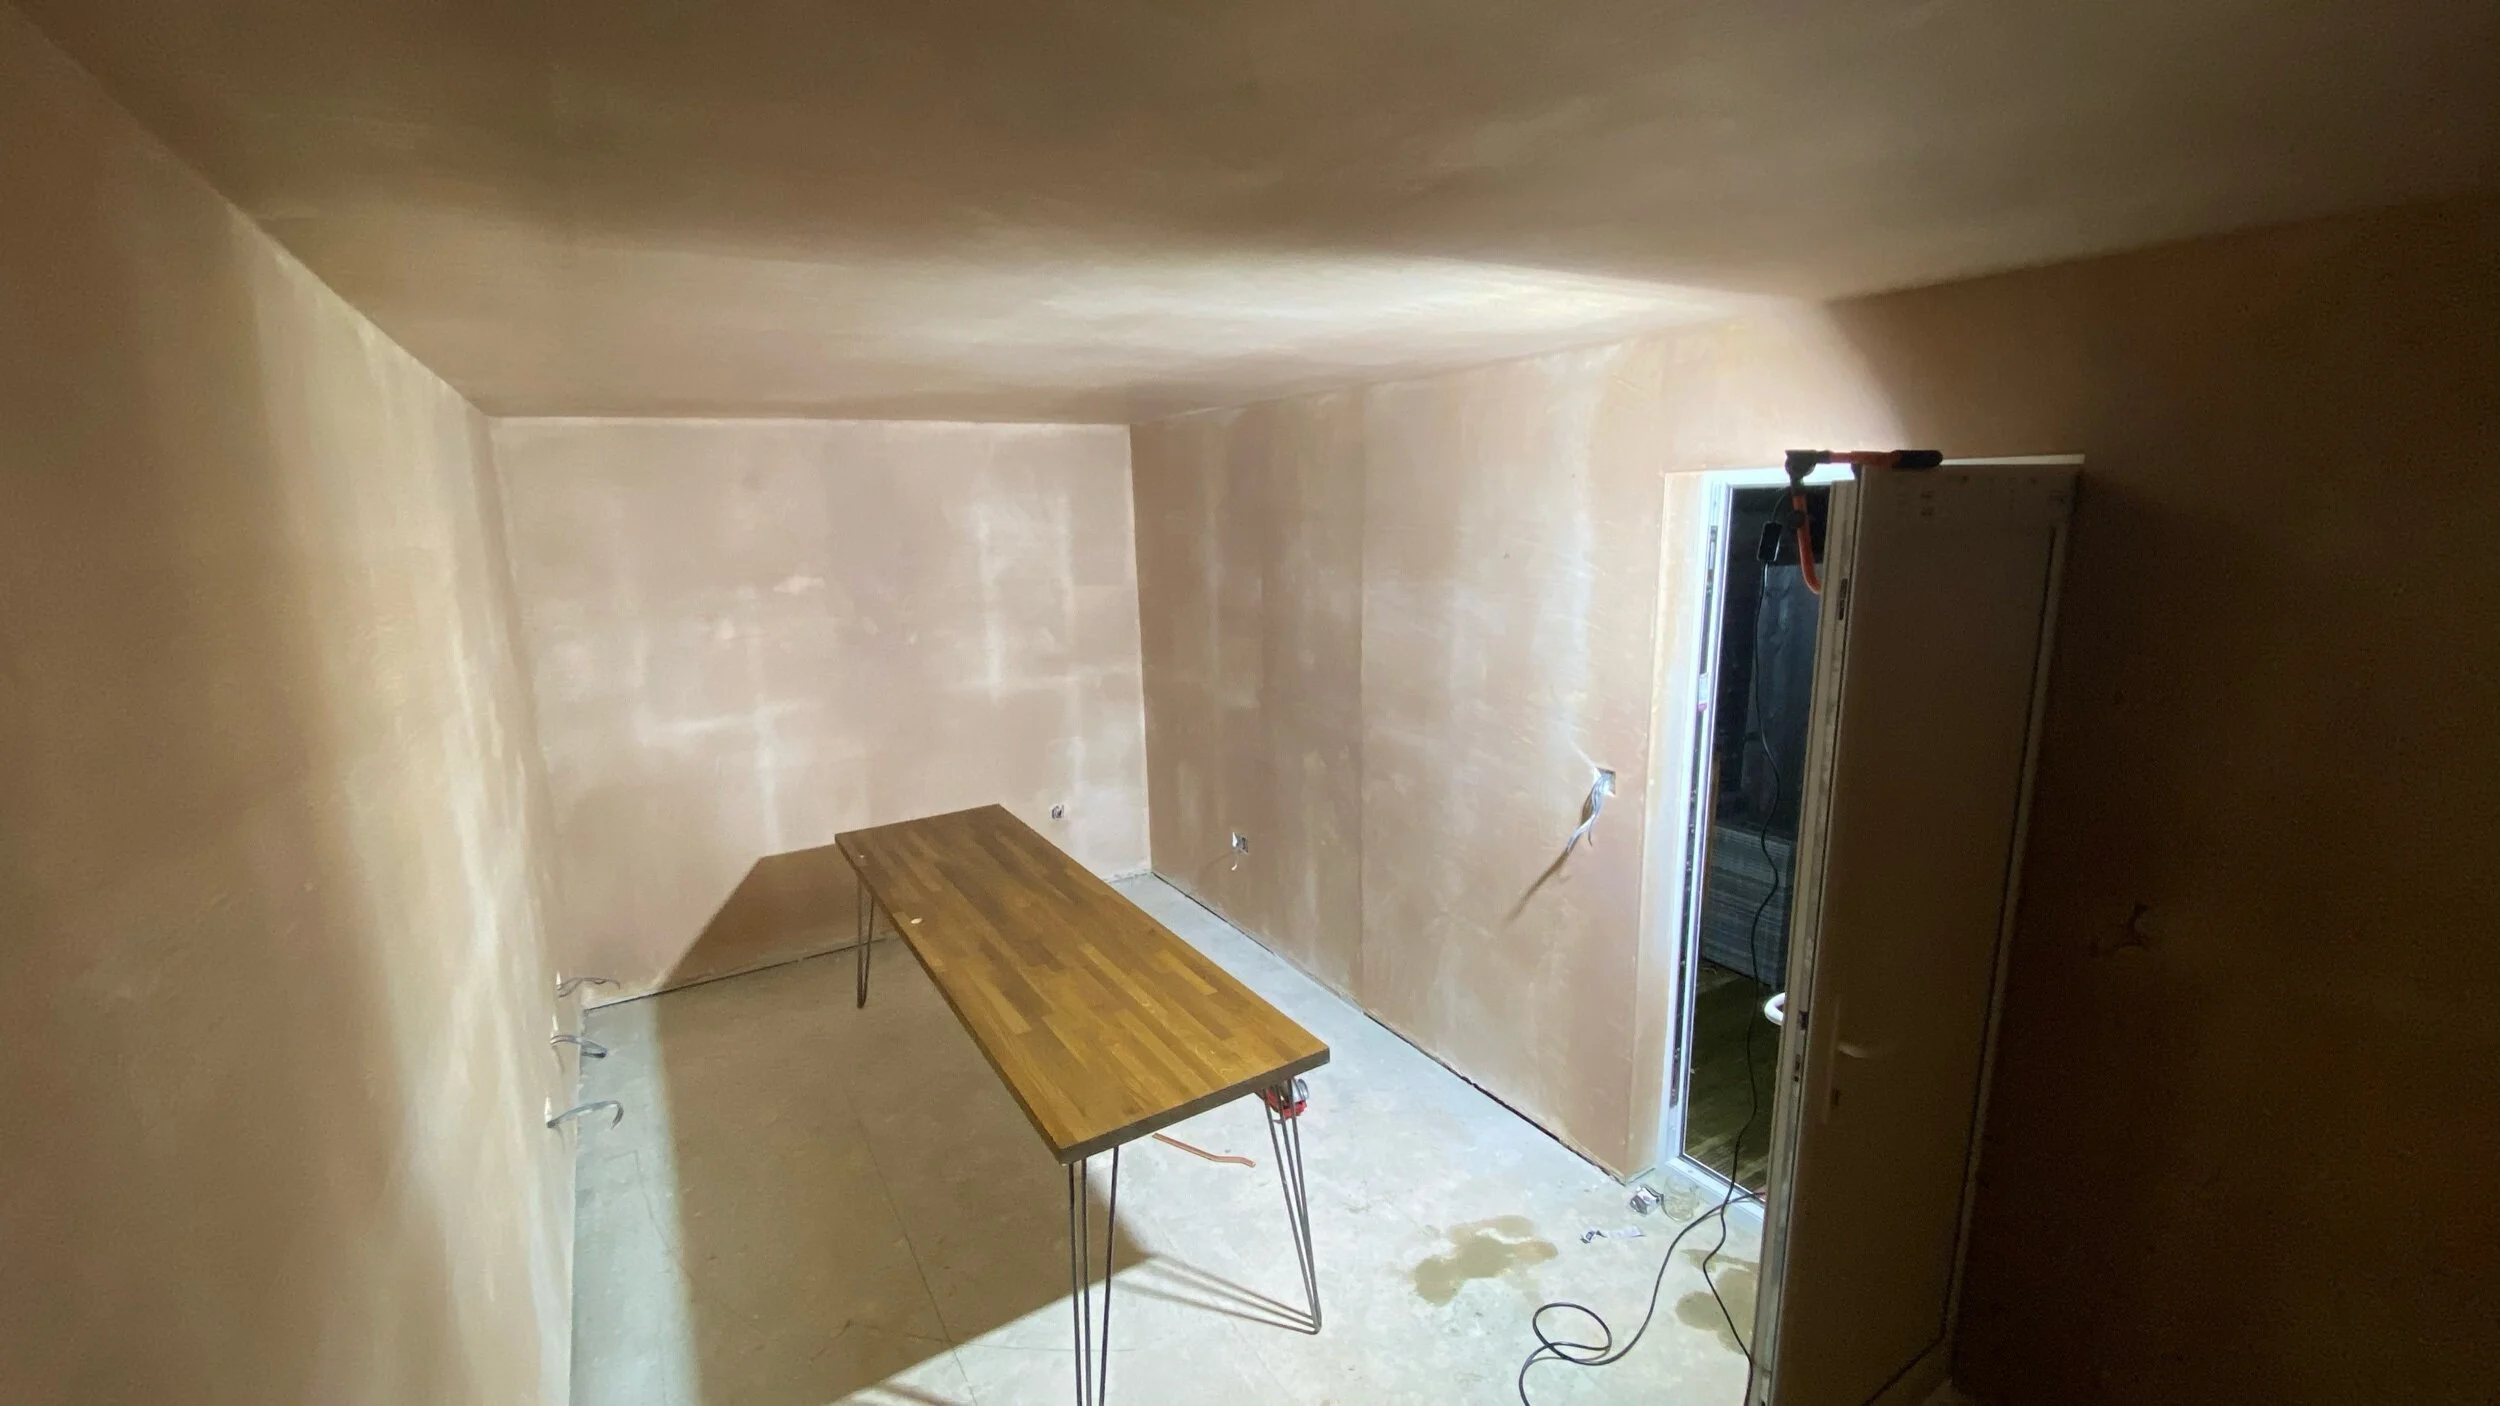
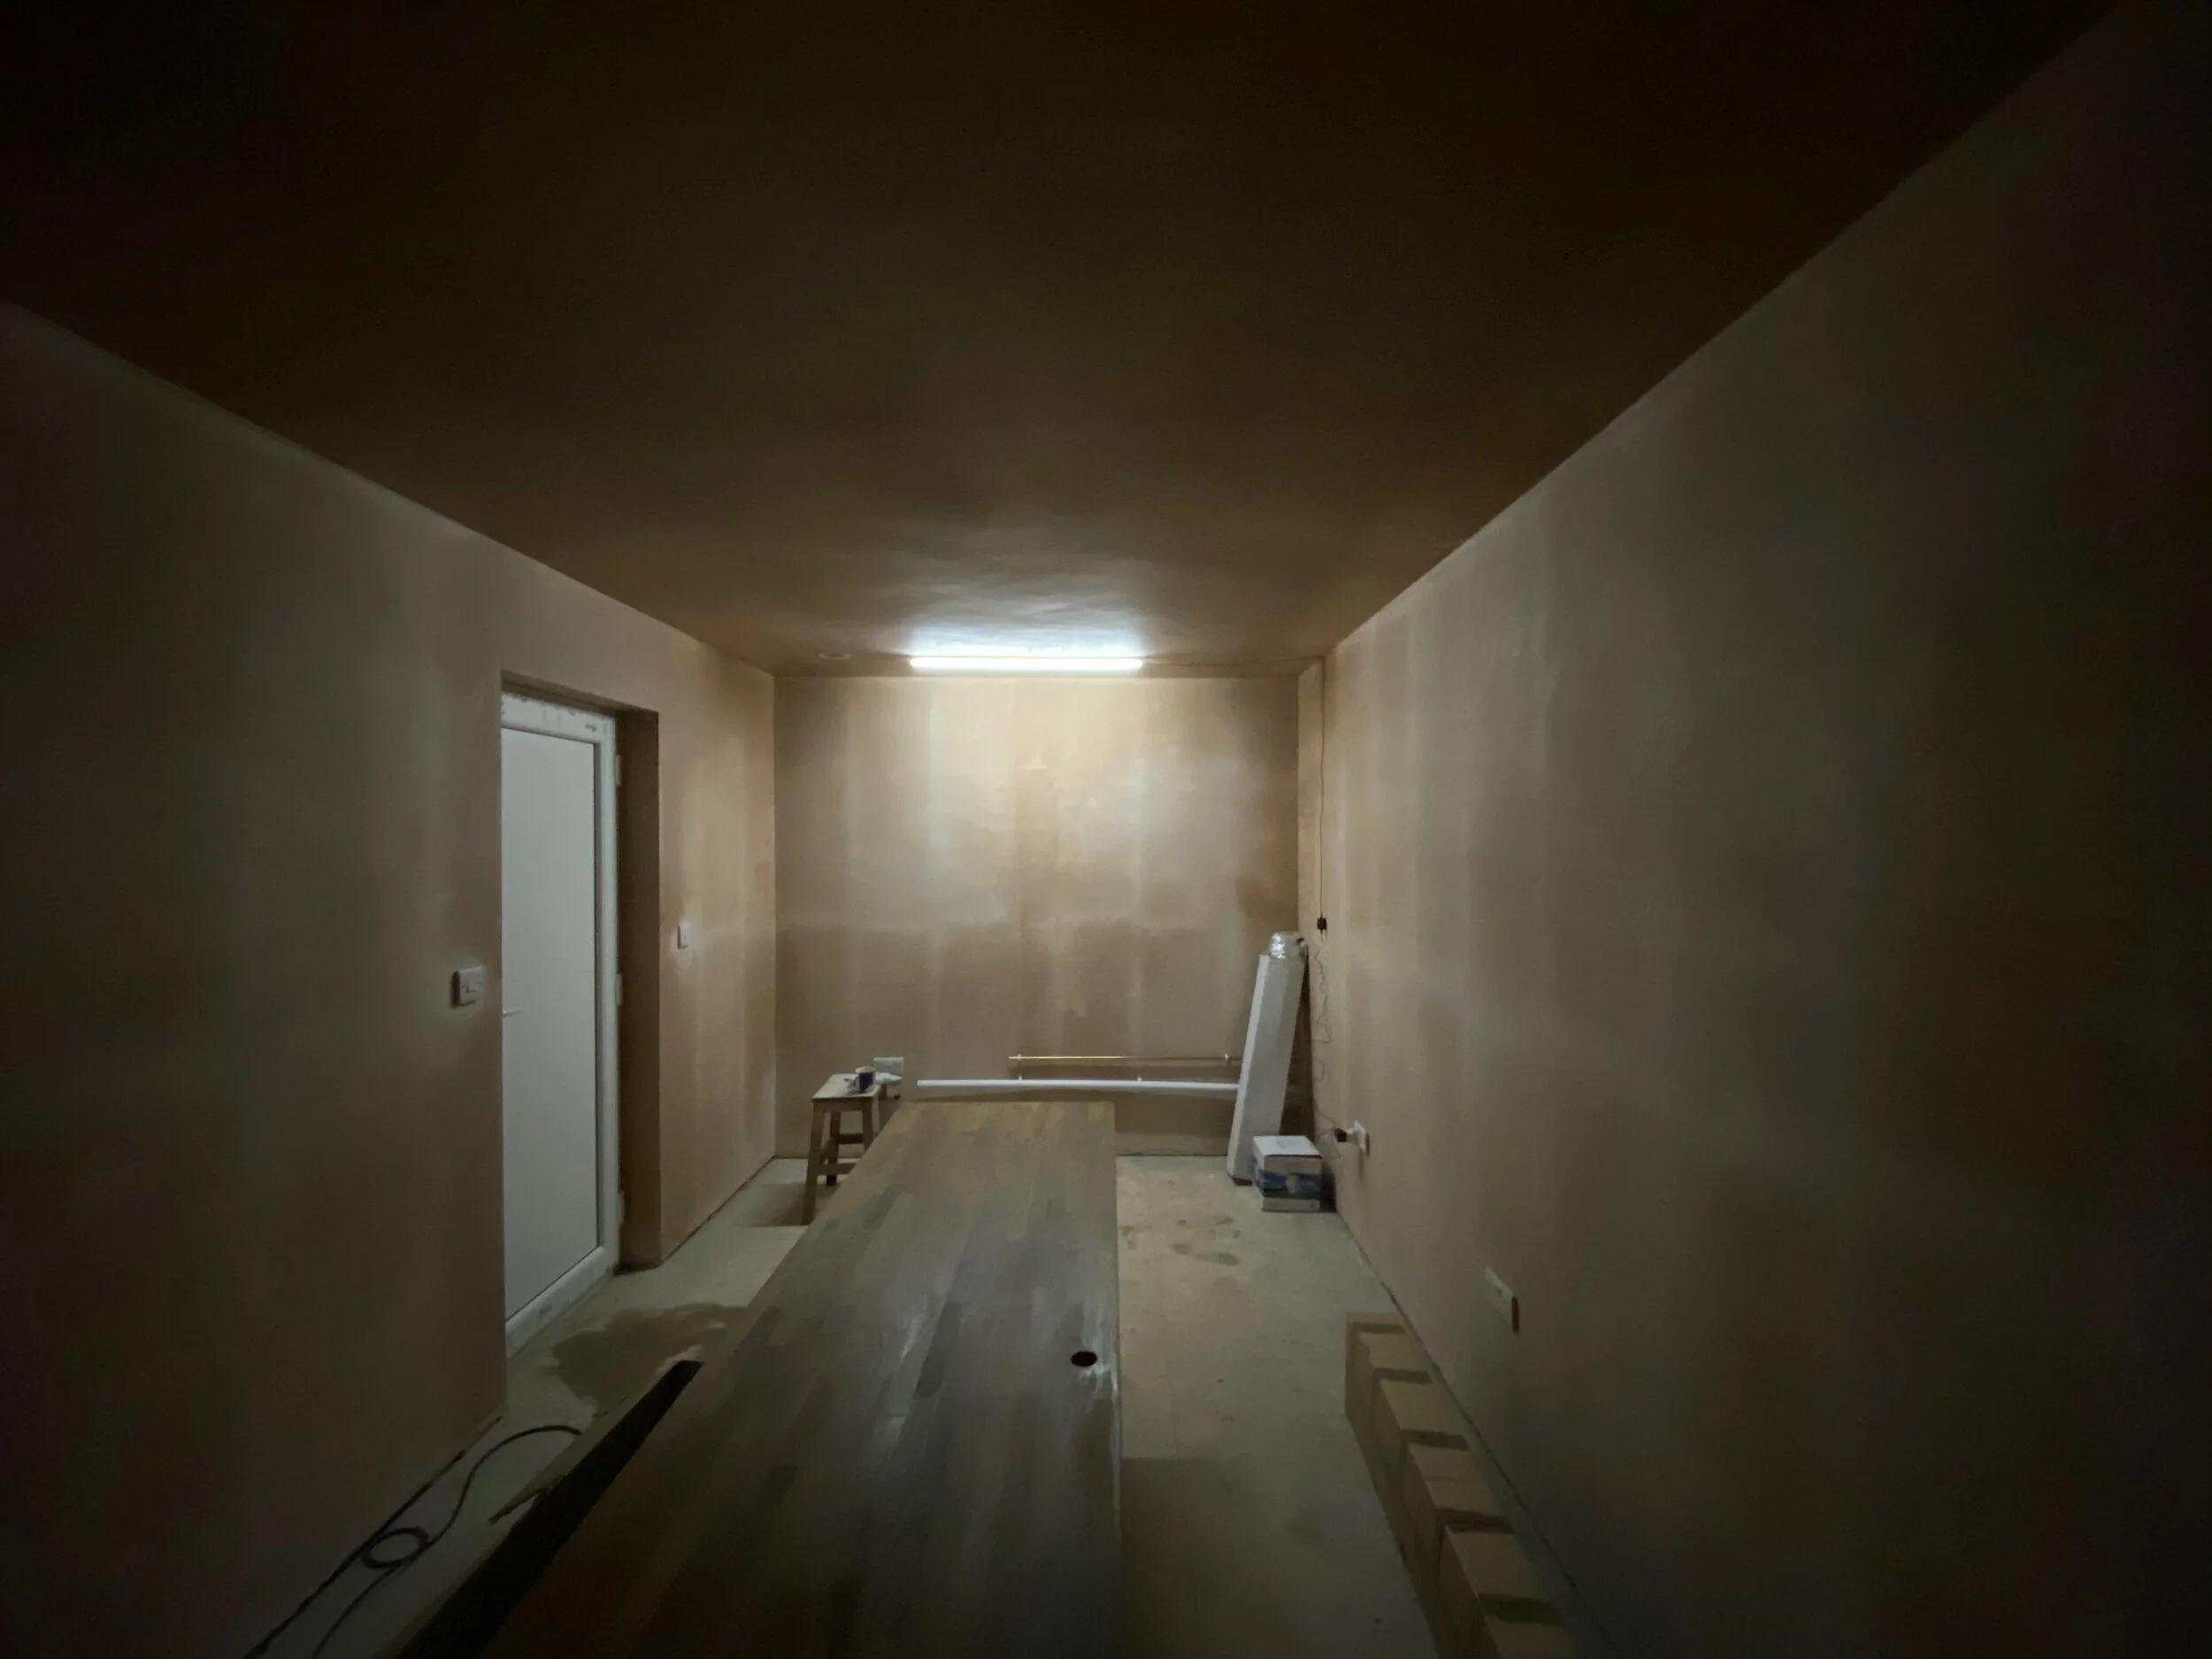
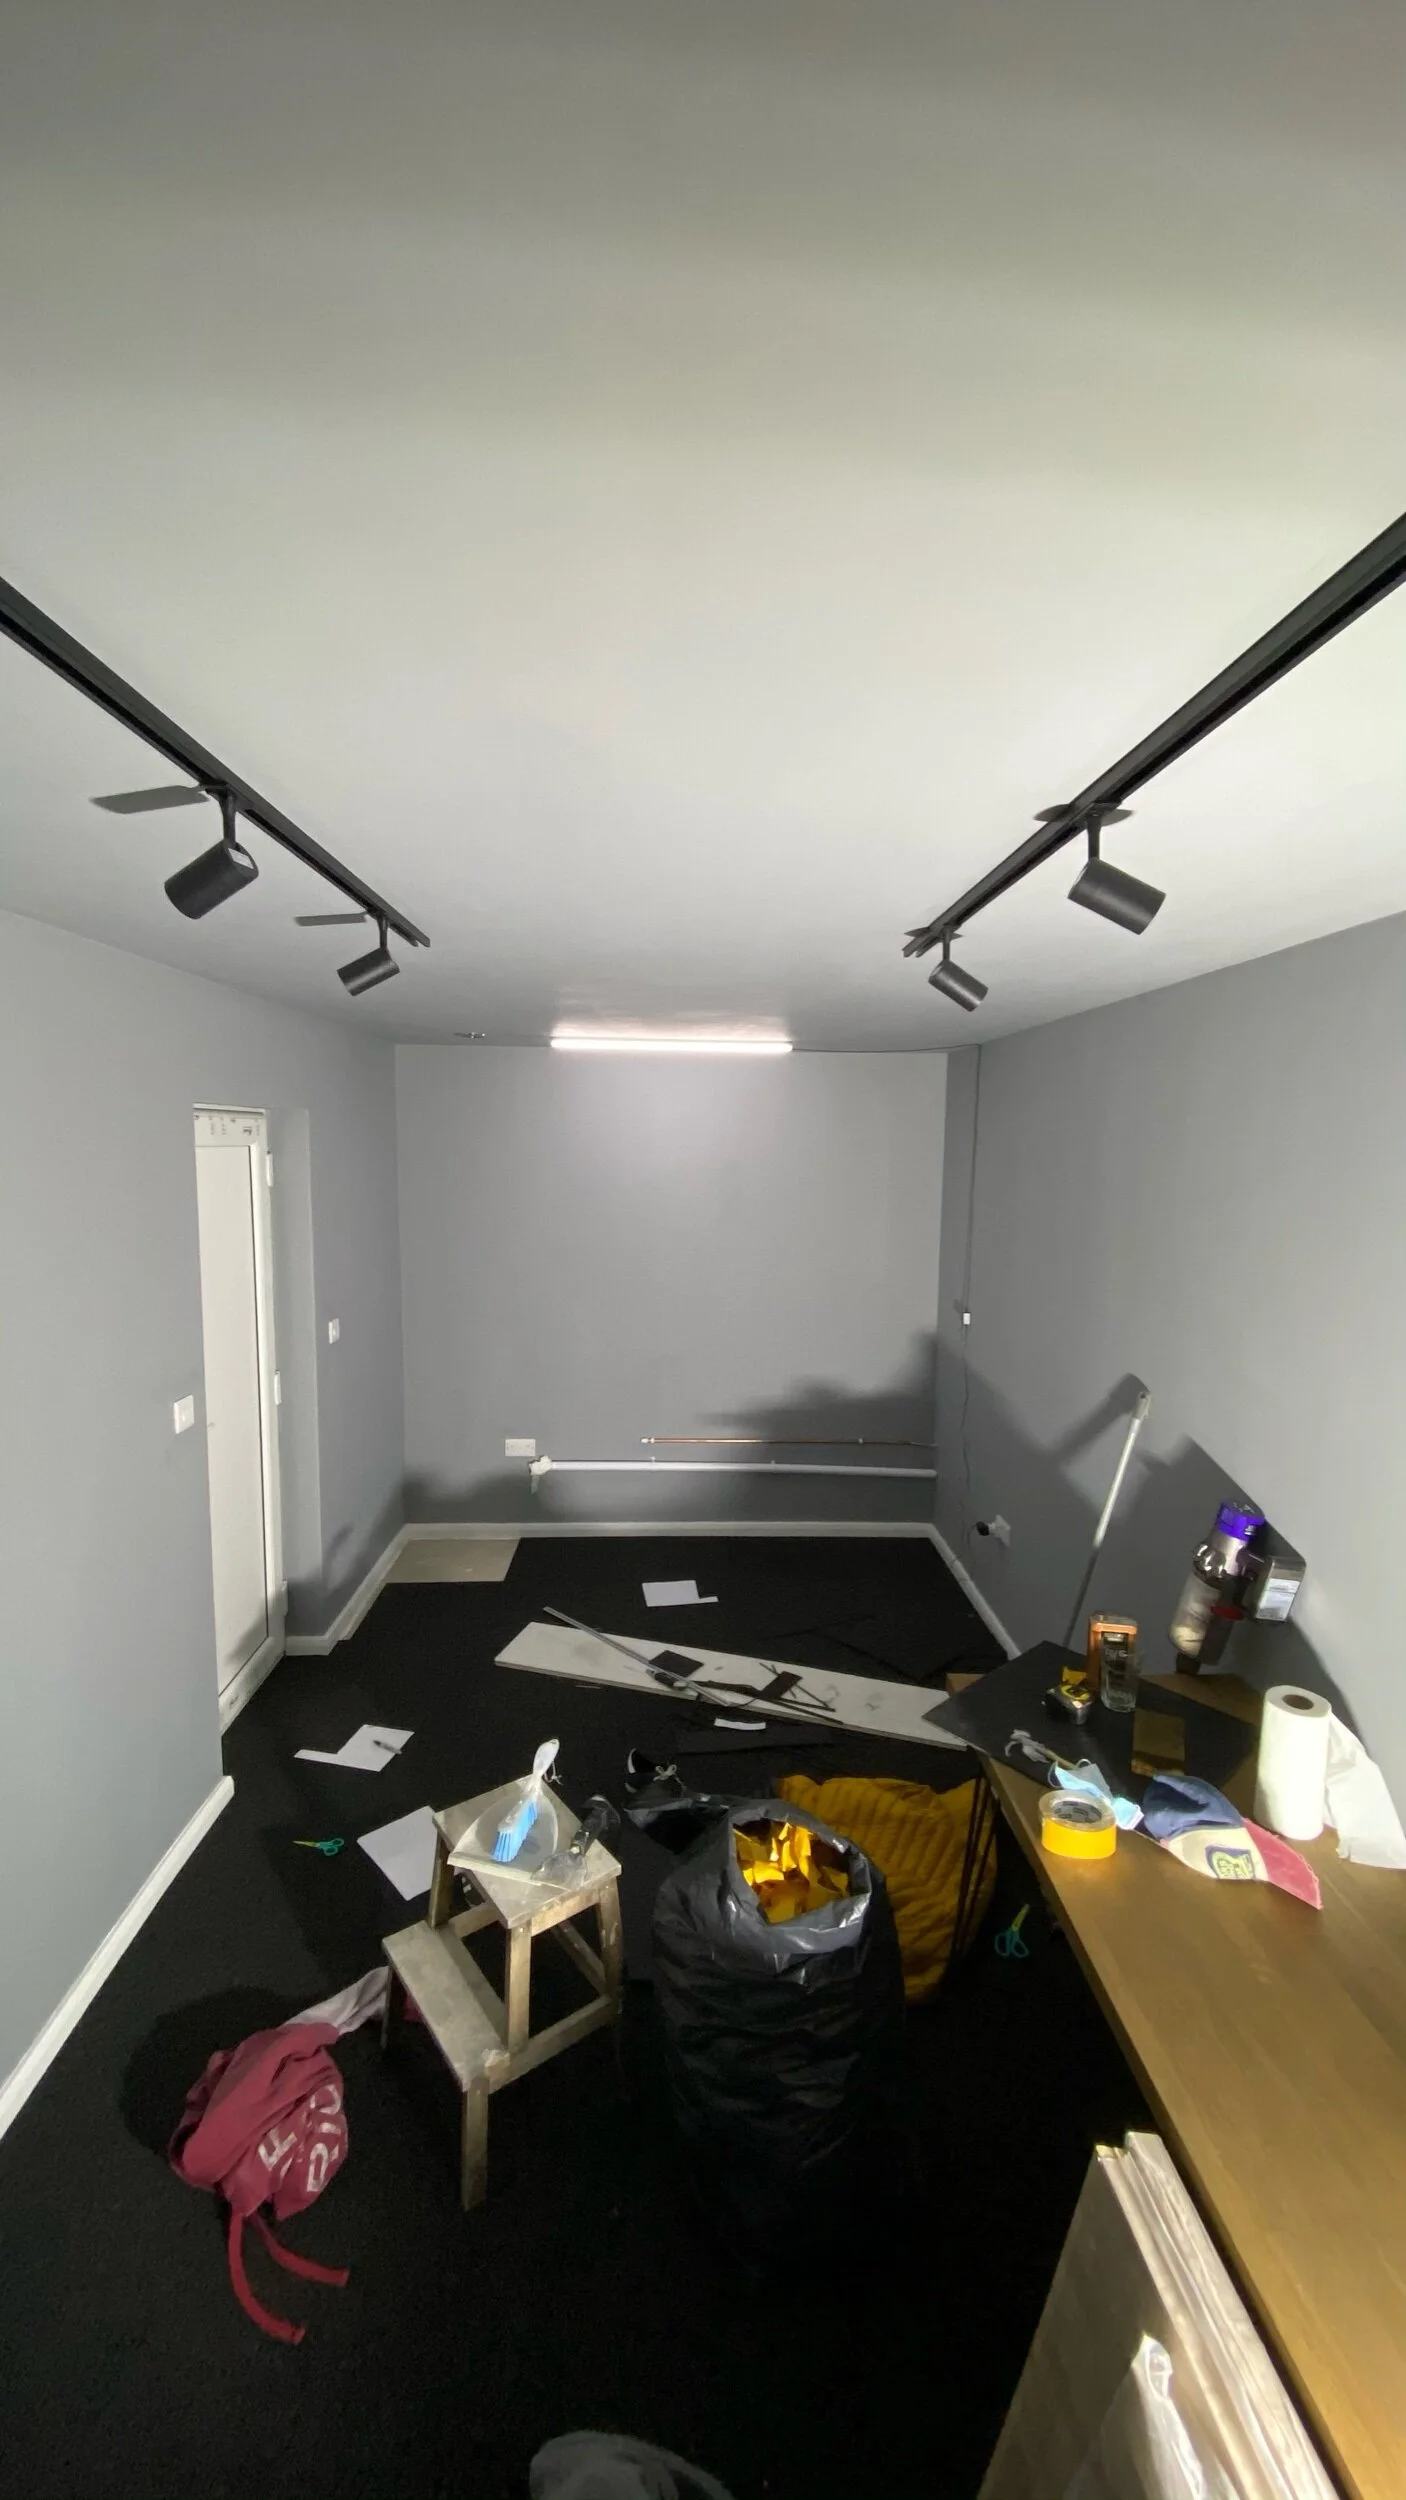
Well, it’s been a long time in the making. Roughly 6 months ago I committed to dismantling my darkroom that I had set up in my spare room at home. I wanted to repurpose the space so that my wife had her own space to work in the house. Like many other people, she has been forced to work from home on occasion and it would have been selfish of me to continue to use the space myself. After some negotiating, it was agreed that my long term dream of converting part of our garage into a permanent darkroom/office could become a reality. It is an idea that I have had for a while but never took it any further than brief discussion.
I knew that taking my darkroom apart and putting all my equipment into storage would mean that I would be without any means of printing for a while but what I thought would be a couple of months at most turned out to be considerably longer.
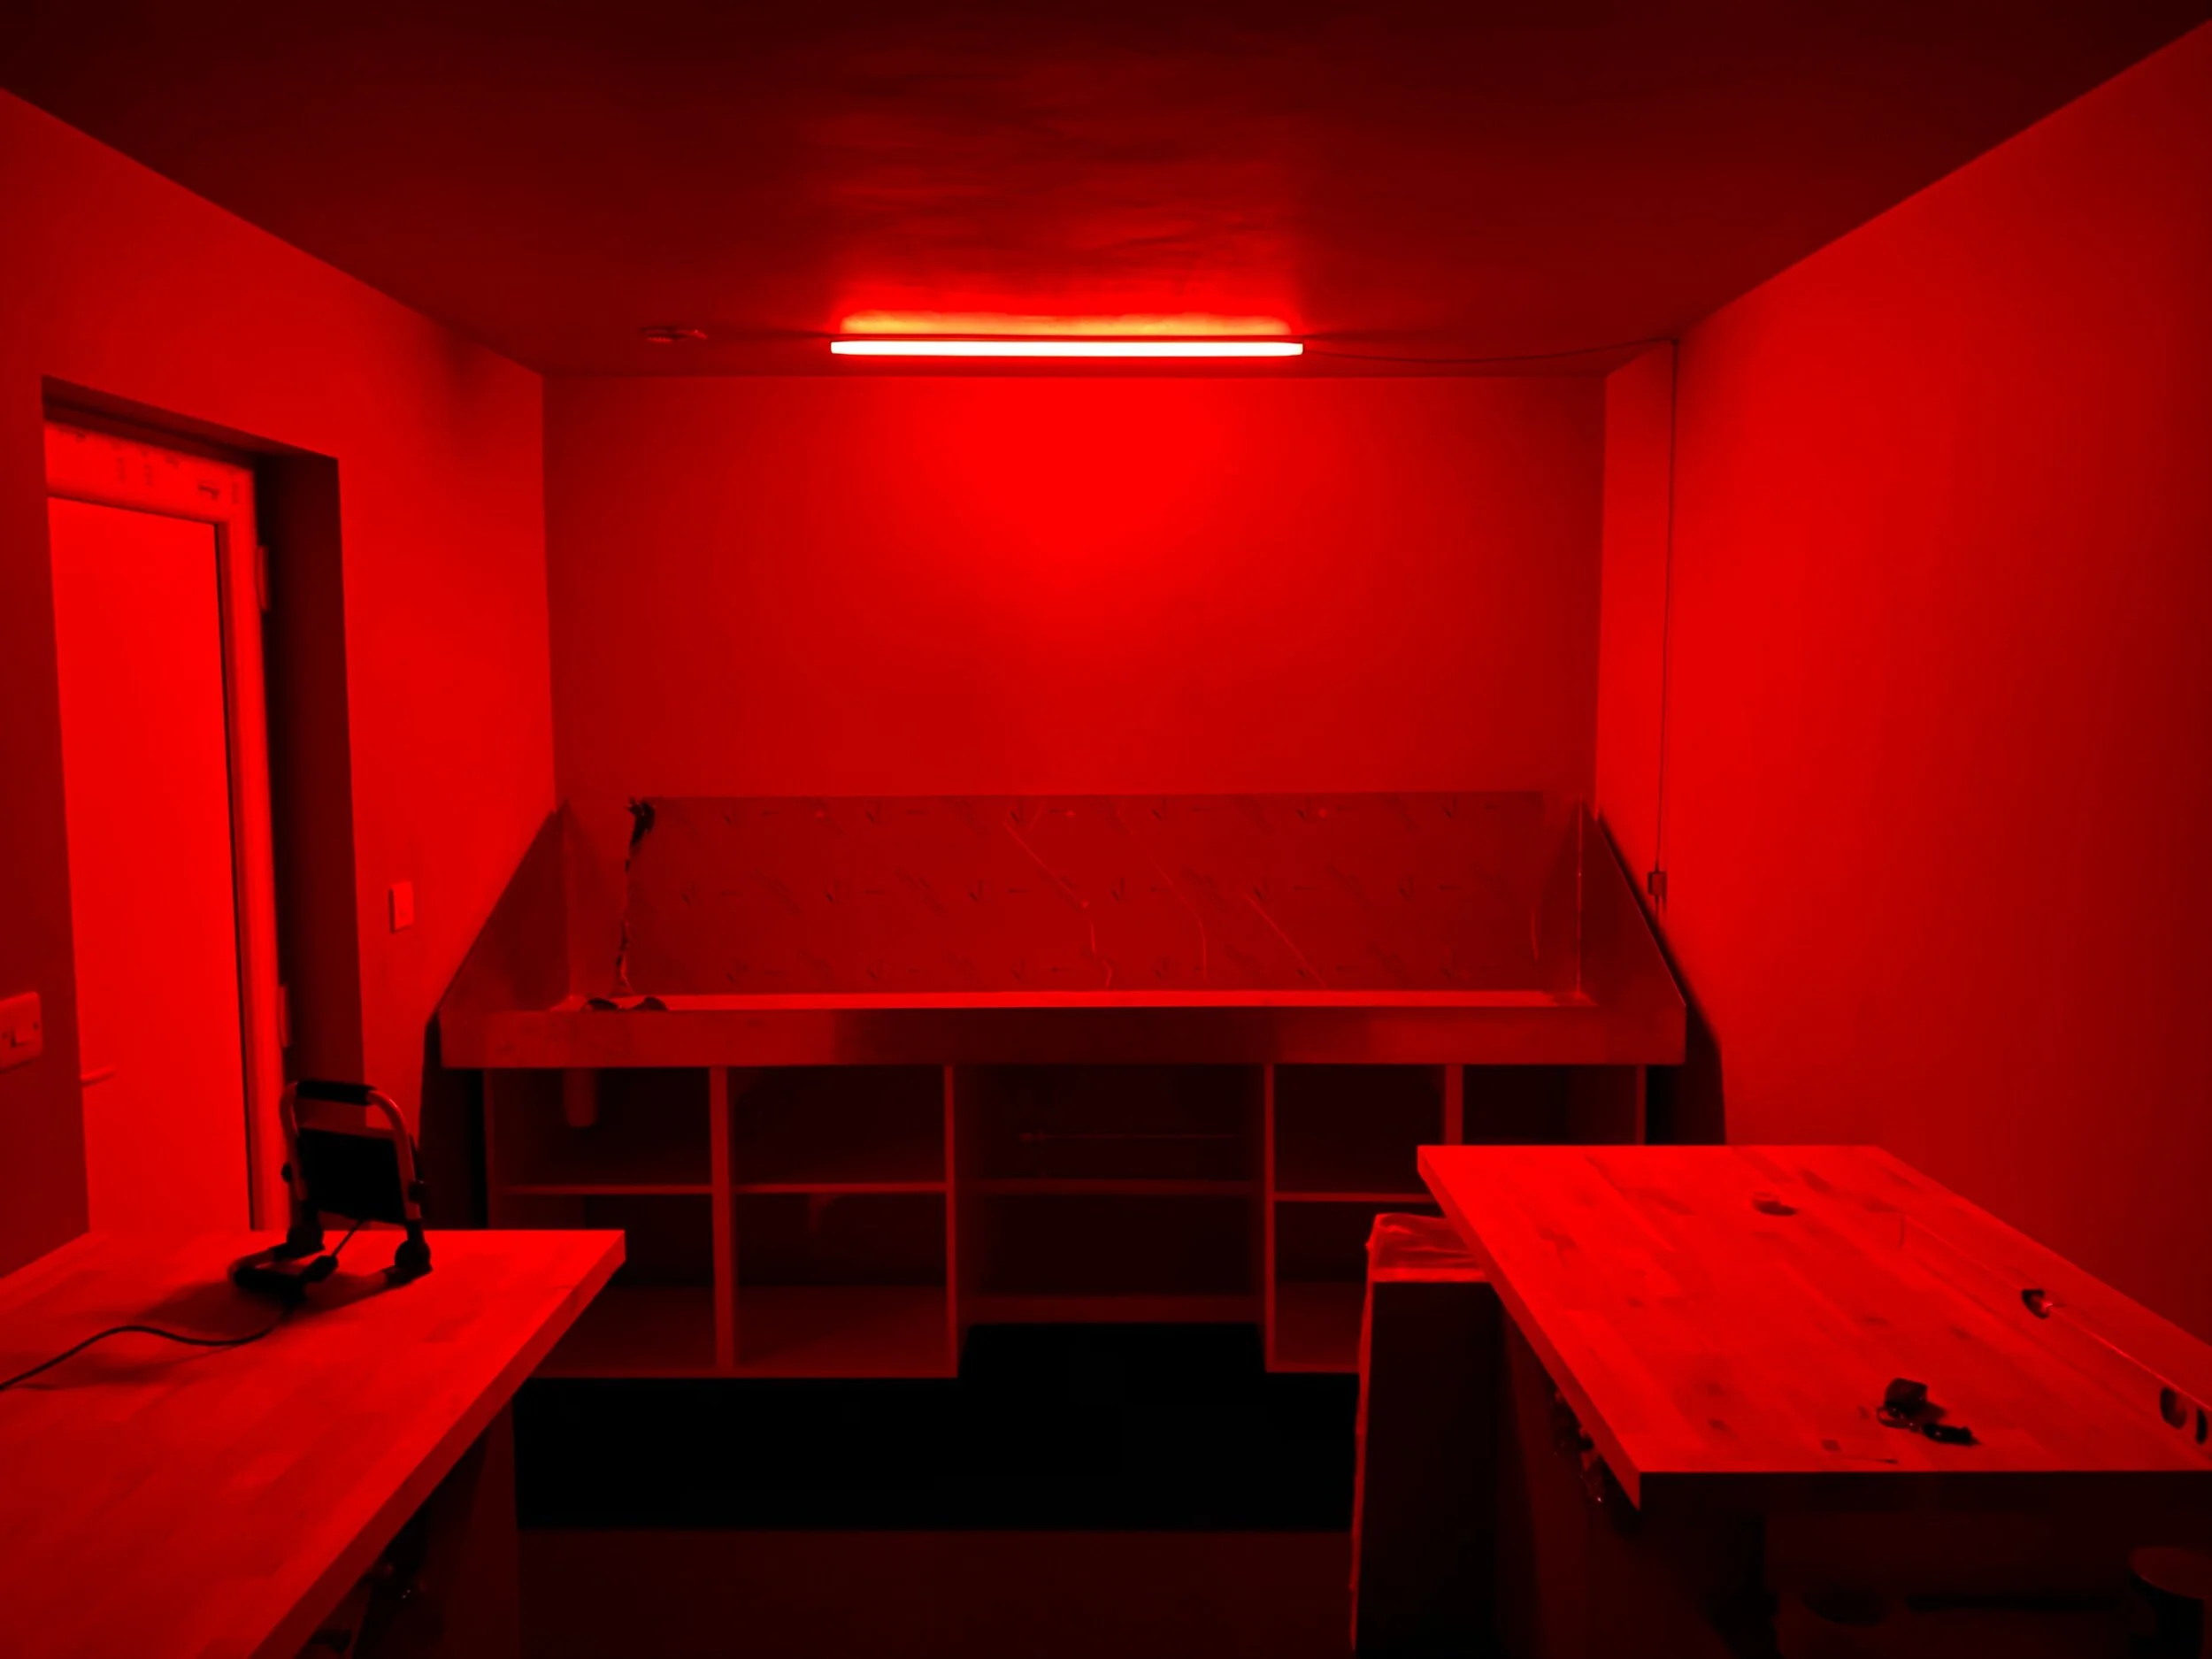
As you would expect there have been many delays due to the Covid-19 pandemic but after many months of waiting I have a functional space that has turned out better than first imagined. To say that I am excited to be able to print again is an understatement. I feel extremely lucky to have been able to complete this build, and plan on spending as much of my spare time under the red glow of my safelight as possible. Hopefully for many years to come.


A private exhibition space
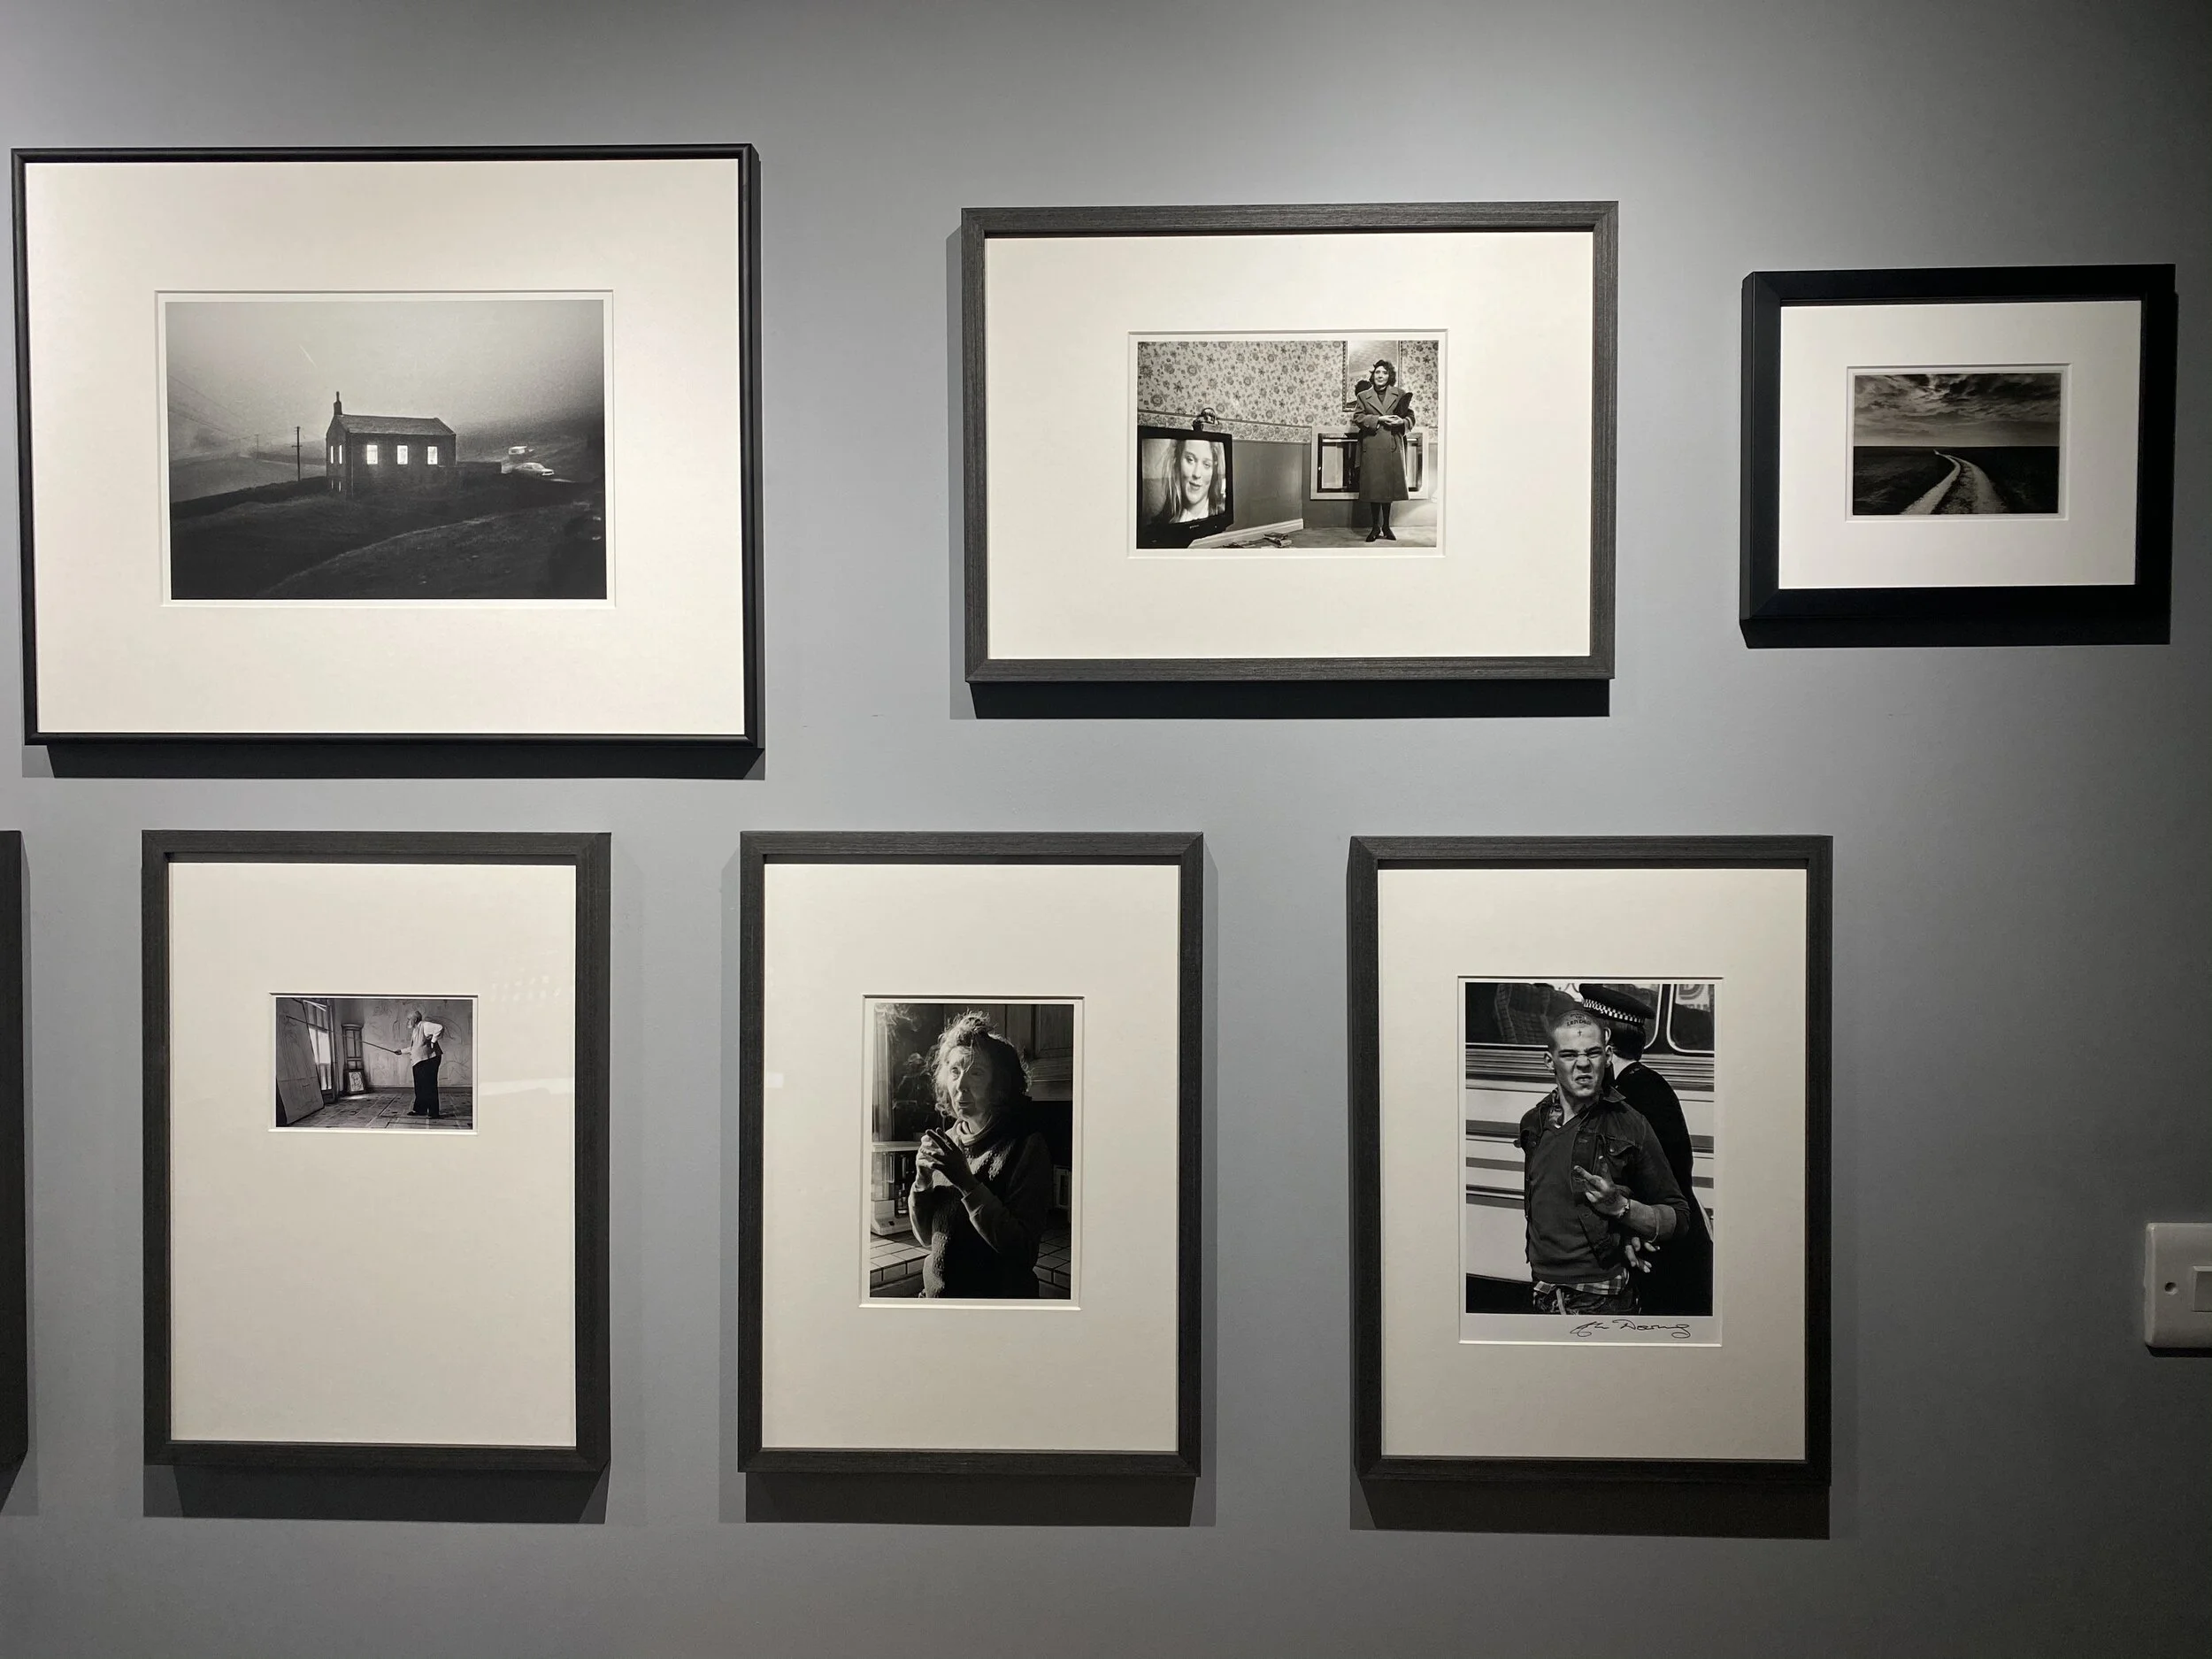
As well as having a working darkroom I also wanted a space to be able to display my prints alongside prints from photographers who’s work I have collected over the past few years. I love going to exhibitions and viewing prints, so building my own private exhibition space seemed like a great idea. A lot of my prints end up being boxed away so it will be nice to display a few for a change.
I have a wonderful large framed print by photographer Brian Griffin hanging on the wall at one end of the room. I bought this during an exhibition that Brian had at the Hull international photography festival a few years ago. My wife bought me a print from the Magnum square print sale and I’ve collected prints from Martin Parr, Tom Stoddart, John Downing, John Bulmer, Matthew Finn and a few others who’s work I admire. It’s great to have them on the wall as a constant reminder of what is possible with hard work. I always keep an eye out for images online that I like and every now and then will buy one or if possible do a print swap.
Obviously there are many prints that I would love to own. I would for example love a print from the darkroom of Don McCullin or an original from Ansel Adams, Robert Capa or Josef Koudelka. Unfortunately, I would never be able to afford one of these prints and I’m pretty sure a print swap would be out of the question but given the opportunity I can view them in public exhibitions. If you have never been to a photography exhibition, I recommend that you do so and go as often as possible. To see photos in books or online is great but doesn’t really compare to seeing an original print framed in a gallery.

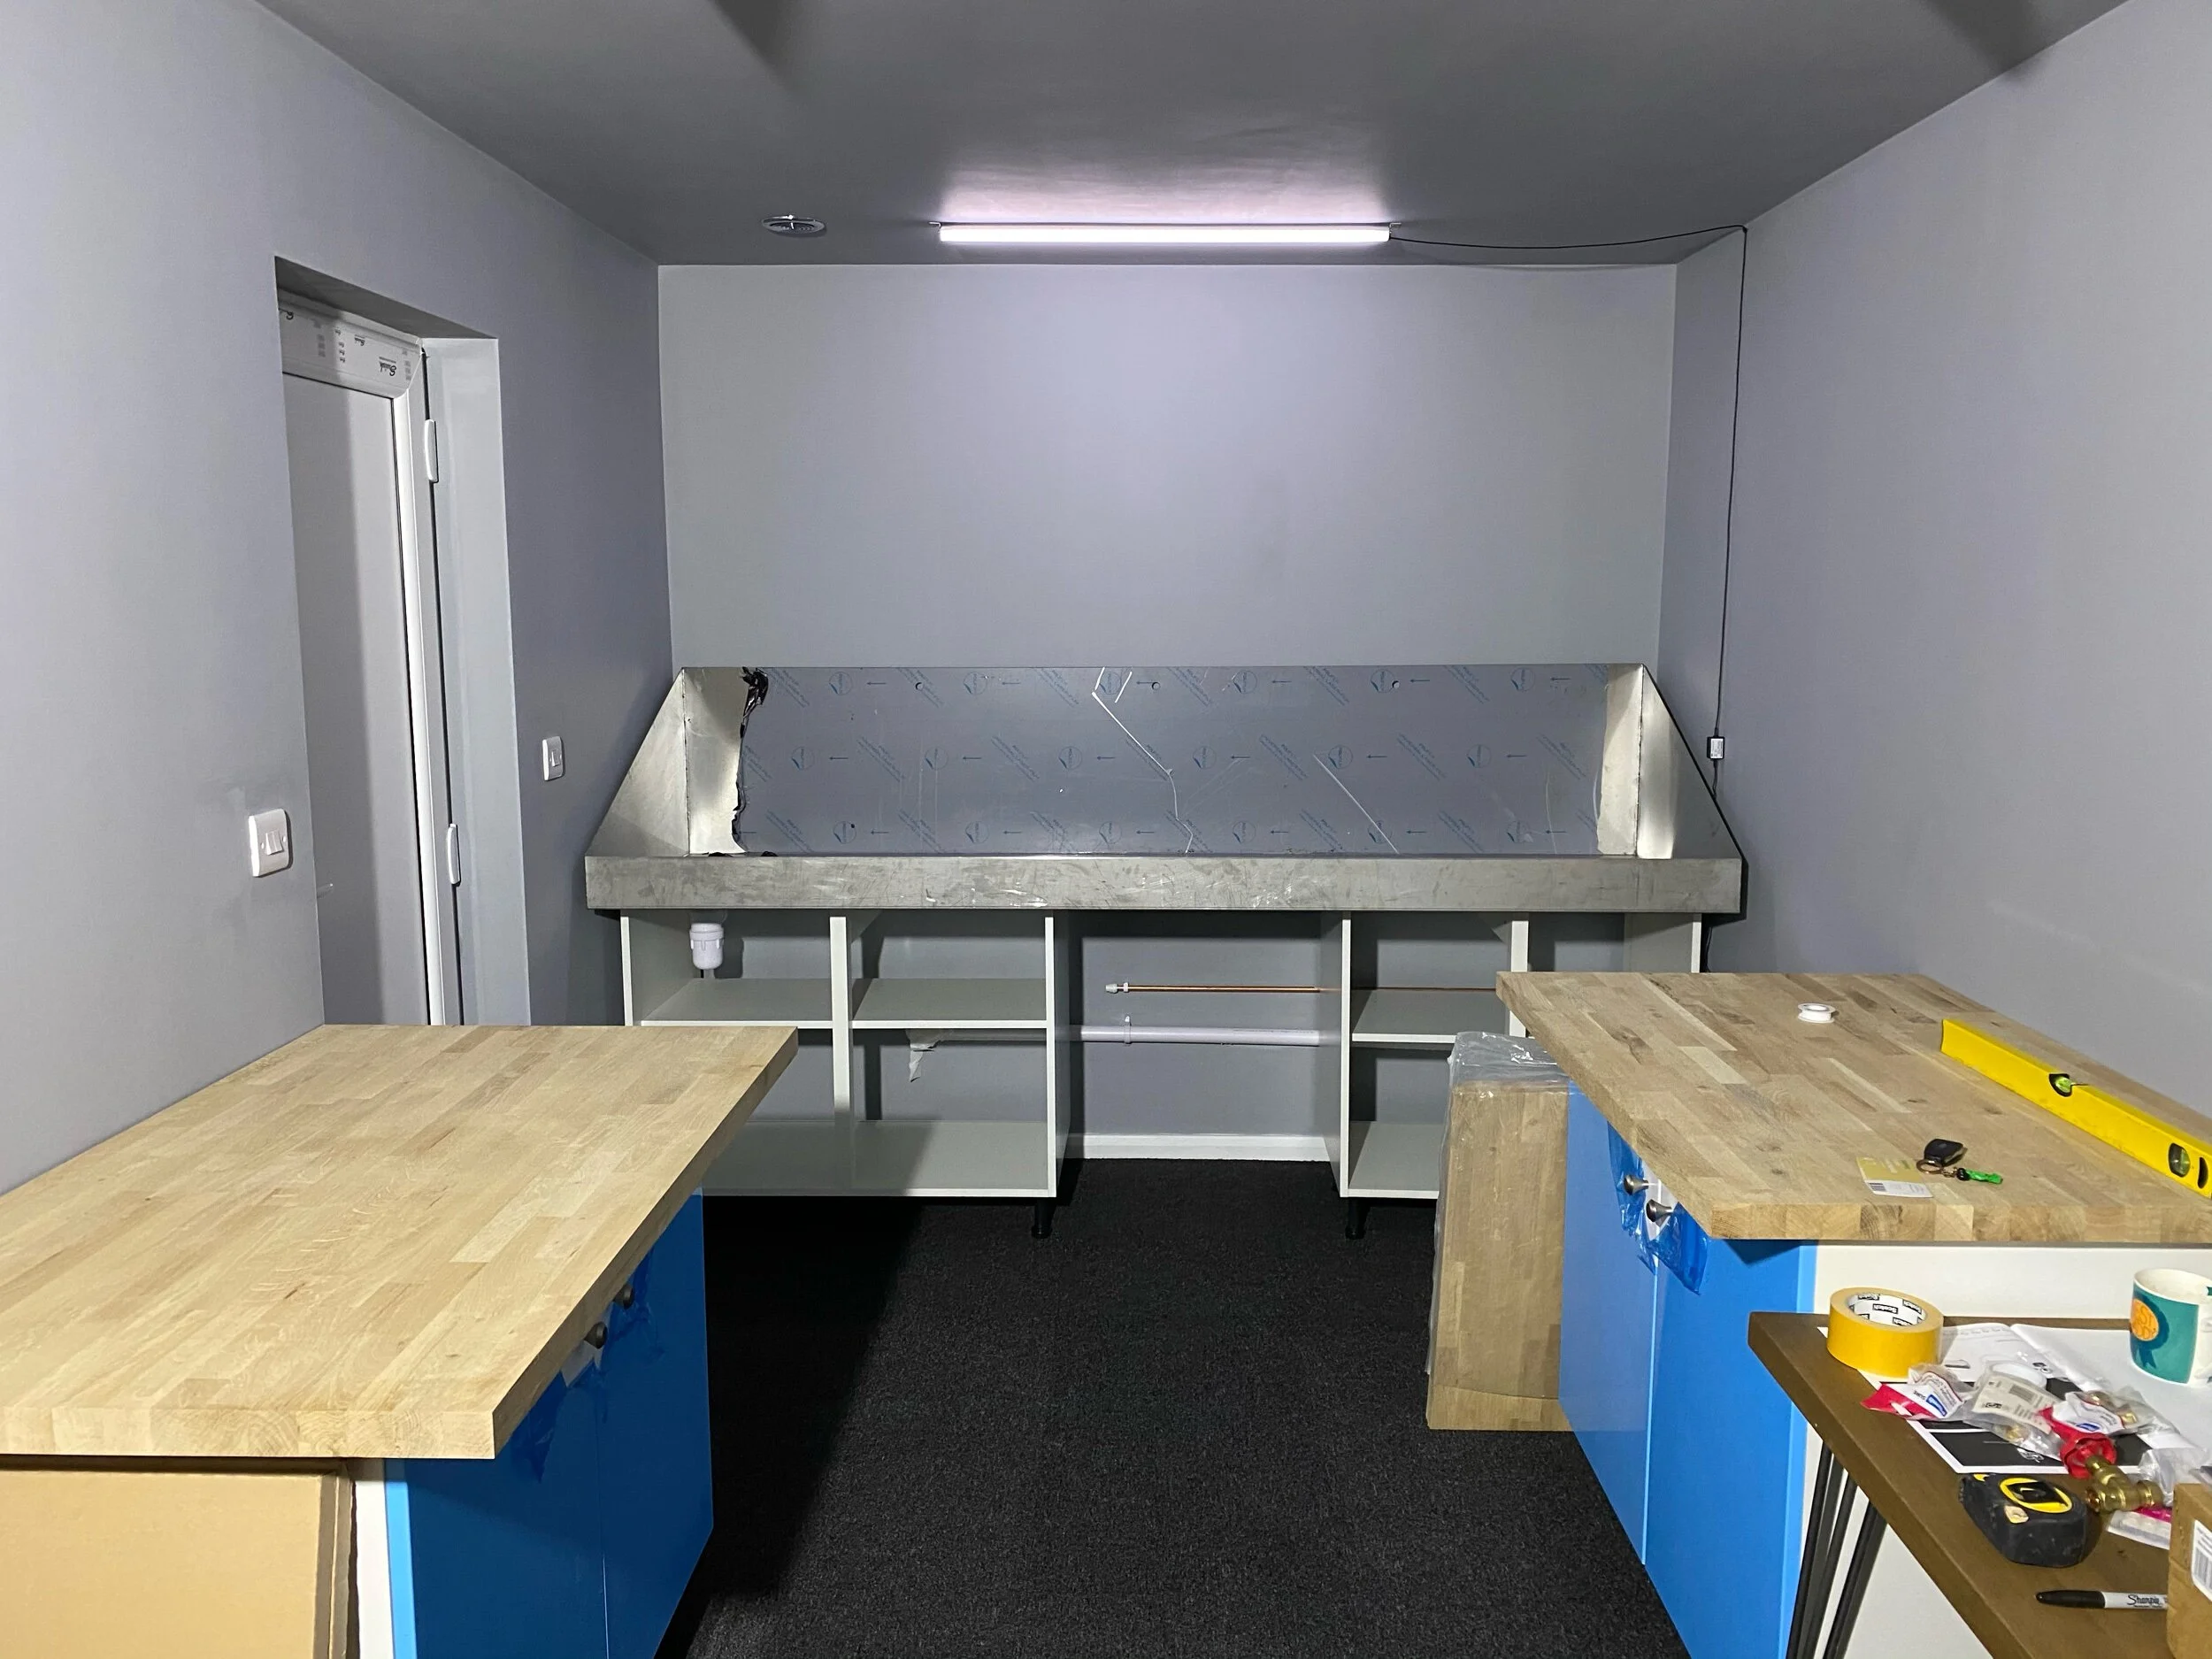
Space!
I have almost triple the amount of space in my garage than what I had in my spare room. I have installed a large stainless steel processing sink at one end that allows me to use processing trays up to 20 x 24 inches and space for a print washer. I had this fabricated using a local company so that it would be perfectly suited to the space. It was also cheaper than an equivalent purpose built sink and should be more durable.
My enlarger sits on top of a wooden worktop, under which is the cupboard where I keep all of my paper stock. I am currently working my way through a series of different fibre papers from Ilford, Bergger and Fomapan to see which I prefer. So far, my preference has been for Ilford Galerie which is a fixed grade paper. I may do a paper comparison blog at some point and include results before and after toning. I’ve only printed up to a maximum size of 16 x 20 inches so far but I may try larger prints in the future.
Opposite my enlarger, I have another worktop and cupboard that I use for storage of materials needed for print spotting, mounting and framing. The cupboard also stores my inkjet paper and transfer paper for negatives. I have used framing and printing companies in the past but have never been fully satisfied with the results. I know that if I do it myself it will be to a standard that I am completely happy with is usually quicker and less hassle. It’s also nice to know that I have had control over every part of the image making process. From image capture to framing the final print, every detail can be scrutinised to ensure the print is as good as it can be.
Finally I have my desk set-up. On here is my computer, printer and scanners. I use the space underneath as a bit of a dumping ground for cameras and equipment but I will get round to installing some proper storage in the future. This is my complete set up, and so far it’s proving to be extremely functional. I want to add a bookshelf of some description soon as I have a large number of books in my house that I want to be able to have close at hand for a dose of inspiration or reference. That collection seems to be growing quite quickly so I may need something substantial.
Camera equipment
I’ve owned the Leica M10 Monochrom since it’s release and use it alongside the Leica MP Film. The image files that I can produce with the Monochrom are superb for the type of printing that I do. The camera itself is perfectly suited to my simplistic approach to photography. I prefer the manual nature of the camera, it’s more of a mechanical, physical process than some other cameras I have used, which can sometimes feel like a handheld computer rather than a camera. I don’t use video or film simulations and have no need for blisteringly fast auto focus so it suits me perfectly.
I may sound like a Leica snob but I’m not, at least I don’t believe that I am. Give me any camera and I will be happy to make photographs with it. I’ve shot a number of different camera brands over the past few years and don’t see one brand as being superior to another. Each is just slightly different to use and I don’t think that there is a camera available that isn’t capable of producing quality images. The photographer has the biggest impact on what the camera produces and even though a camera that you enjoy using is always the preferred option, being limited by what camera you use won’t stop you making memorable images.The image is the only thing that matters, whether film or digital, taken on a phone or a top of the range camera. When I look at a great image the first thing that comes to mind is certainly not what camera was used to make it. Technology can make it easier and expands our flexibility when making images but the limitations of our cameras are exceeded by the limitations of our imagination, knowledge and determination.
My process

The starting point for any of the silver gelatine prints that I produce (when not printing directly from the negative) is to produce a digital negative of the image I want to print so that it can be used for contact printing. This involves inverting and flipping the original image and then making adjustments in Lightroom to produce a negative that is suitable for printing. I have a set series of adjustments that I make at this point to produce a negative that will print well and accurately represent the image as displayed on my monitor. Sometimes this will need to be tweaked slightly depending on the paper that I have chosen to print on. If I find that the negative is proving difficult to make a print with, I can return to the computer and make adjustments to the negative.
This is one of the big advantages of printing in this way as the negative can be manipulated to suit the desired result. It also makes it easier to use fixed contrast papers as the contrast of the negative can be adjusted to suit the paper. When printing for others, removing the need to send the original negative can be a huge advantage. It completely removes the risk of the valuable negative being damaged or lost in the post.
When I am happy with the negative the next step is print it. I do this using digital transfer paper. I use Permajet paper as it allows me the option to buy it on a roll as well as sheets in A4 or A3 sizes. Using roll paper is the only way that I can print negatives big enough to produce 16”x20” prints. I haven’t seen sheets bigger than A3 up to this point. I assuming that this is due to the demand for this type of media being limited.
Once the negative has been printed, I will usually leave it to dry. It’s a fast-drying paper, but seems to mark easily if used straight from the printer. Just to be cautious I let it rest overnight. Sometimes it may be a week or so before I have time to set up for a printing session so any negatives that I print are stored in archival boxes or old paper boxes until they are required.
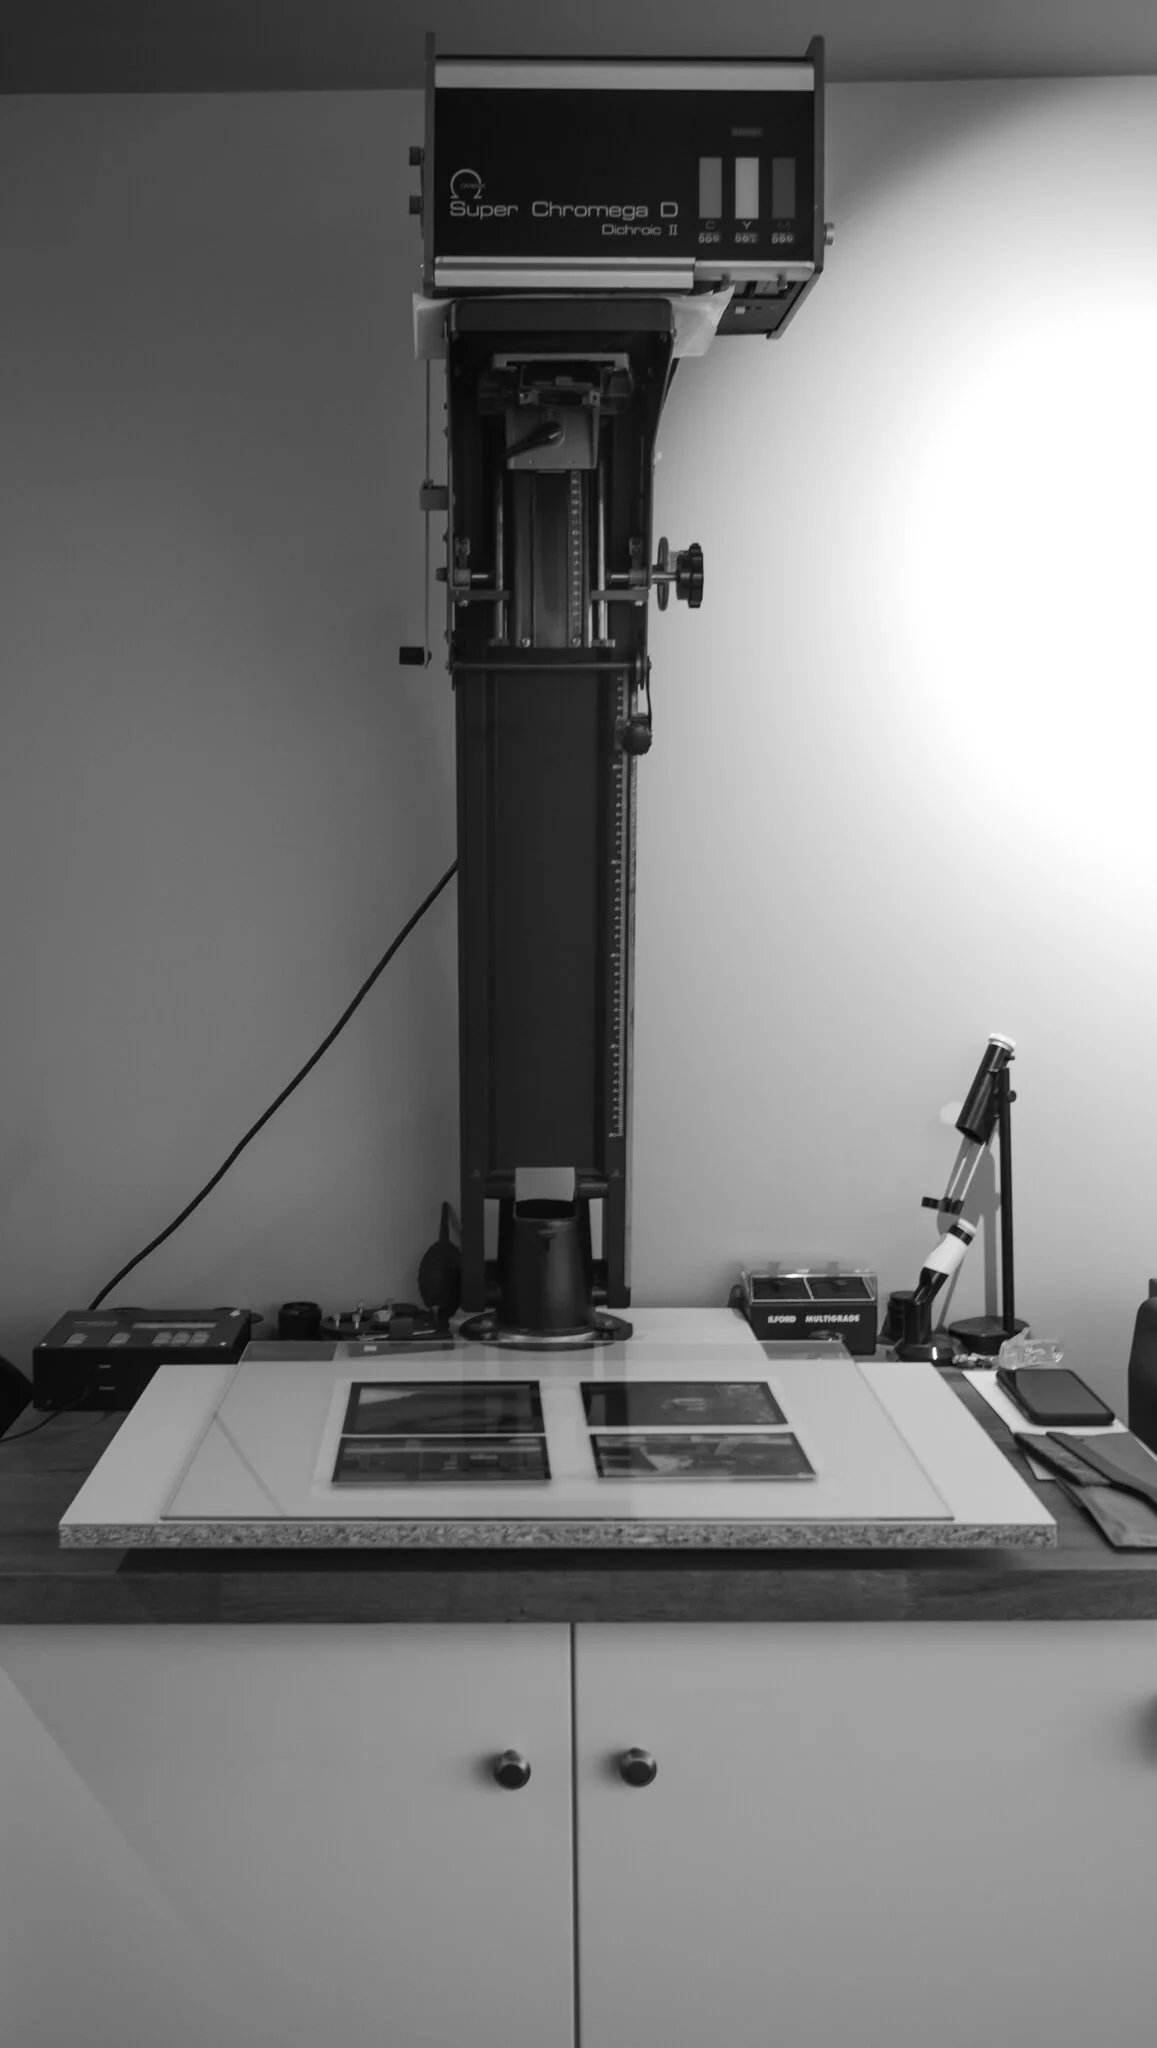
When I am ready to print, the first stage after all the chemicals are at the correct temperature is to to determine exposure and contrast. As you can see in the image above, I have everything laid out ready to make the print. The paper is placed under the negative and a sheet of glass is placed over the top to ensure everything stays nice and flat. I had this piece of glass cut by a local company to my specified dimensions. If you choose to have a piece of glass cut for this purpose, ask nicely to have the glass checked for imperfections as marks on or within the glass can show up on the final print and you will have to spend more time later with the spotting brush.
Once the paper has been exposed, the next steps are exactly the same as when making any other silver print. Plenty of test strips to determine the correct exposure and contrast then onto the final print. There are two options at this stage if alterations to the print need to be made. I can either make these adjustments to the negative and re-print it or fall back on the trusty dodging and burning methods masters of the darkroom used to use.
Once I have decided that the final print is as good as it can be, it is washed in an archival washer, toned and washed again. Once dry it is placed in my heat press to flatten ready for storage or to be sent to a customer.
Please print your images
I would encourage anybody who doesn’t already print their own photos to do so at least once. Making a print, whether it’s an inkjet print on basic photo paper, high quality fine art paper or even a silver gelatin print such as the ones that I make, is undoubtably the best way to view your images. Photographs simply look better as physical prints and the final stage of all the hard work that has gone into making the photograph. Not printing your images and leaving them on your computer or social media page is a waste of the time, money and effort you have put in to your photography. In essence all you are doing is creating a digital file for display on a screen.
I’ve seen people spend thousands of pounds on camera equipment and never print their photos. All that time money and effort to produce an image of great quality and it’s only ever seen on the screen of phone. I think it’s a real shame, but maybe I’m just old fashioned.
Anyway, enough of the preaching. If you’re happy to leave your images in the digital world and don’t want to take it any further then that’s up to you and not for me to judge. If you haven’t printed before though, even if you just use the camera on your phone for capturing family moments, give it a go. Use an online photo lab or your home printer and you may be surprised at how much you appreciate them.
The family album is a thing of the past, which is such a shame. I have fond memories of sitting with my parents and going through old family snaps. It was something that was enjoyed sat together as a family rather than an individual scrolling through images on their phone or tablet. I think of all the images that people have on their phones or on their Facebook profiles and imagine how many amazing family albums of prints could be produced and enjoyed.
Back to the darkroom..
Anyway…... I have been taking some time to work on the process that I use for producing the printed negatives for making a print. Initially there was a lot of experimenting, and each negative that I made was tweaked for each individual print usually on more than one occasion. This was obviously time consuming and expensive due to the repeated printing of the negatives and test printing.
After many late nights, re-printed negatives and far too many prints consigned to the bin, I finally have a recipe that I can apply to any image that will give me consistent results. This is important for a couple of reasons, the most important of which is that is that I can’t afford to keep throwing prints away! The other being that I’m thinking about offering a printing service in the future and want to be able to deliver consistent results that accurately reflect the original image. I have already spoken with an produced test prints for photographers other than myself and so far the feedback has been very positive.
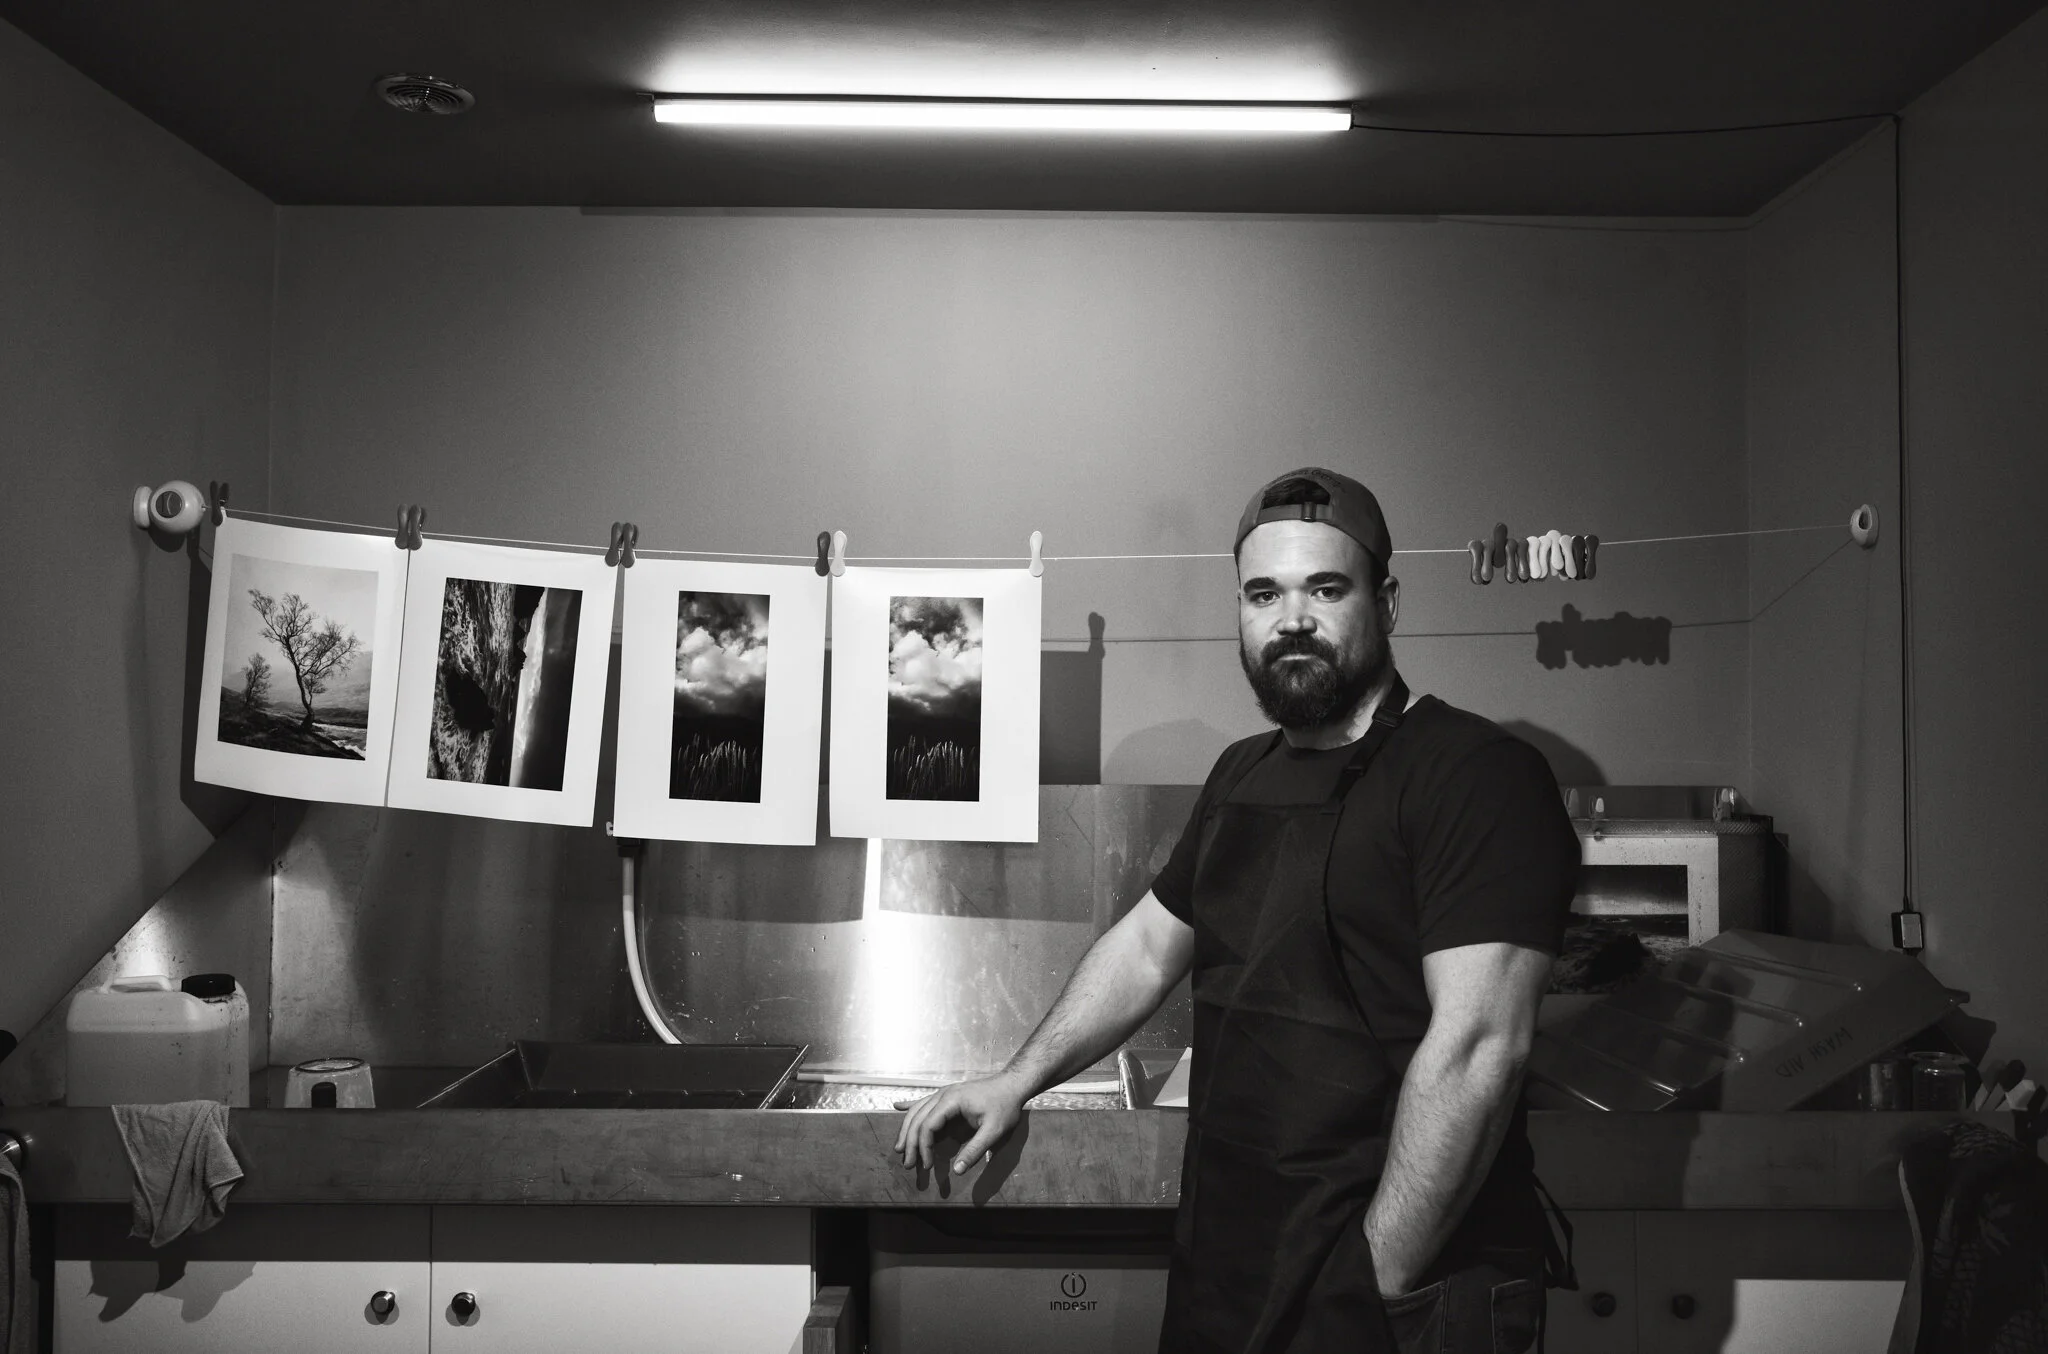
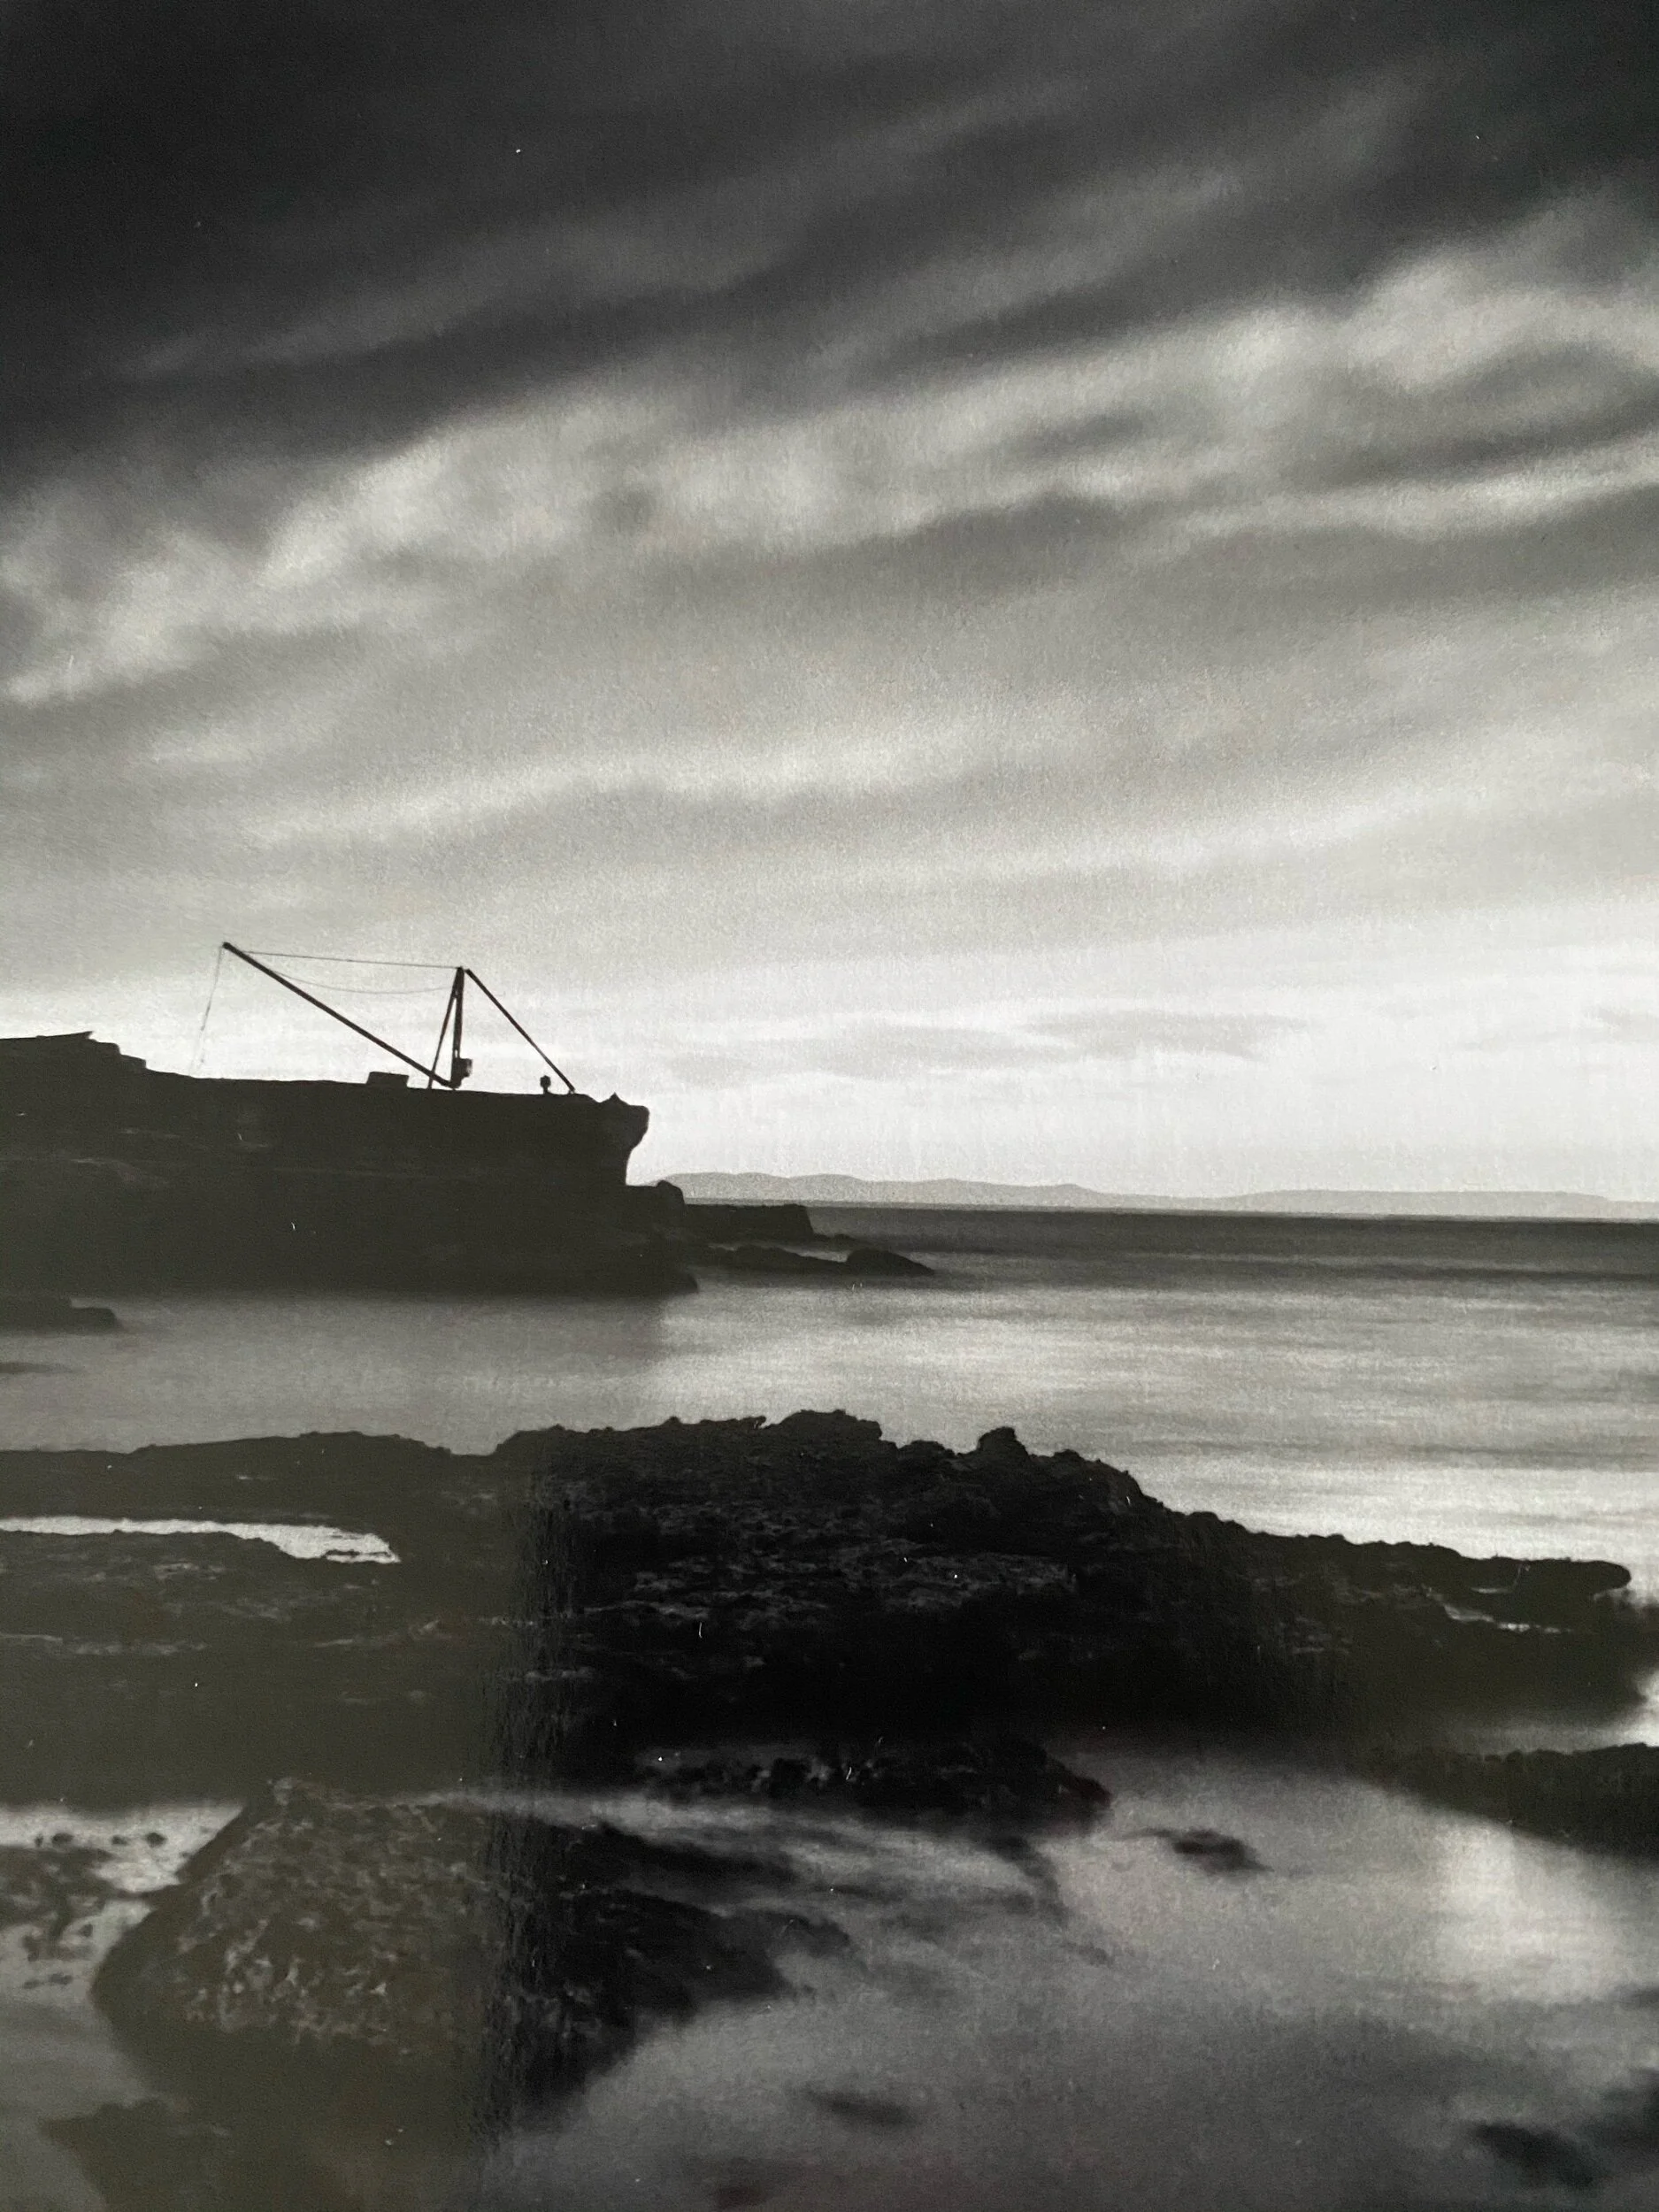
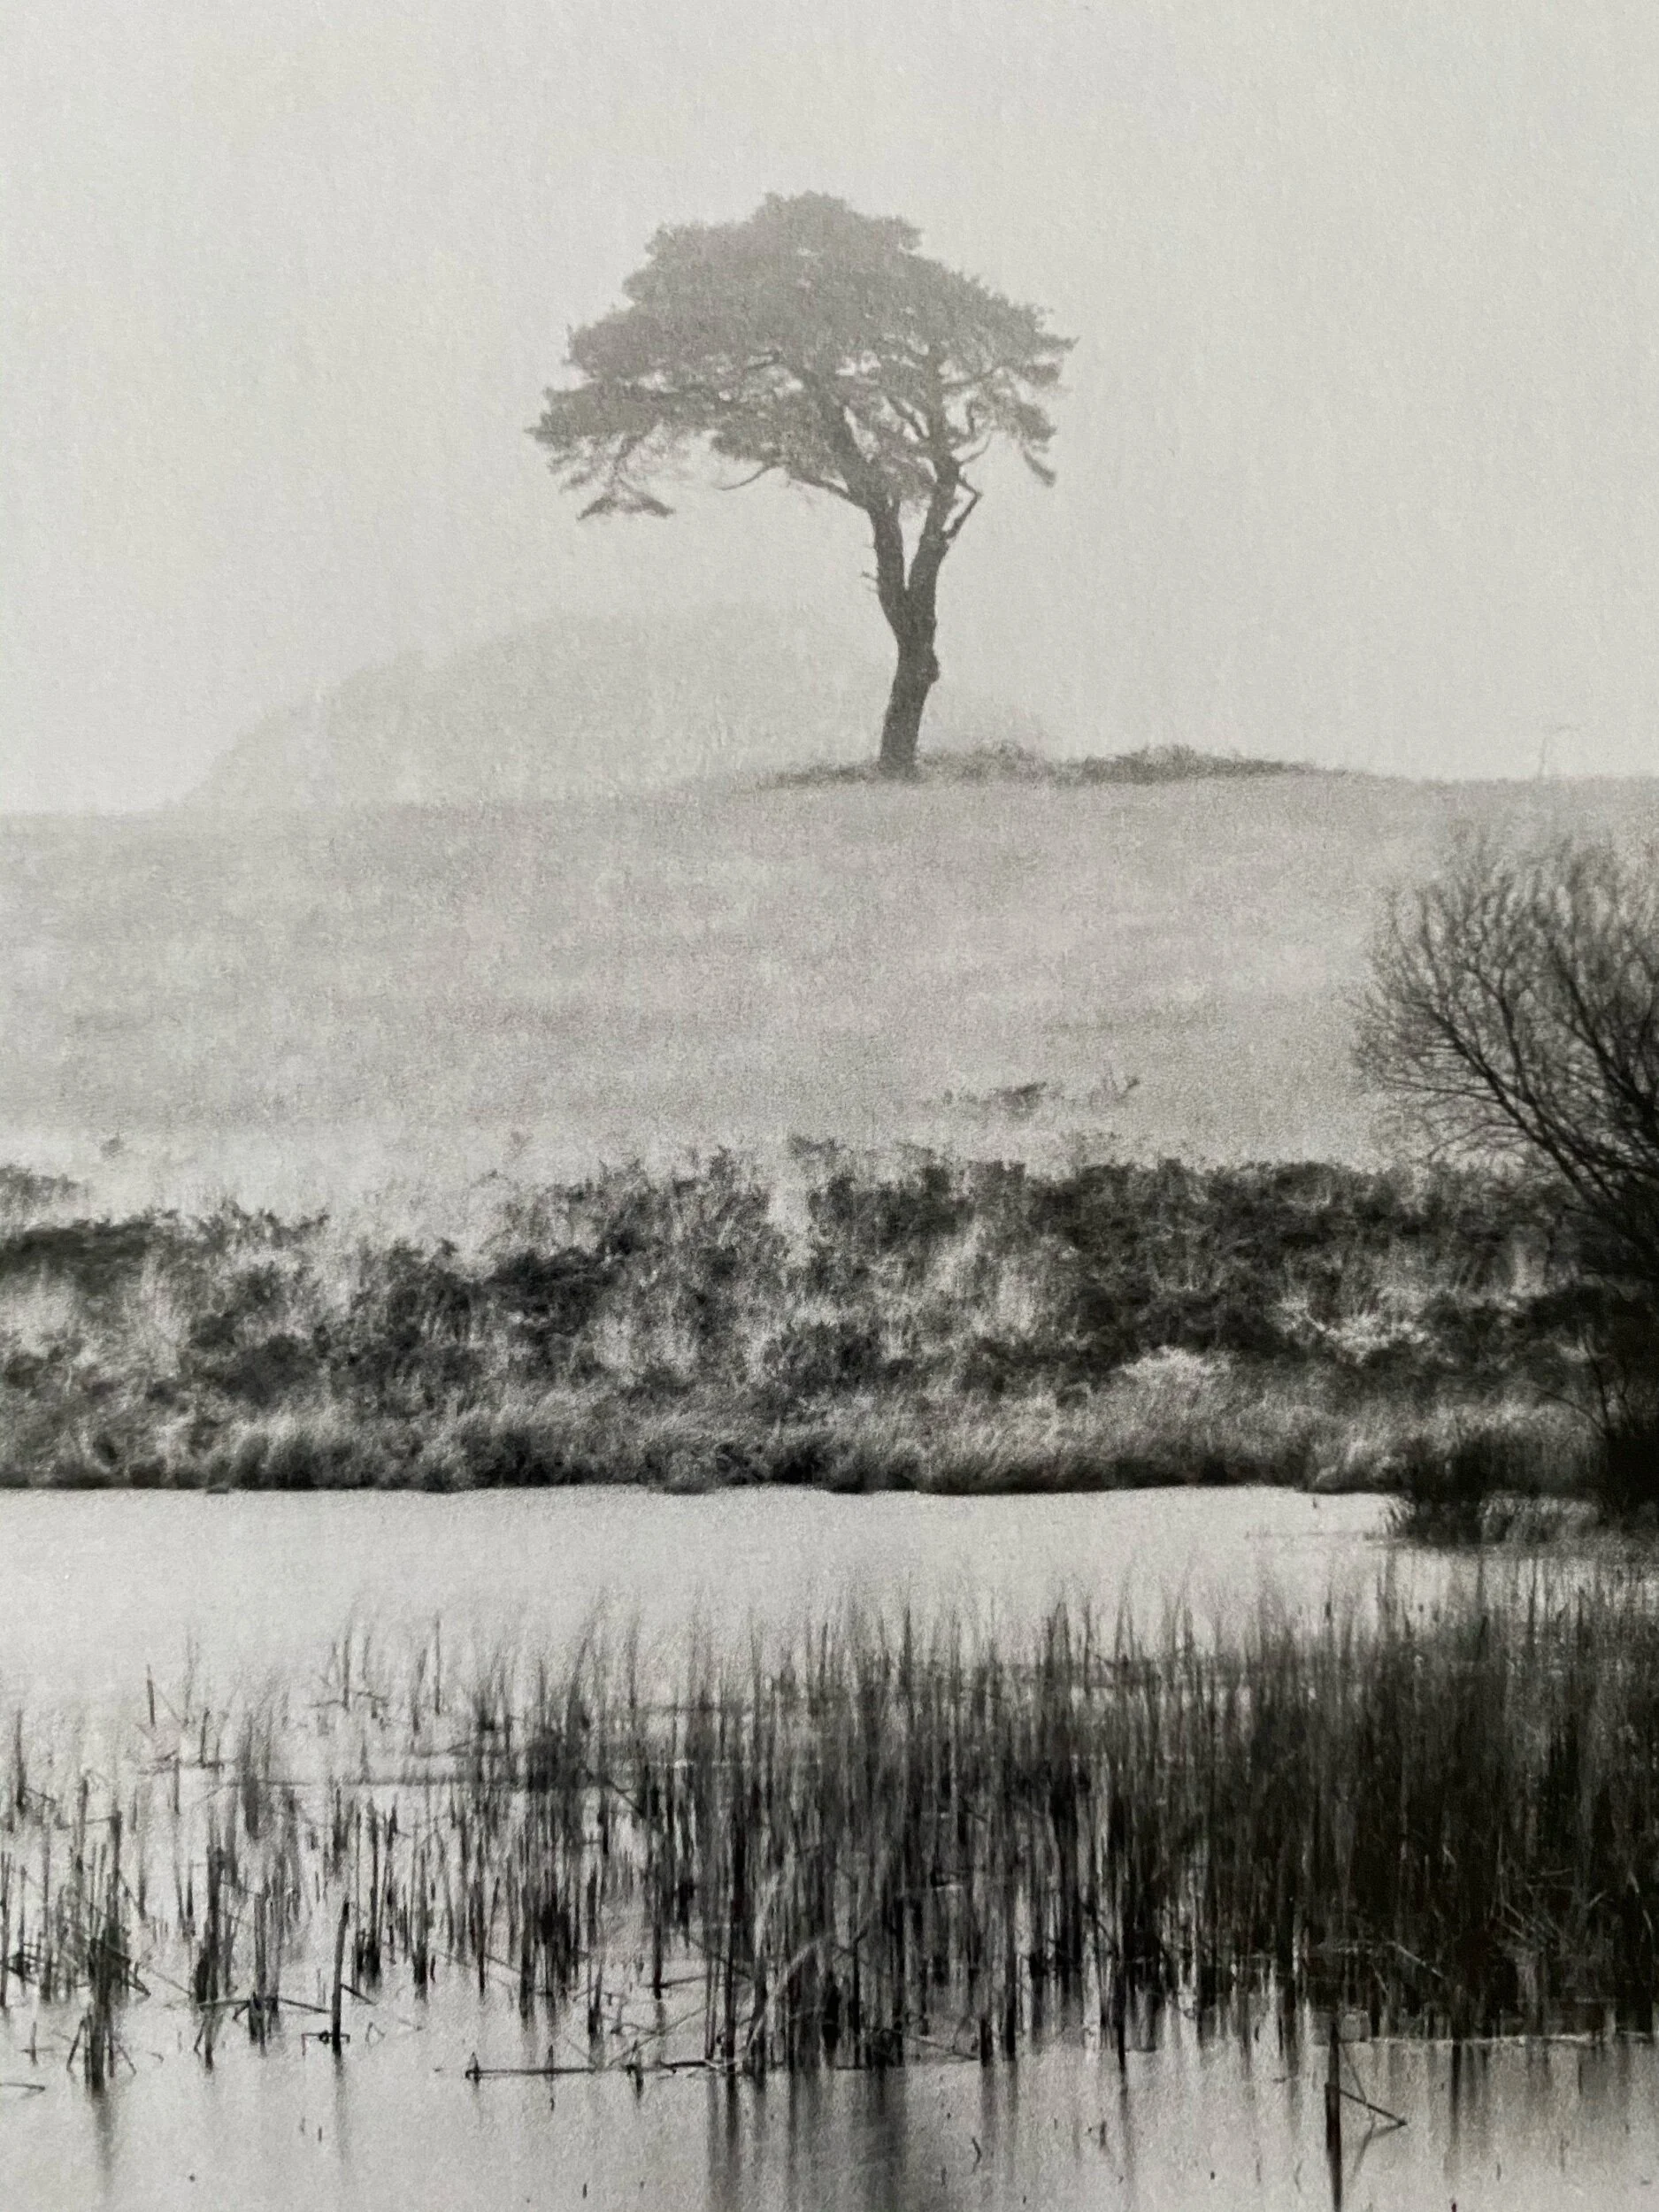
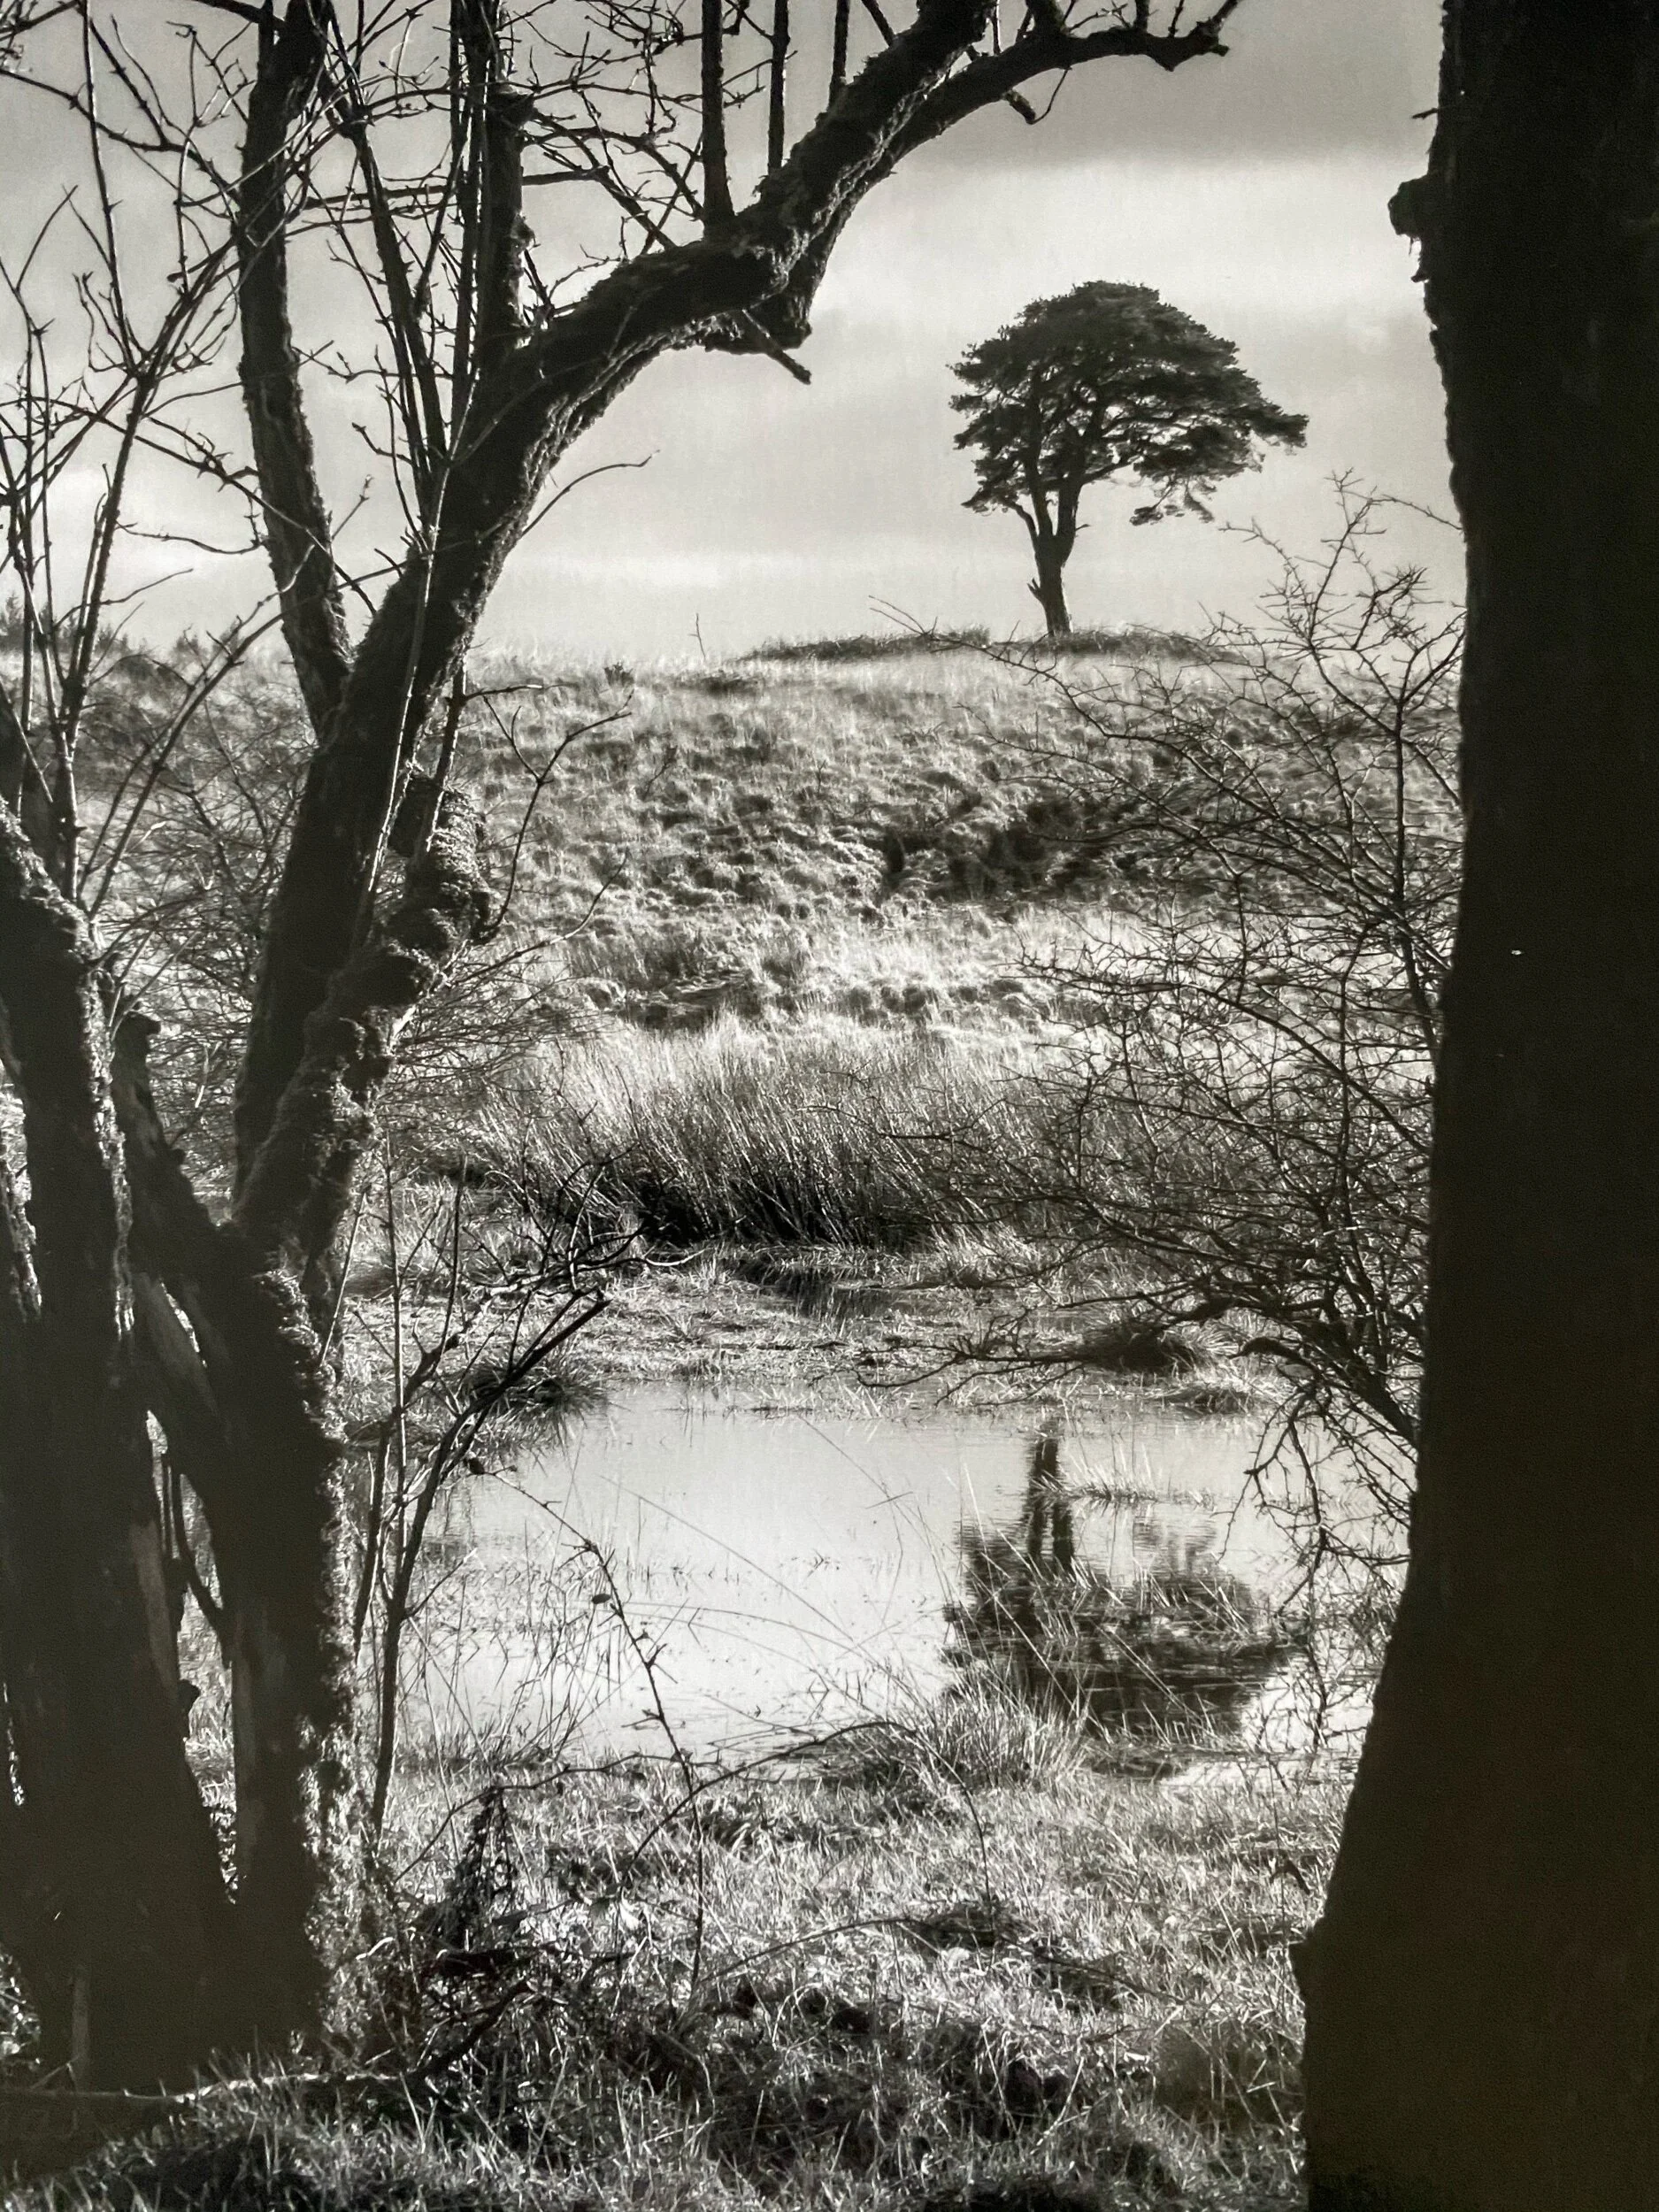
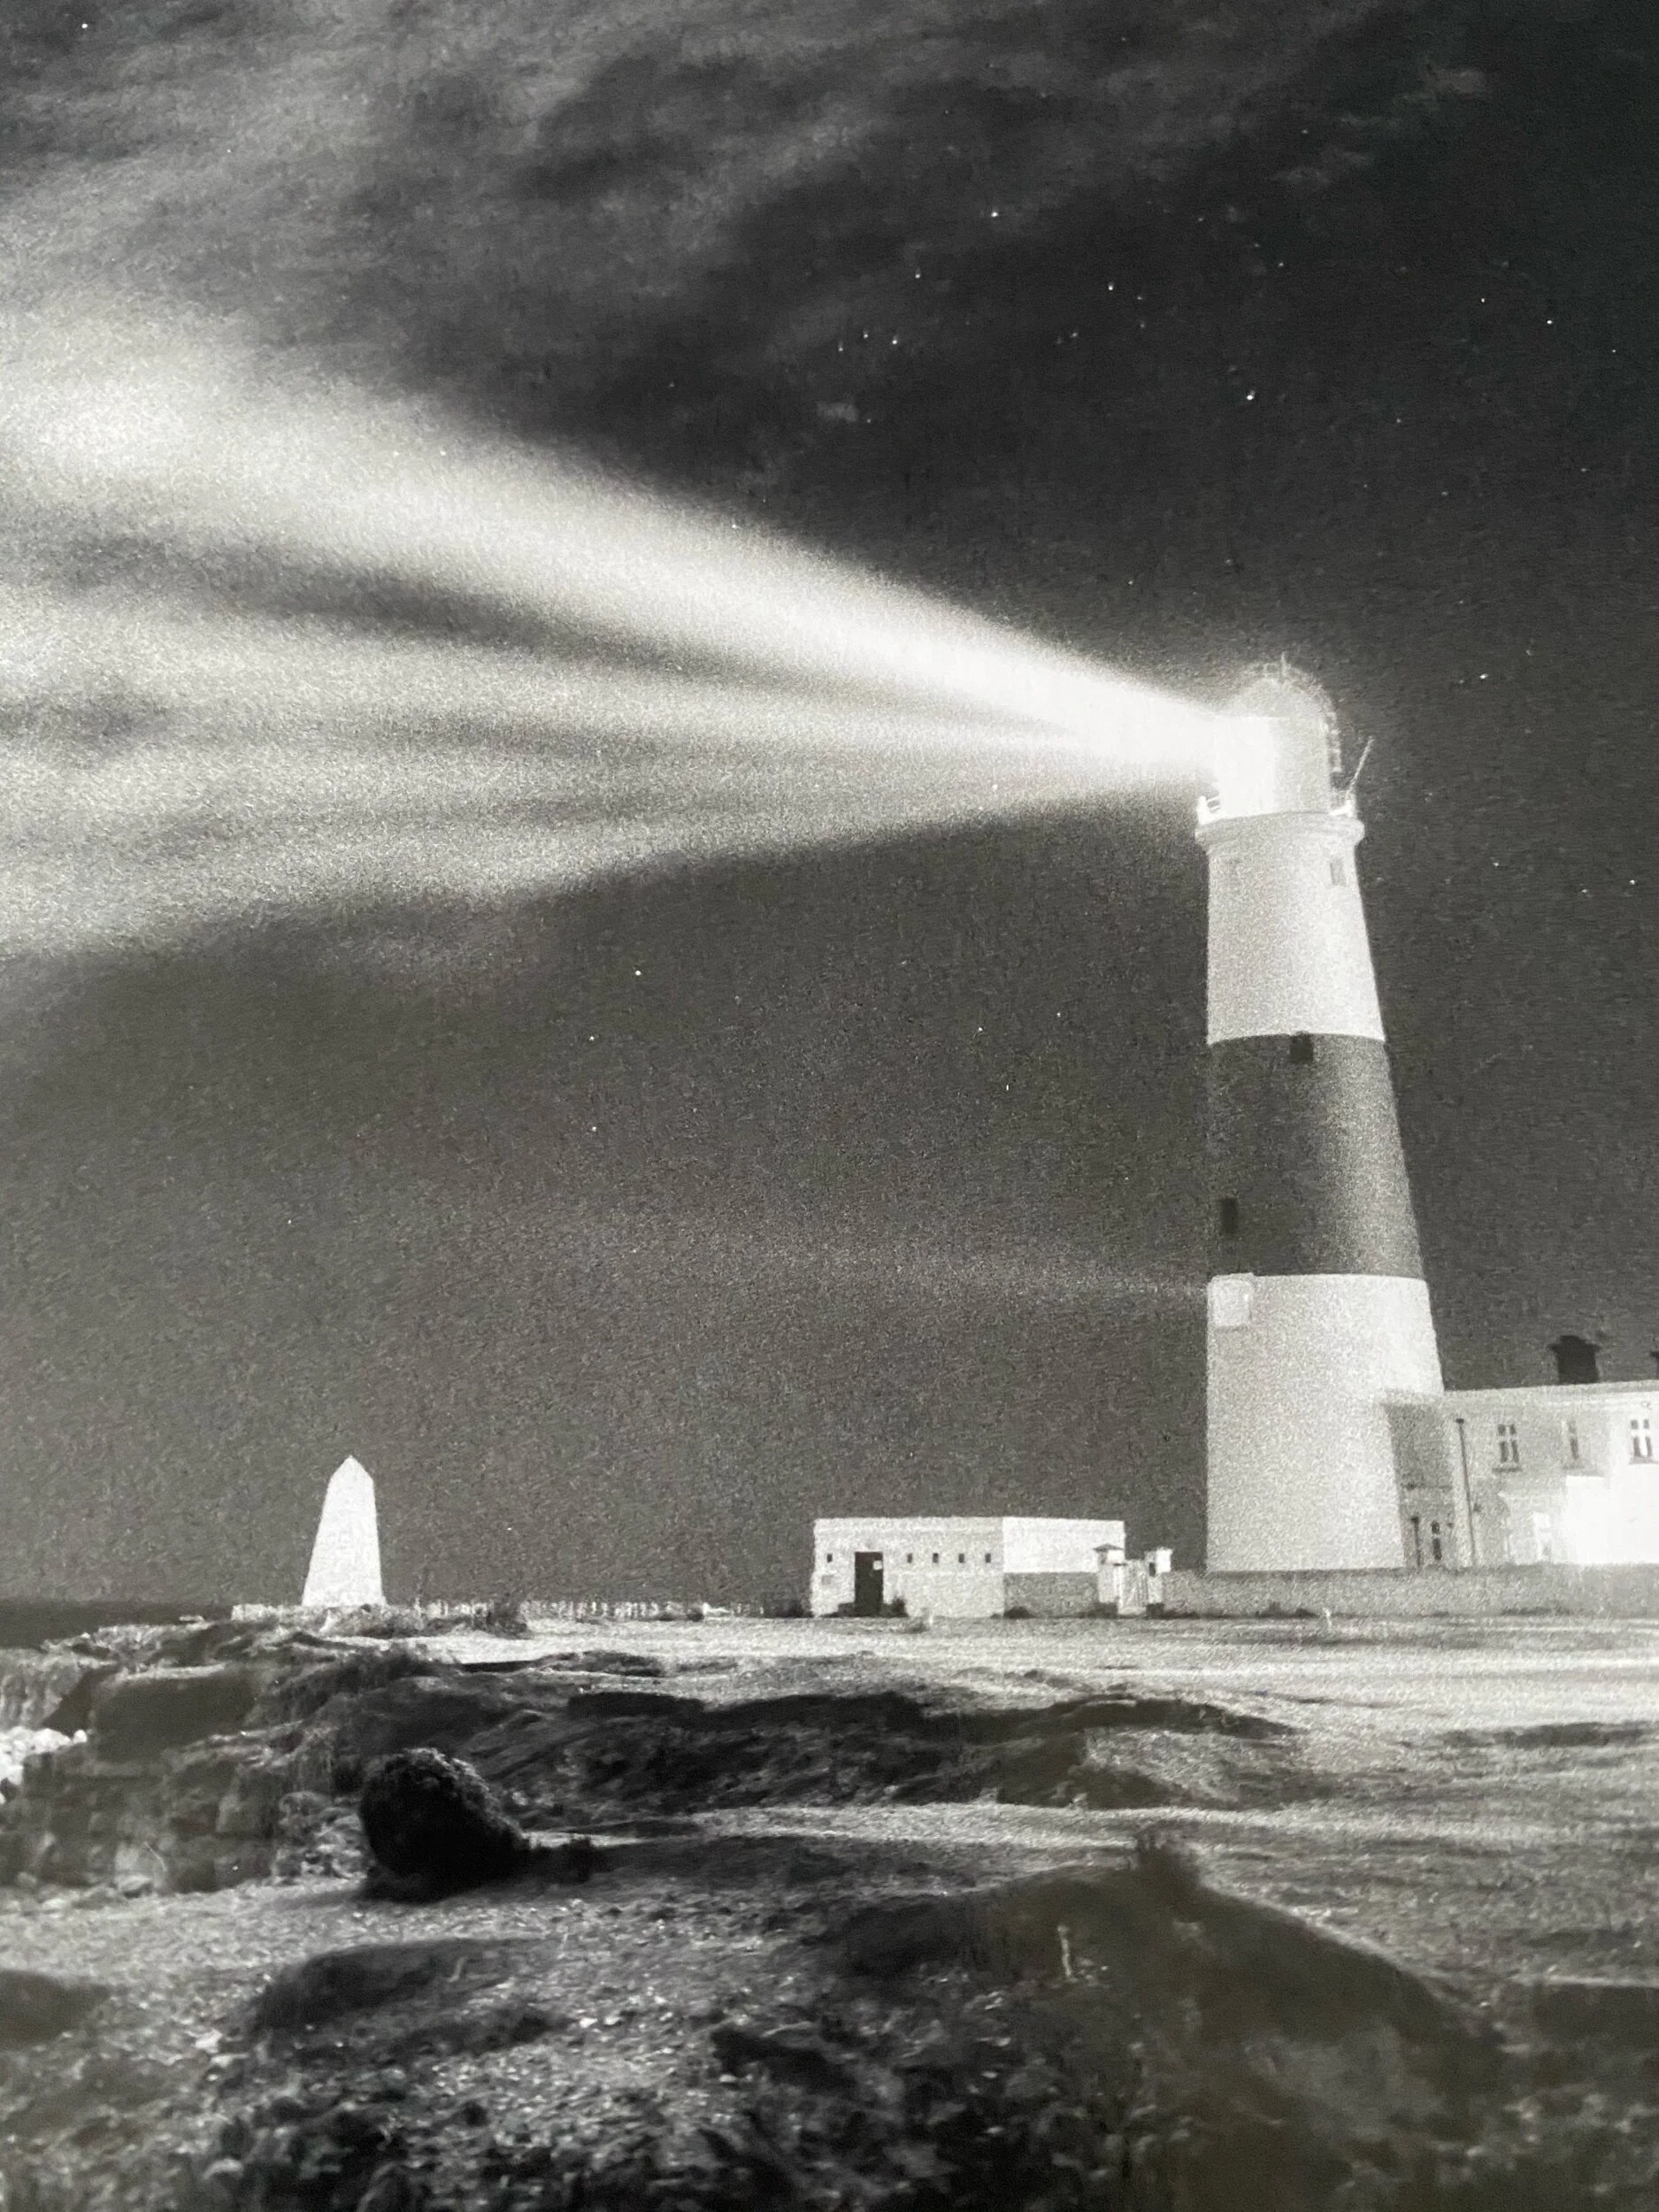
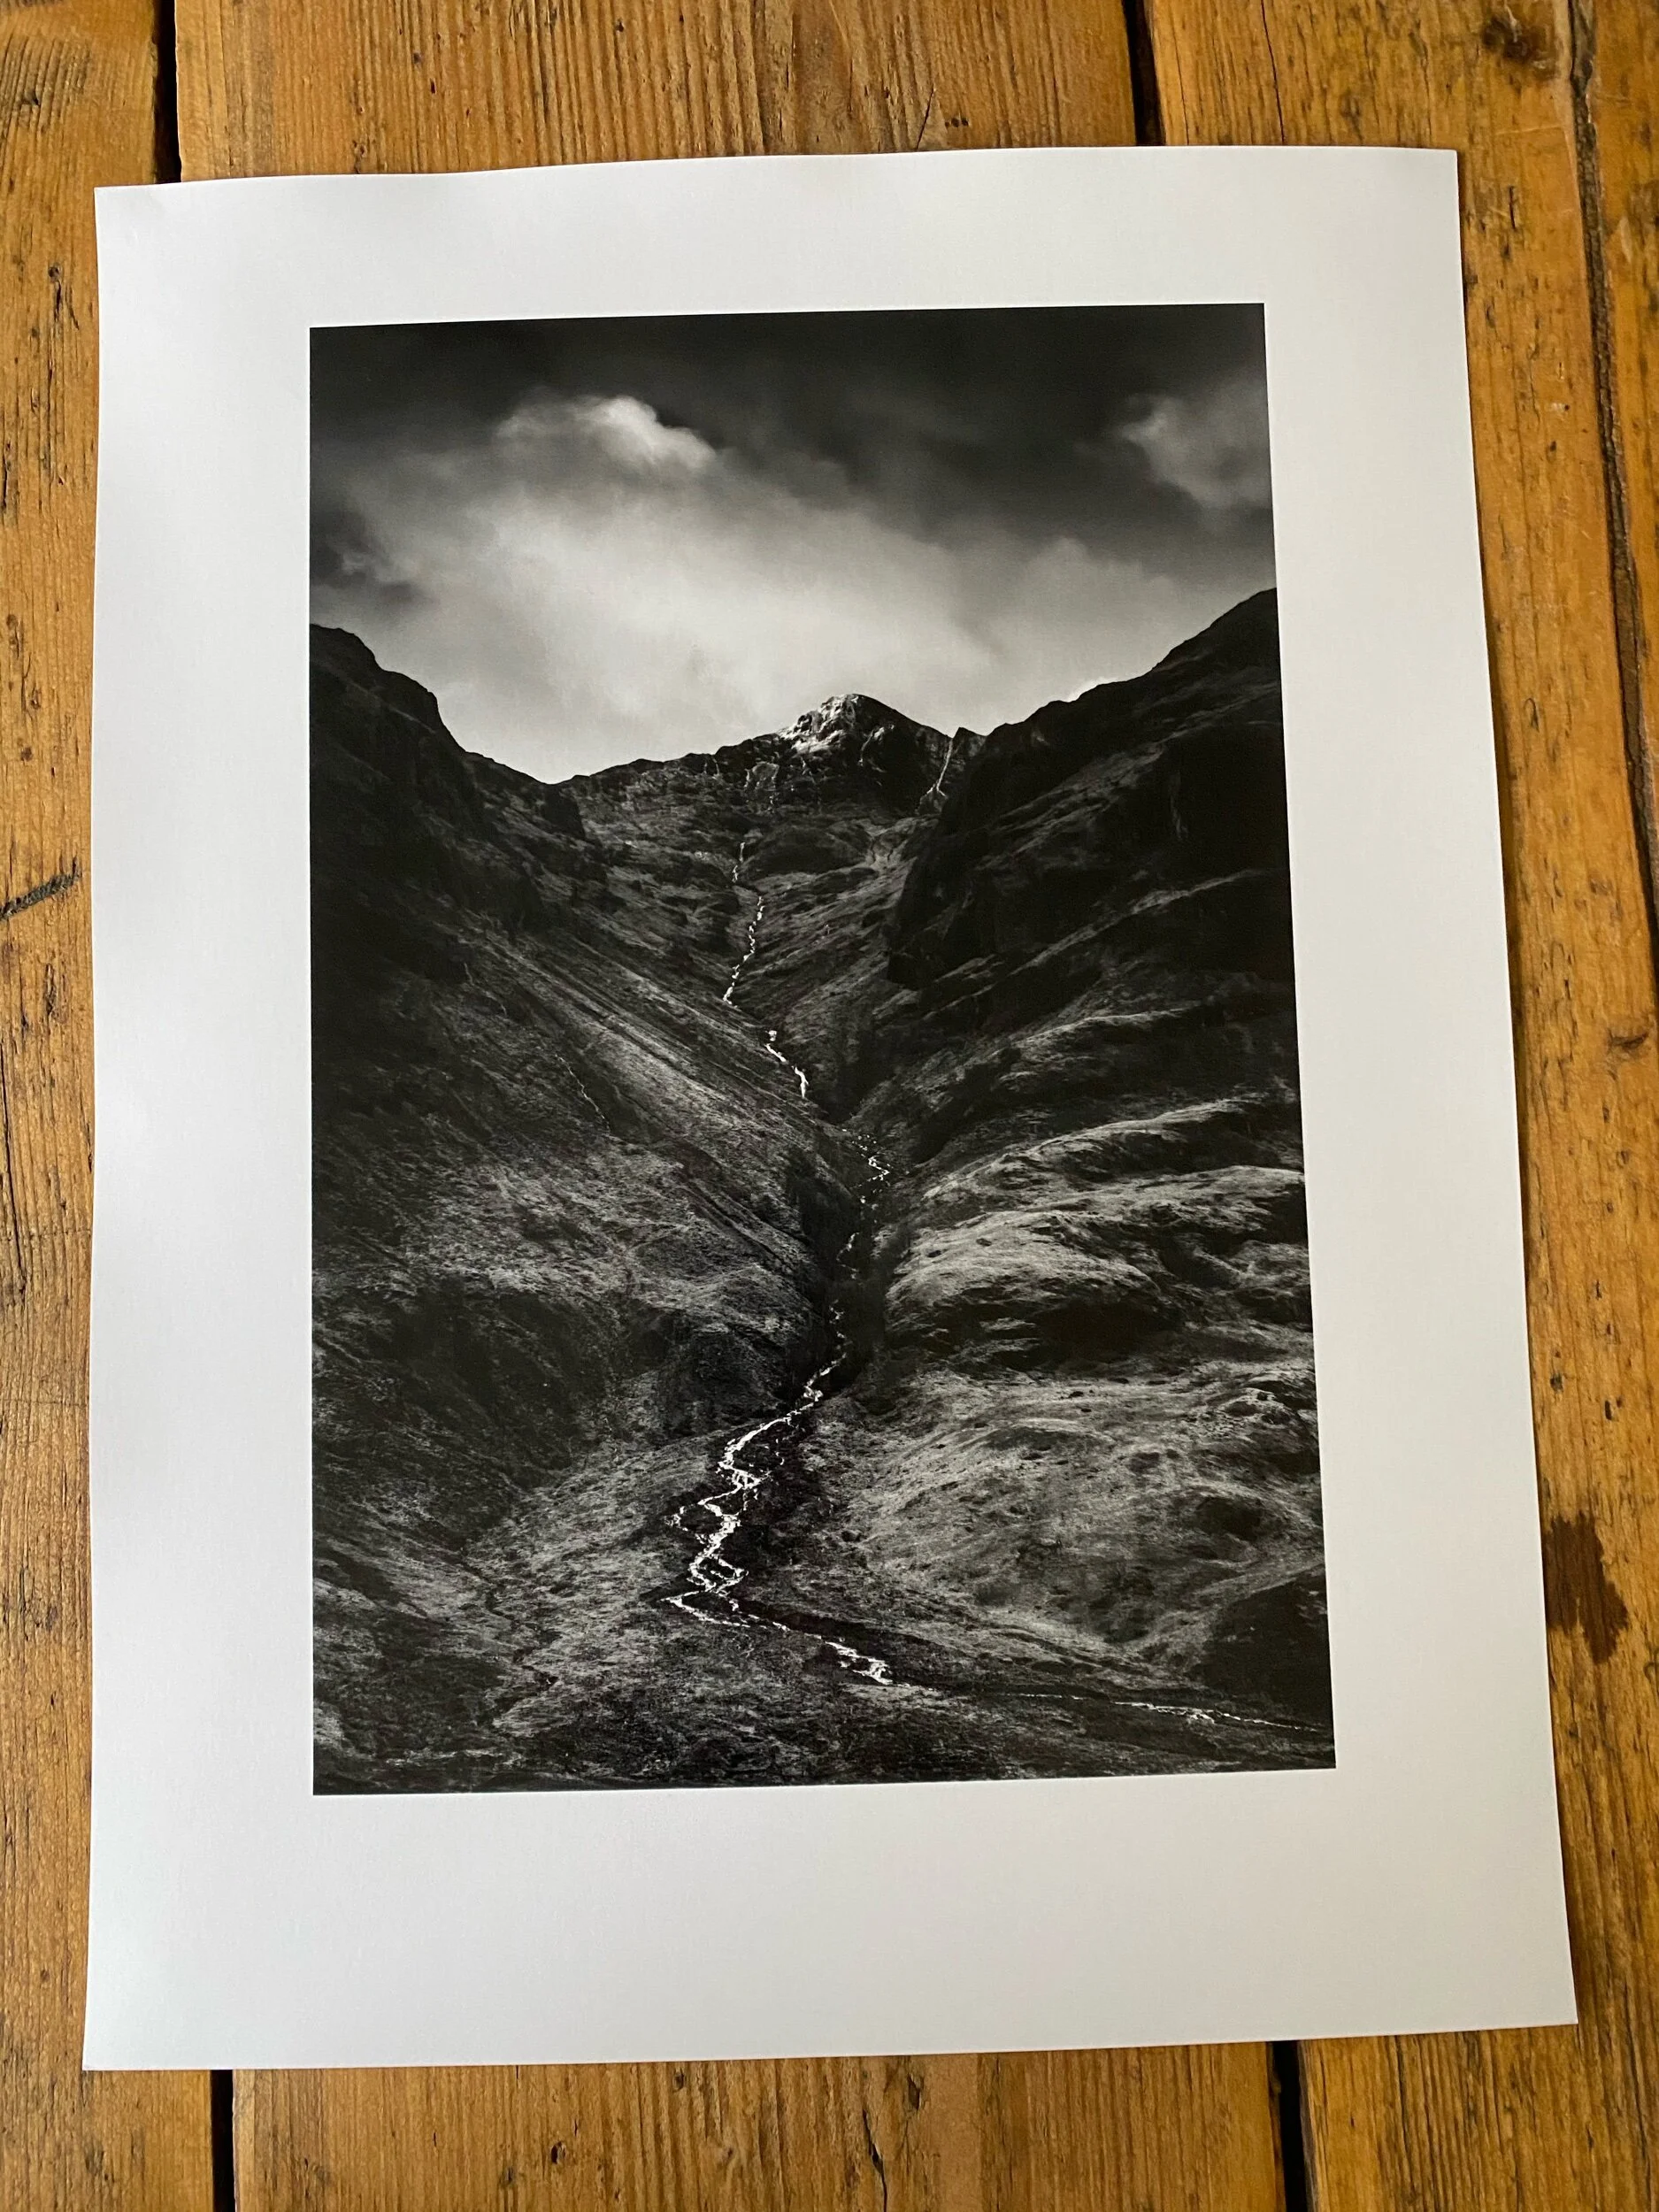
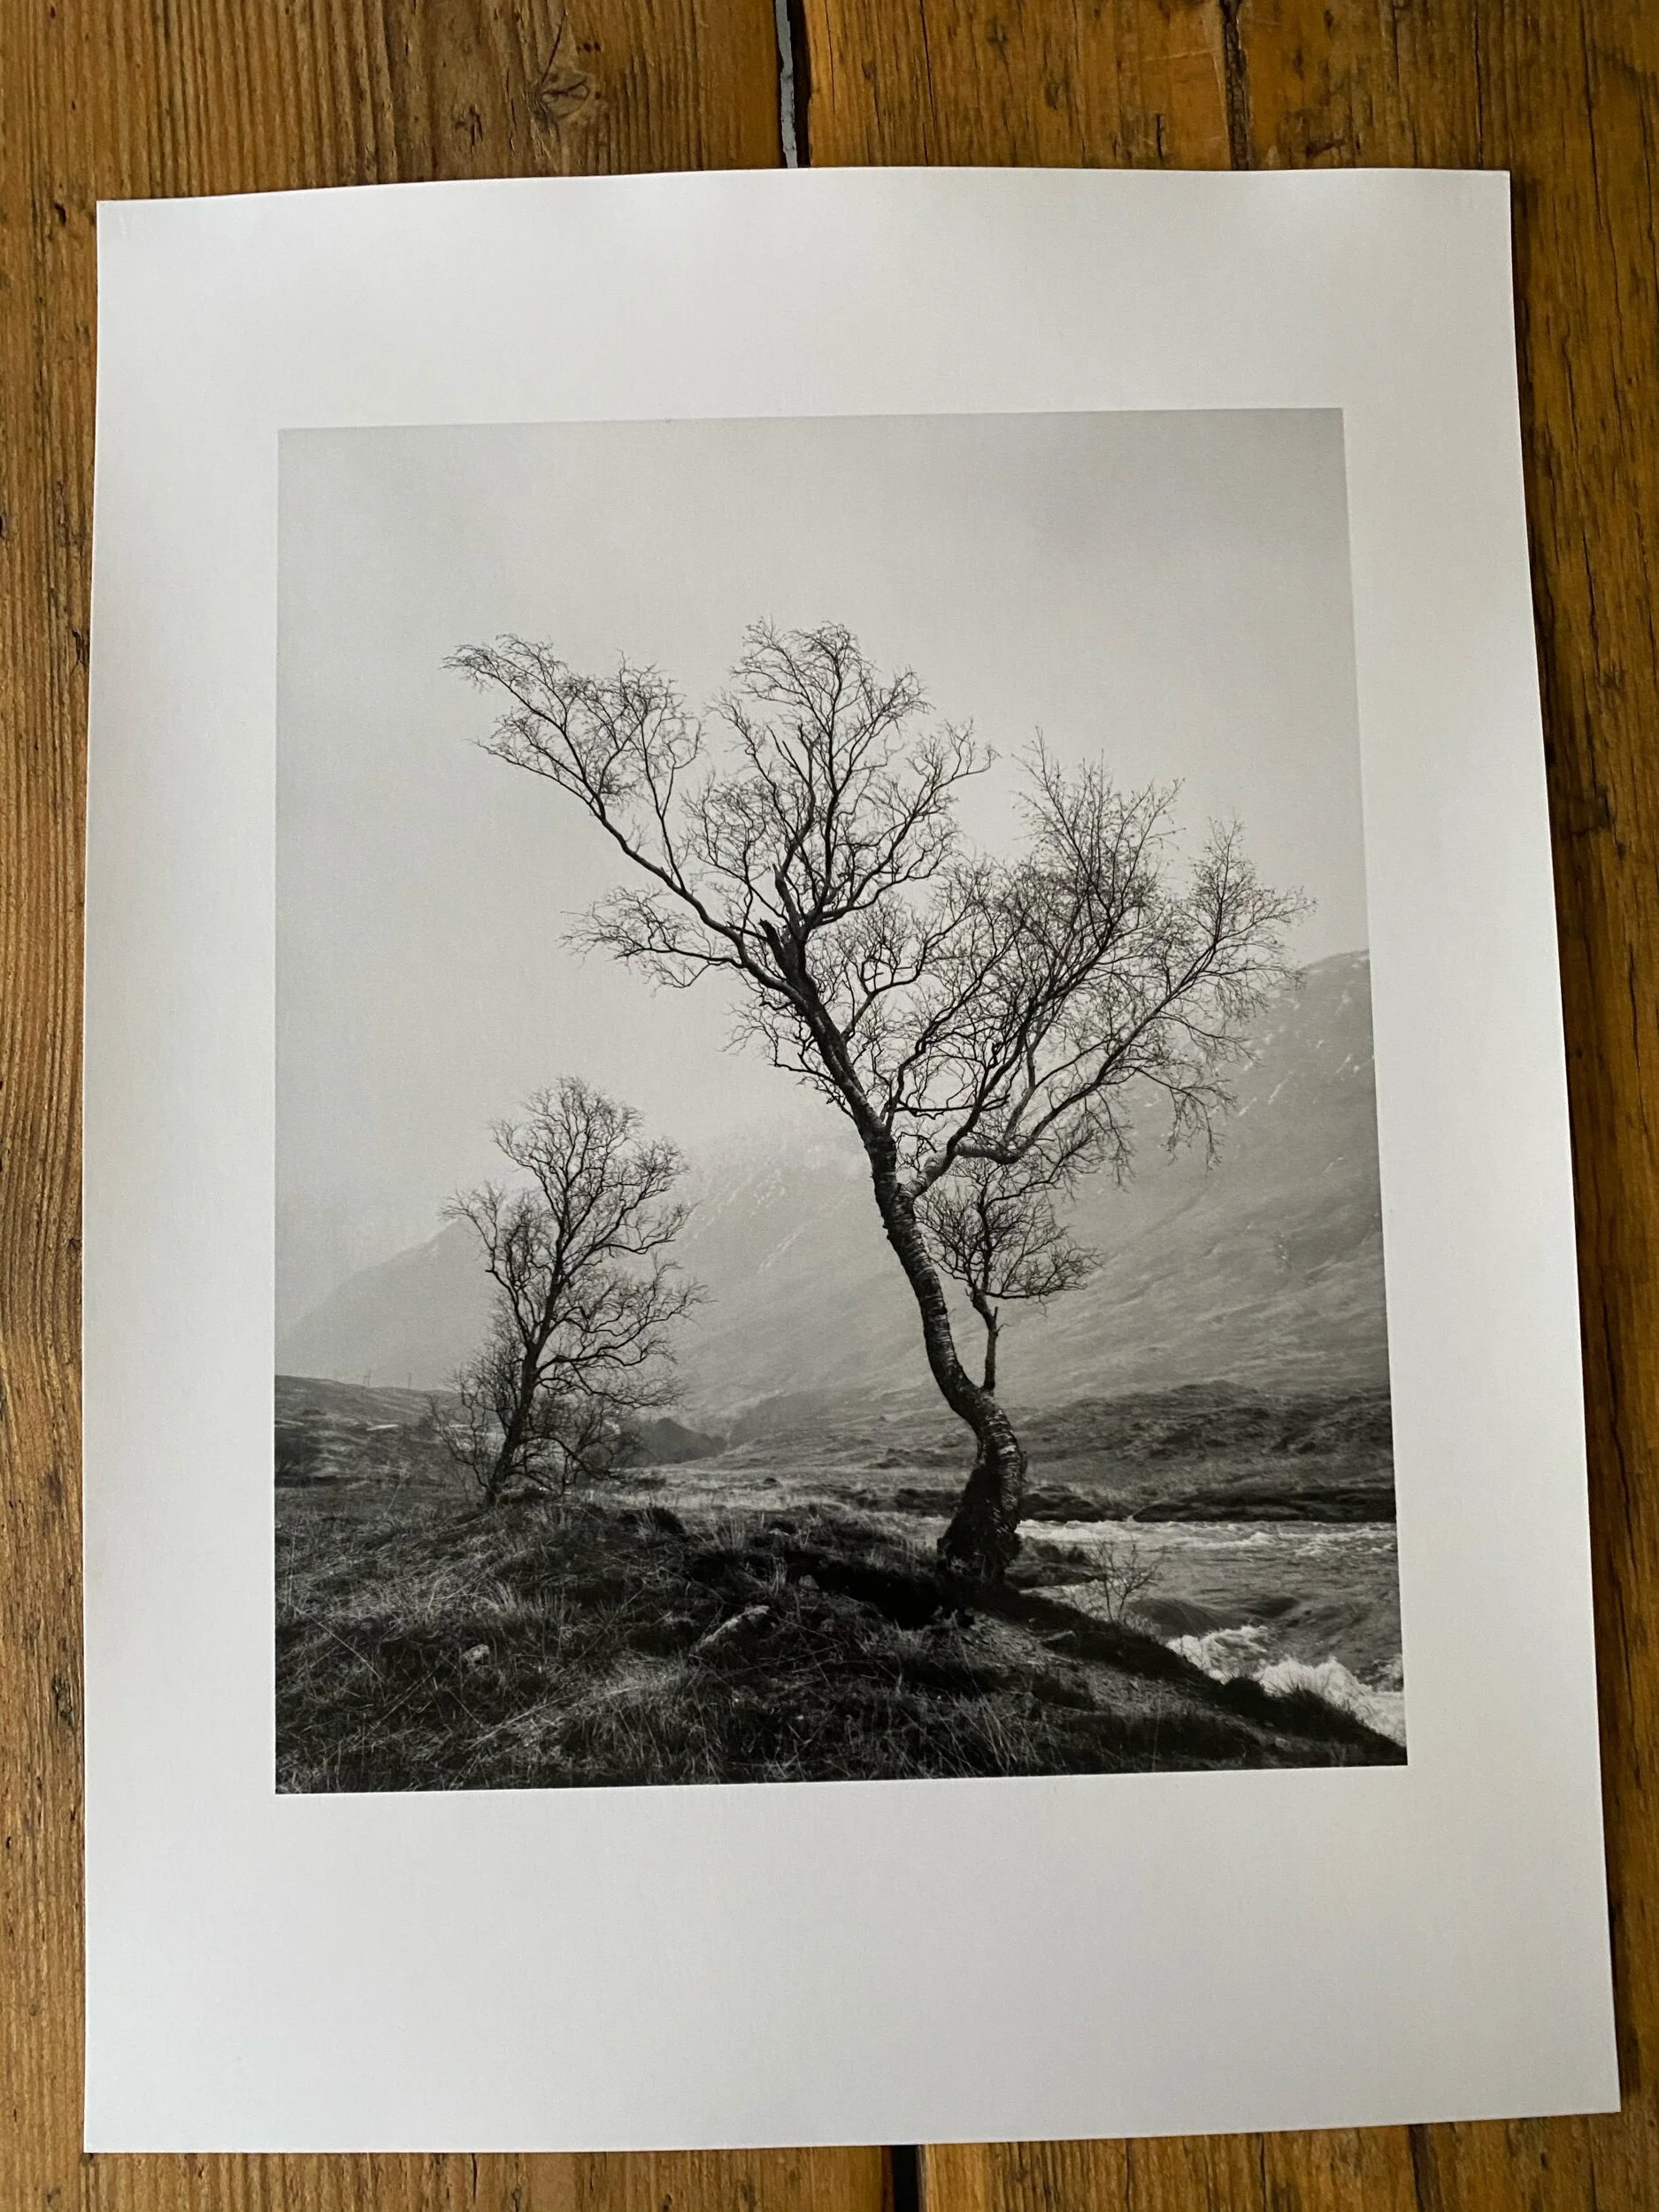
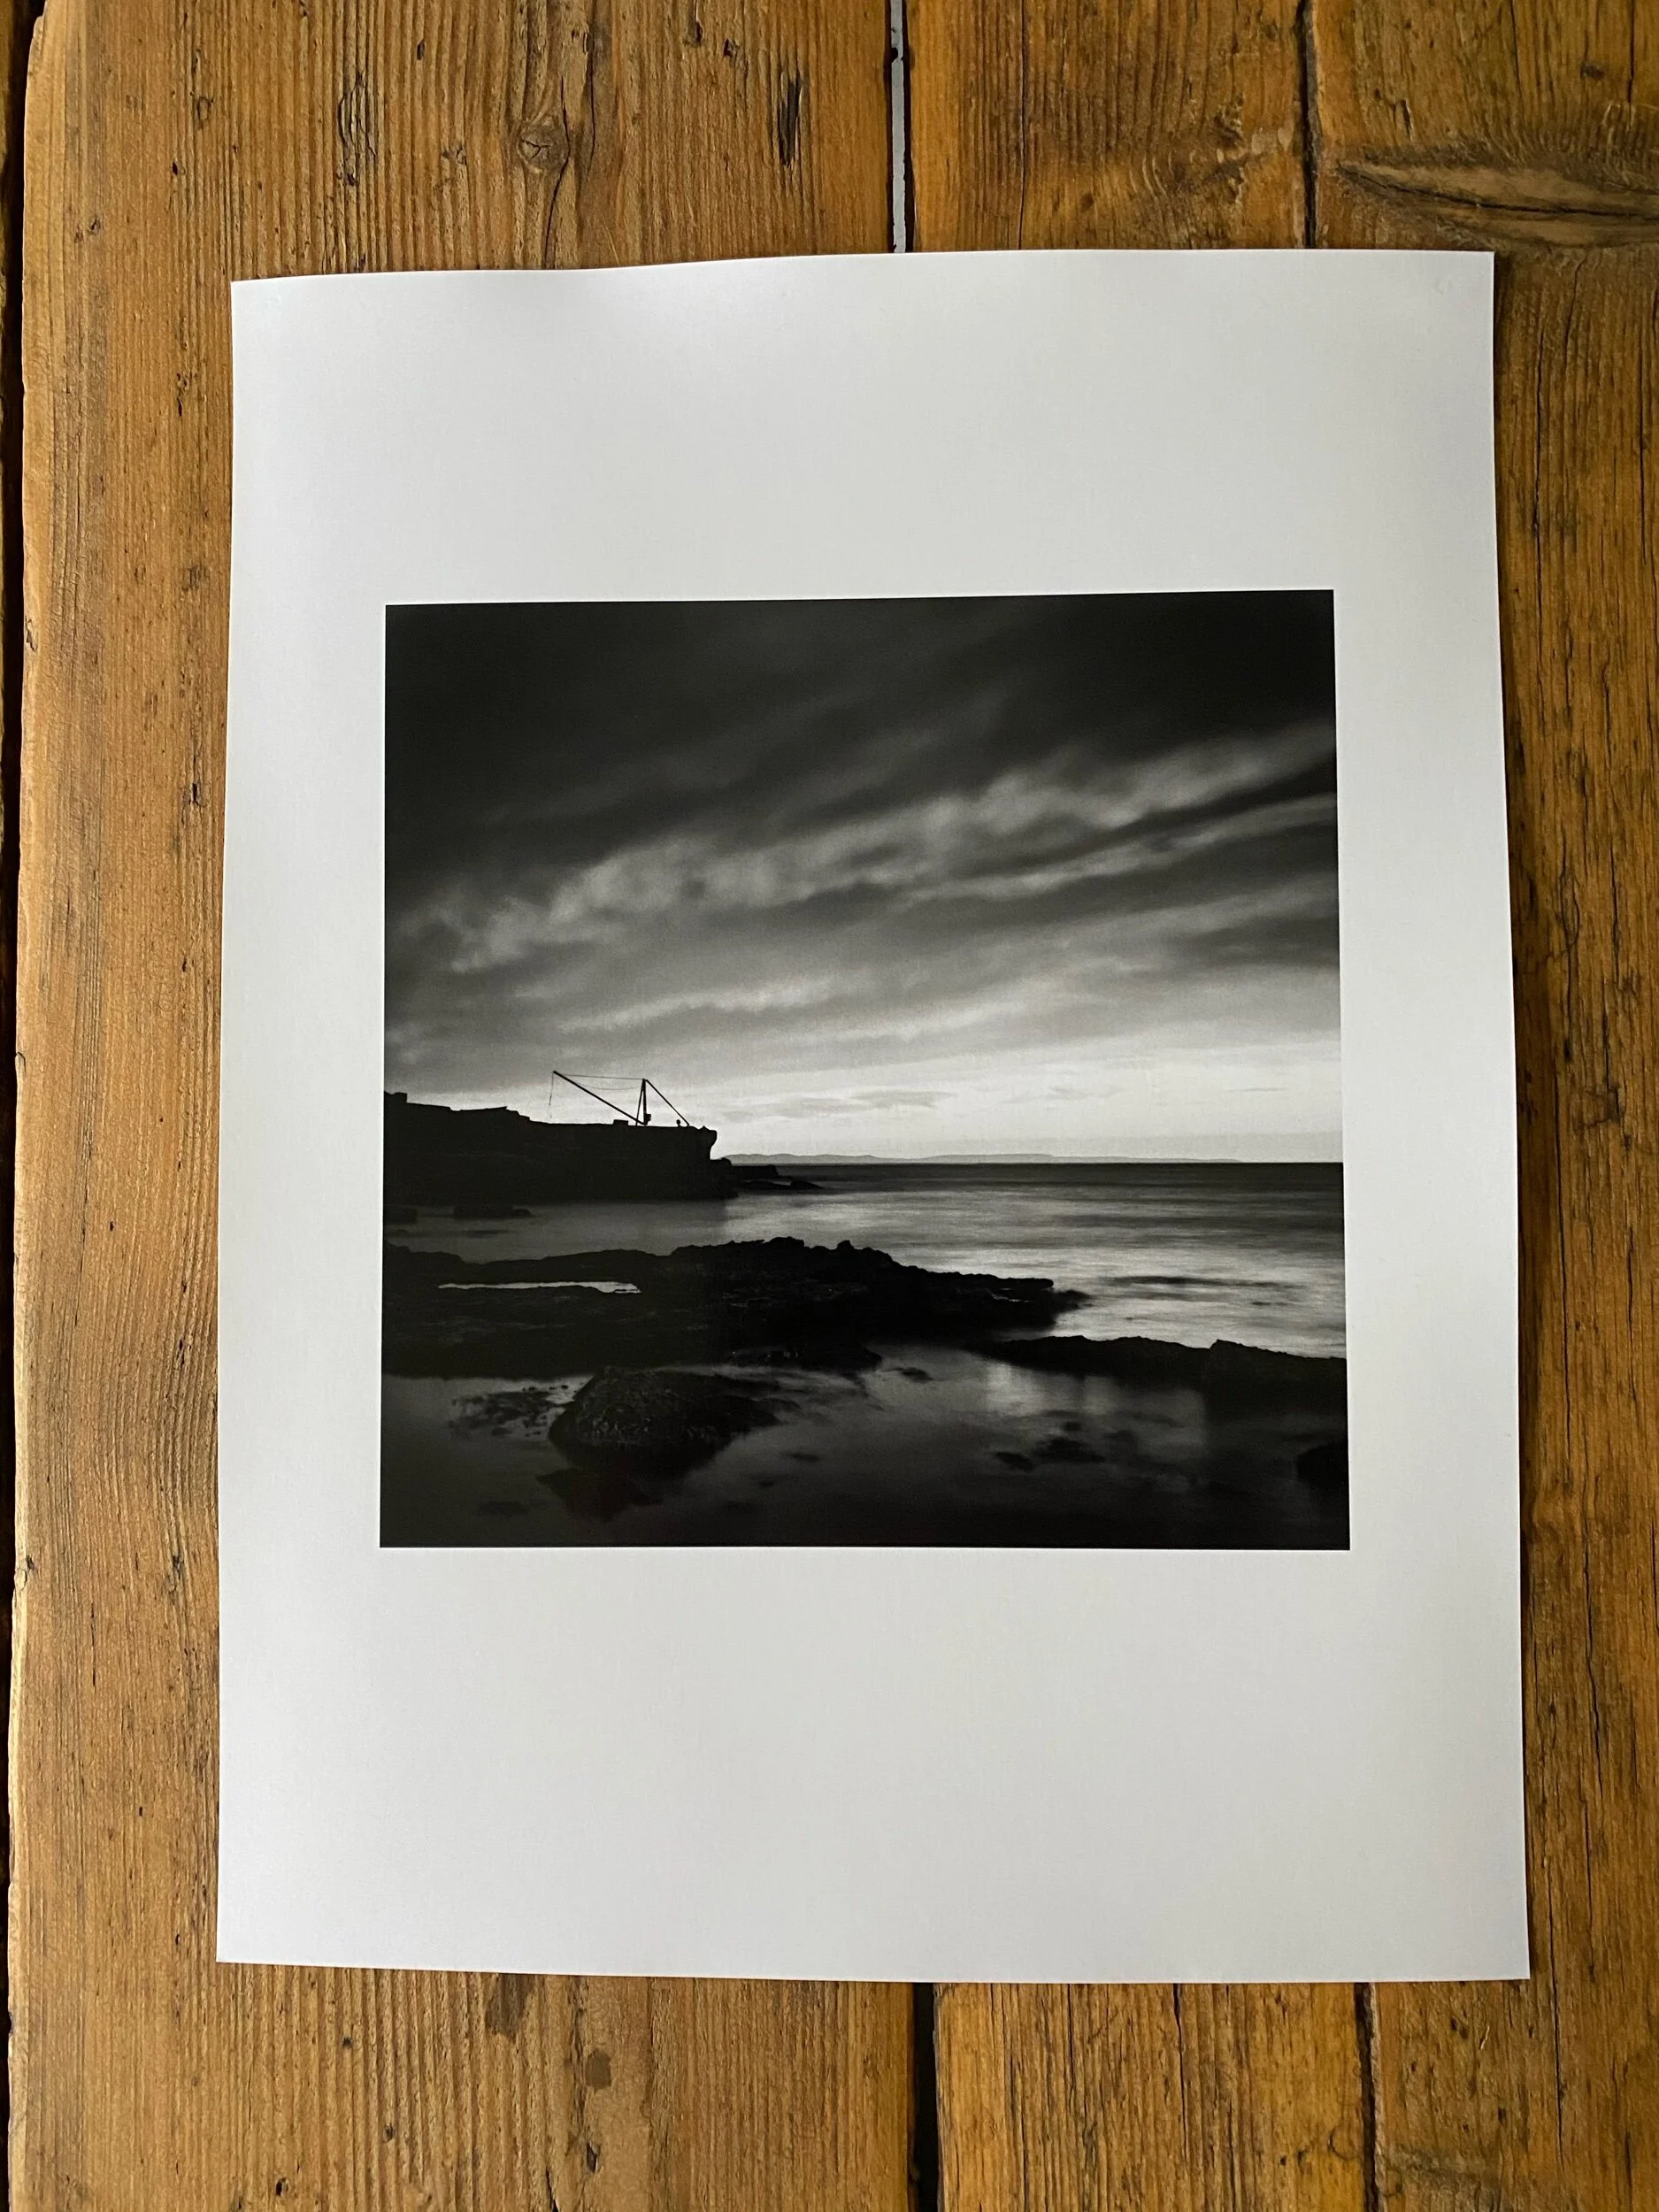
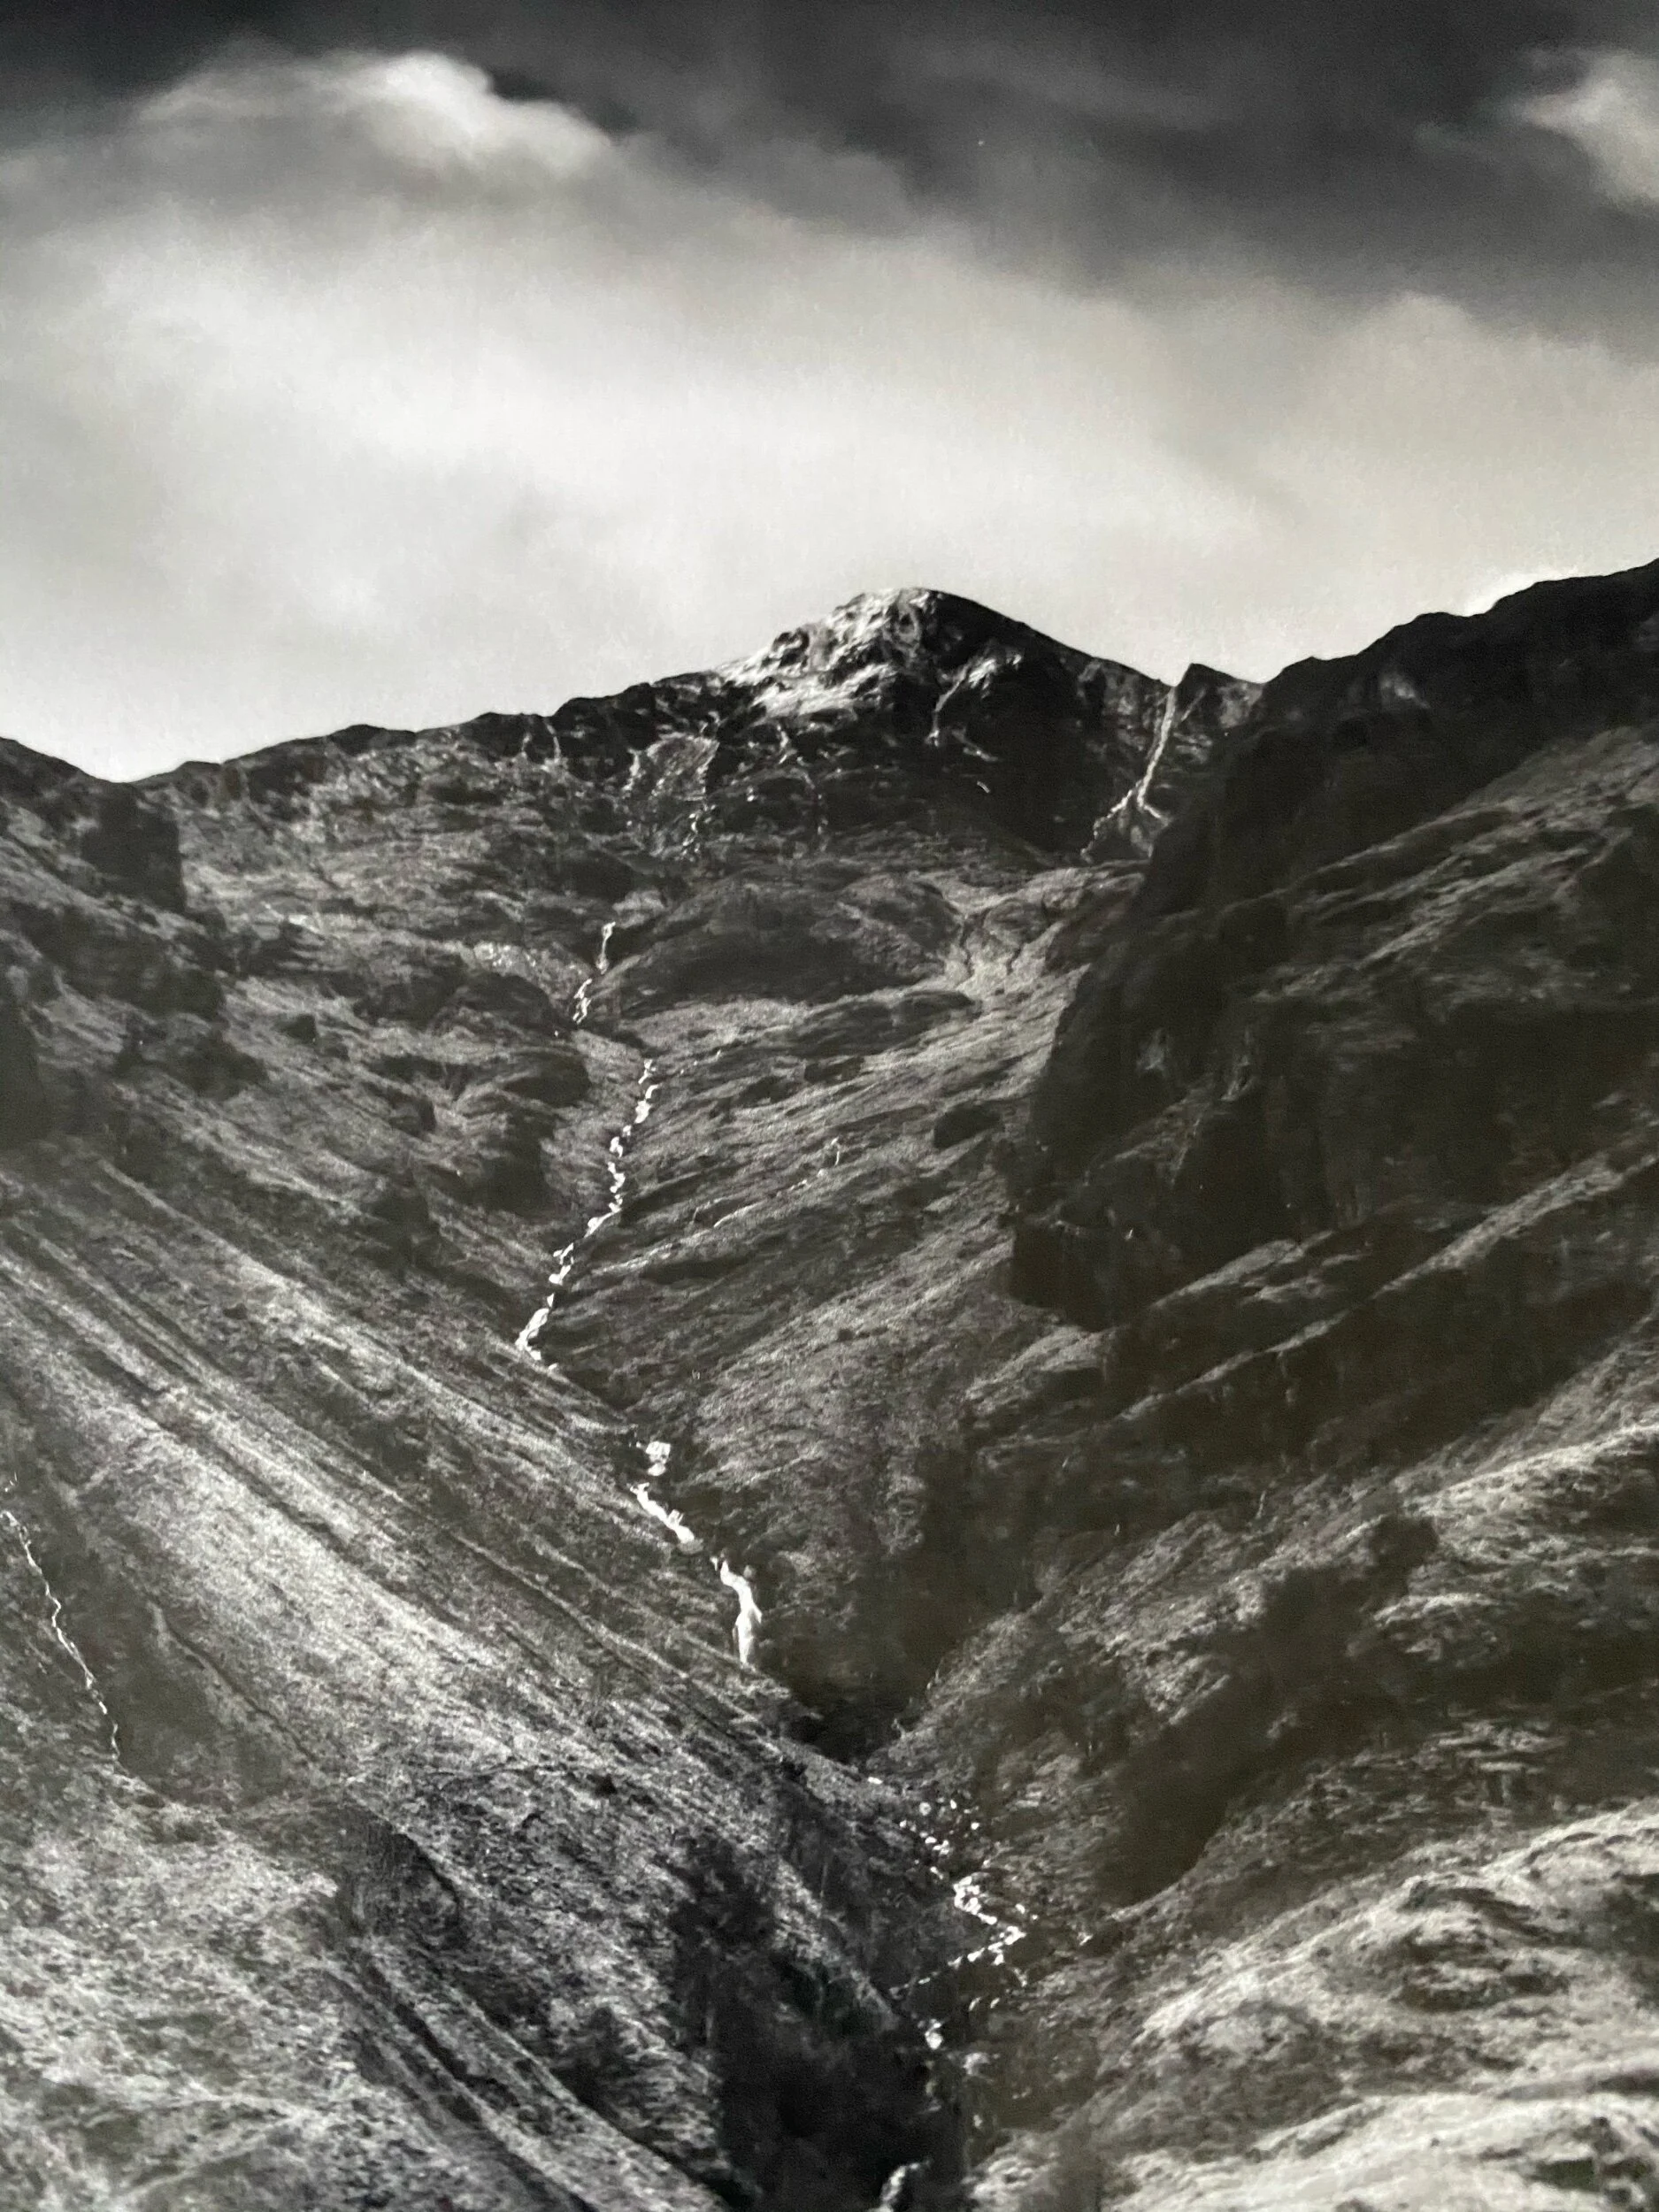
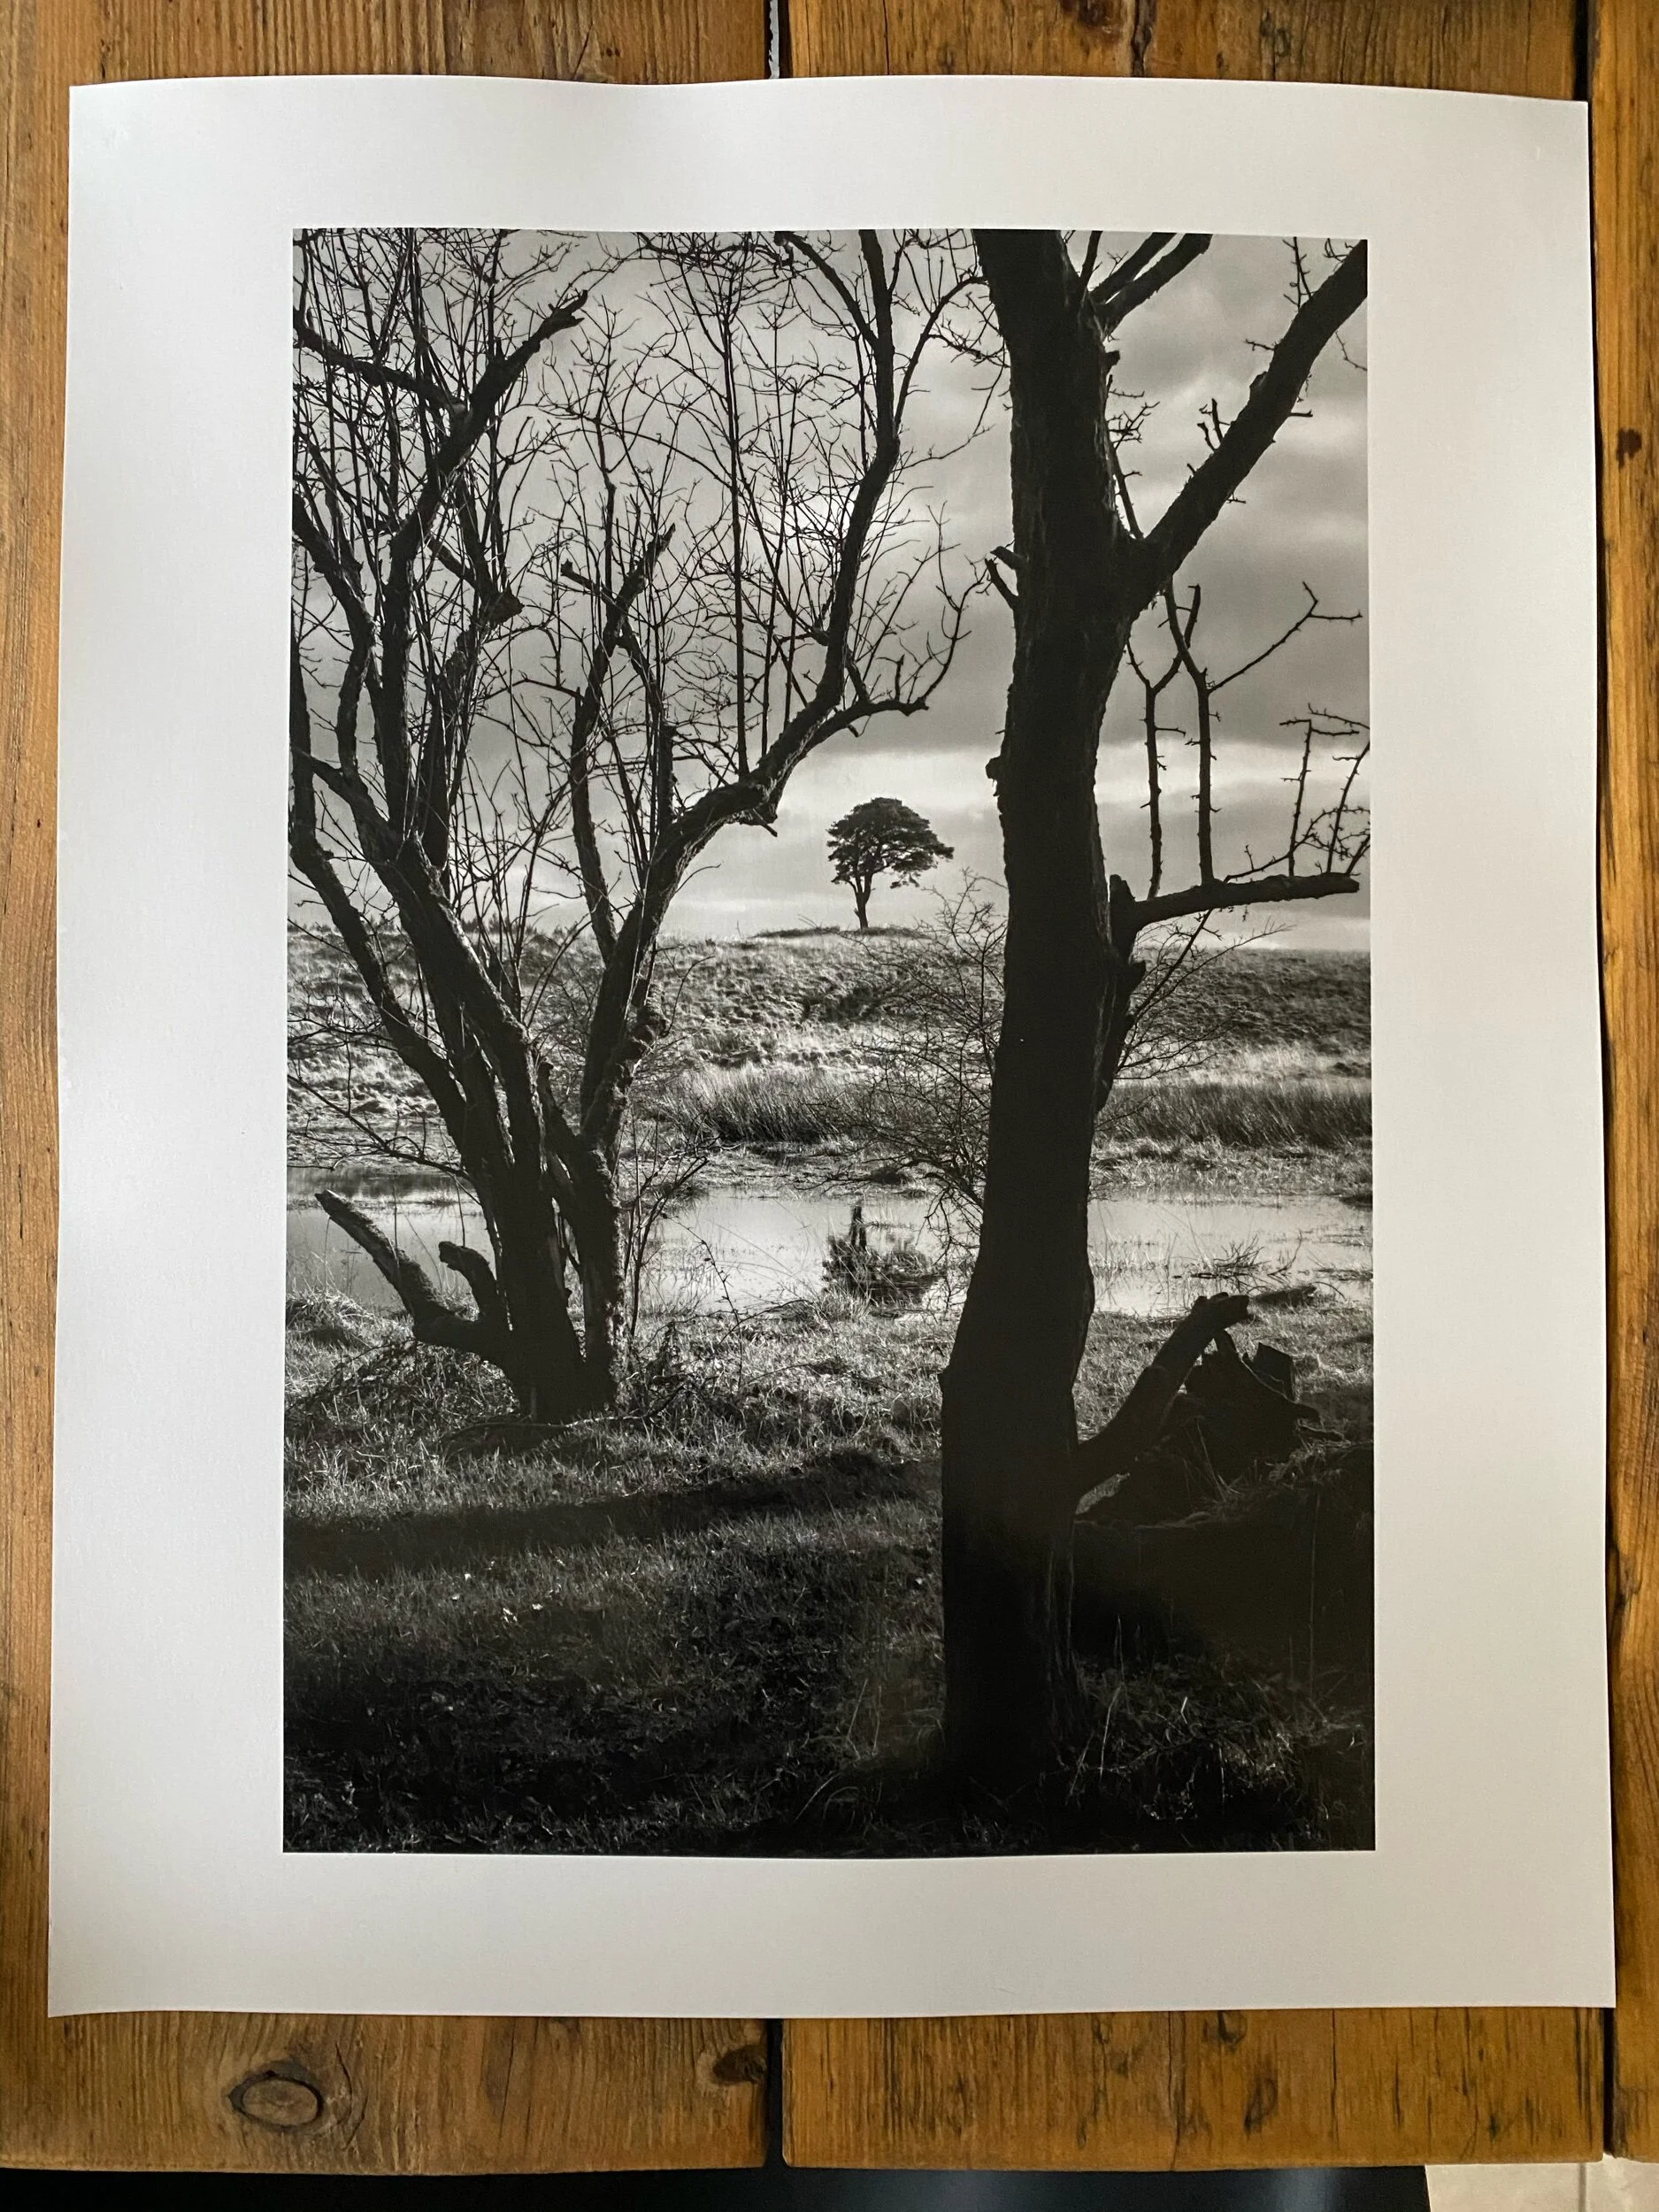
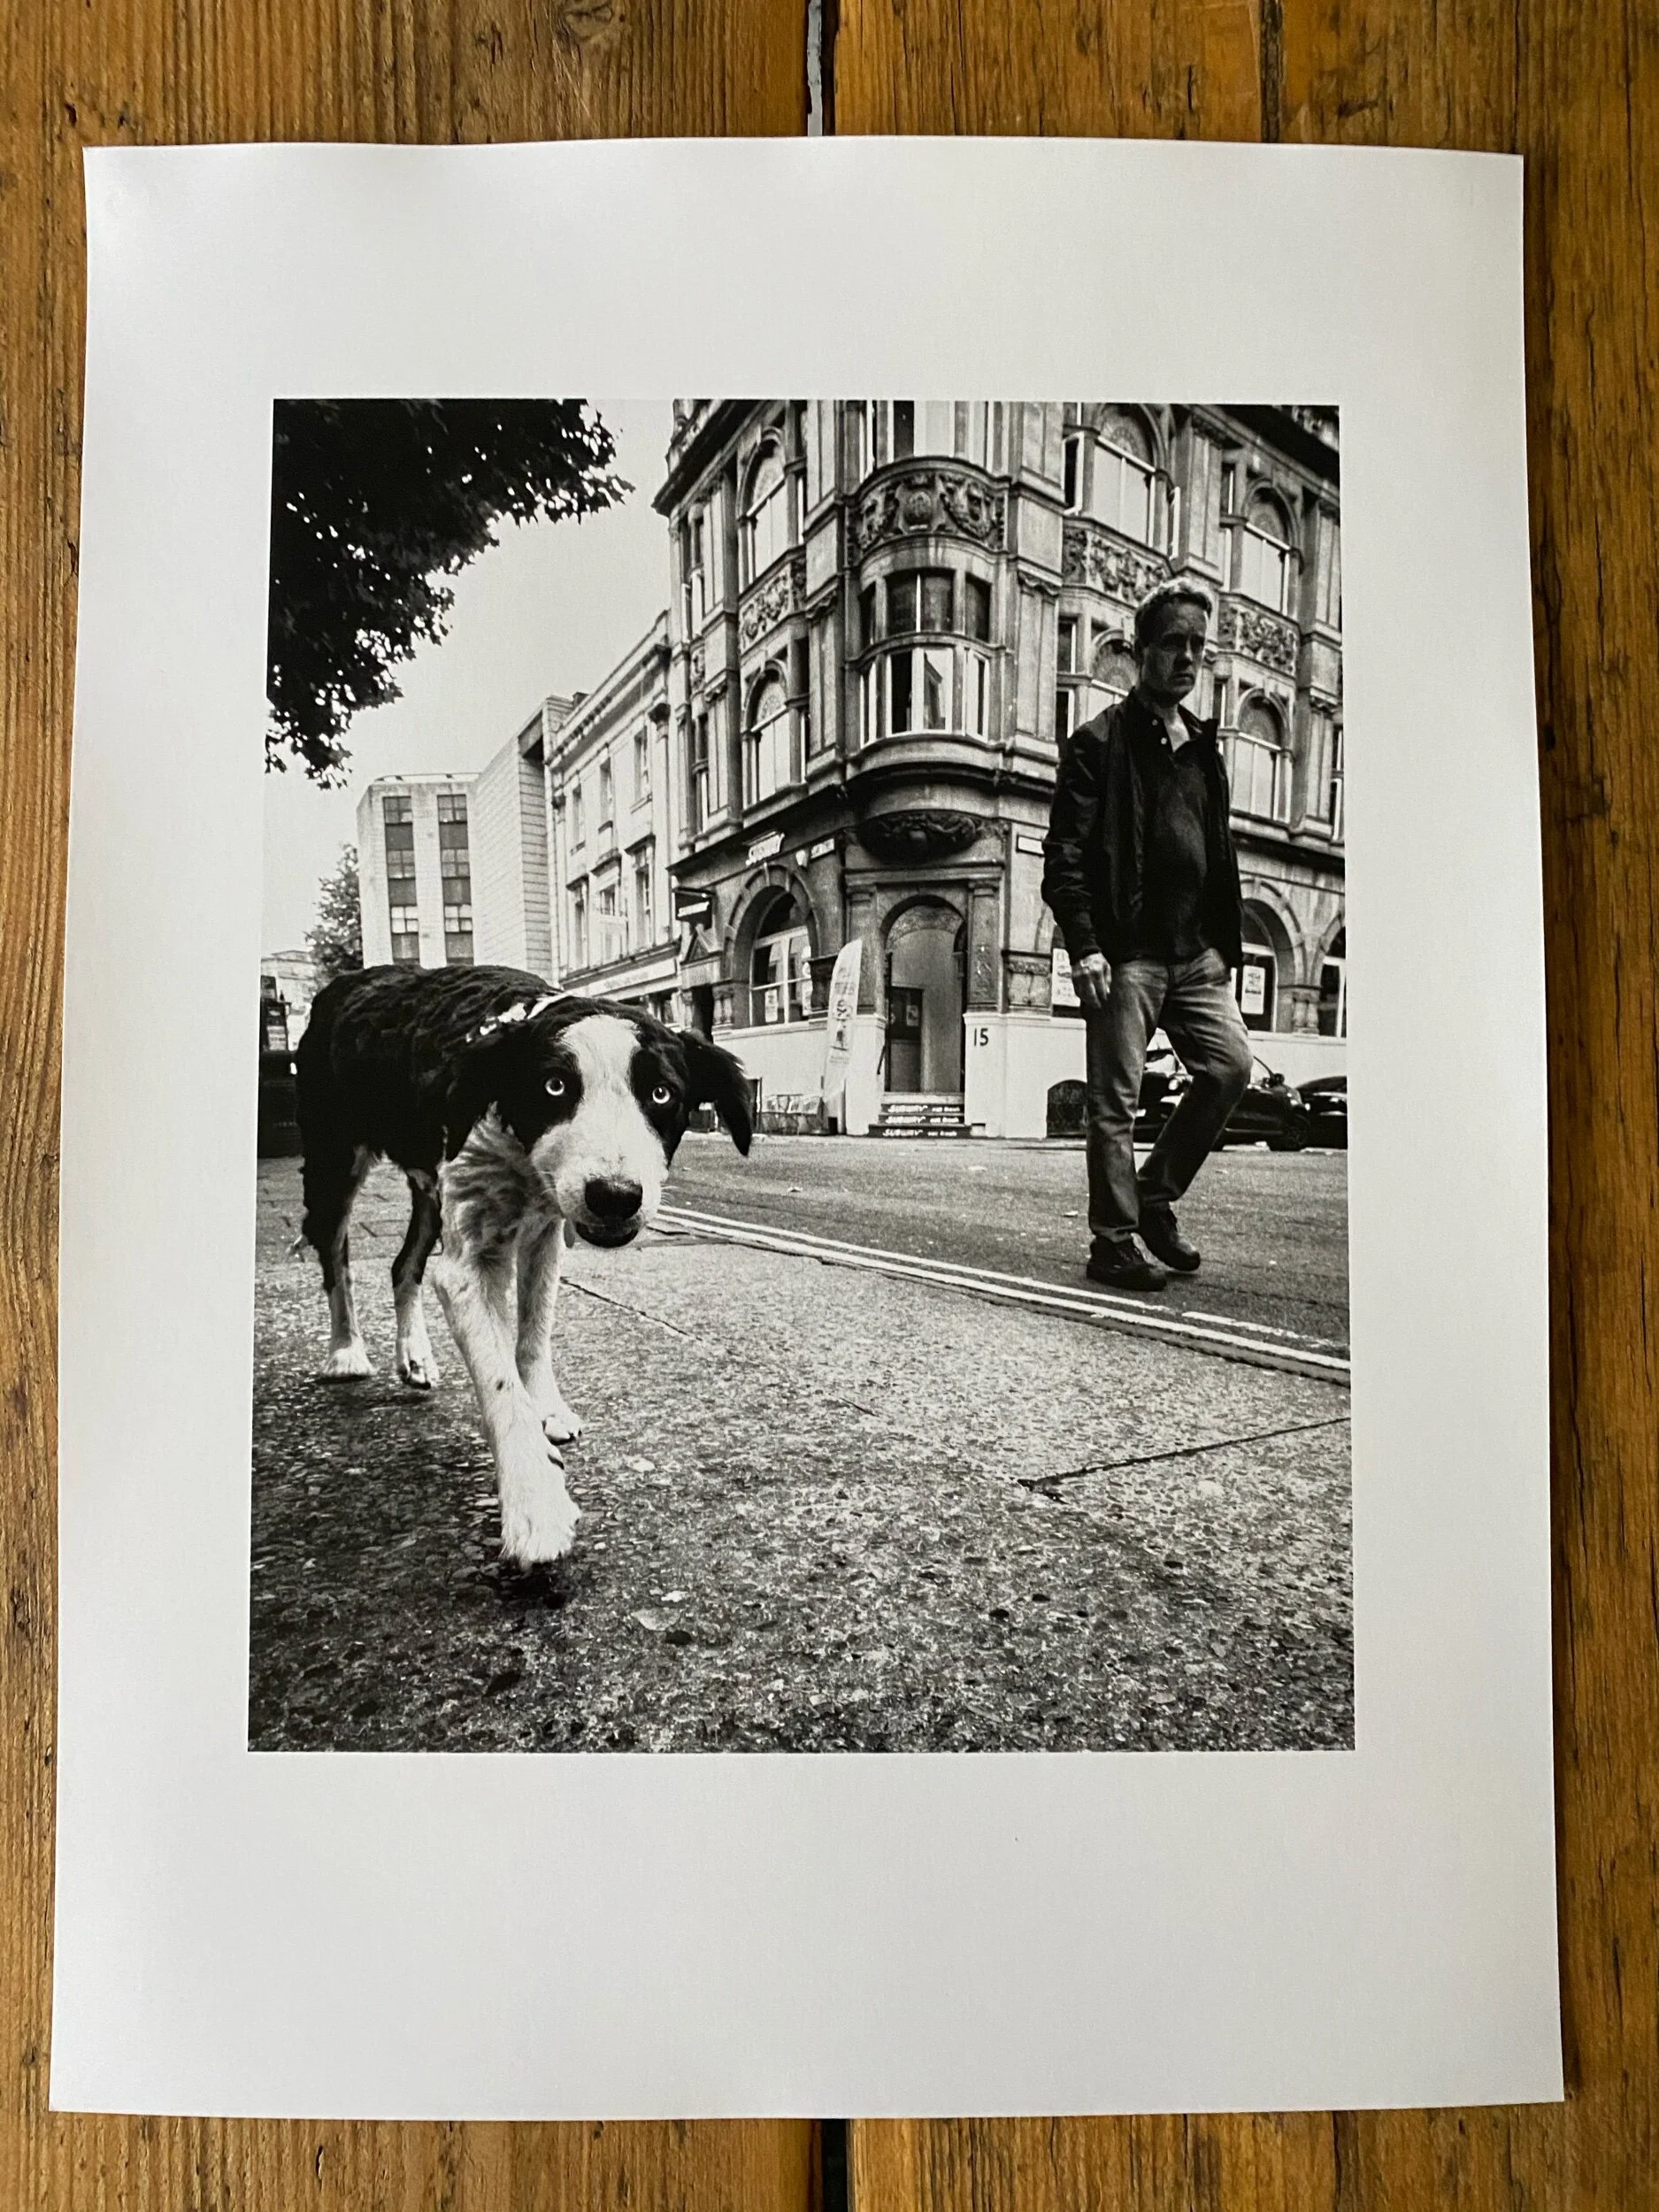
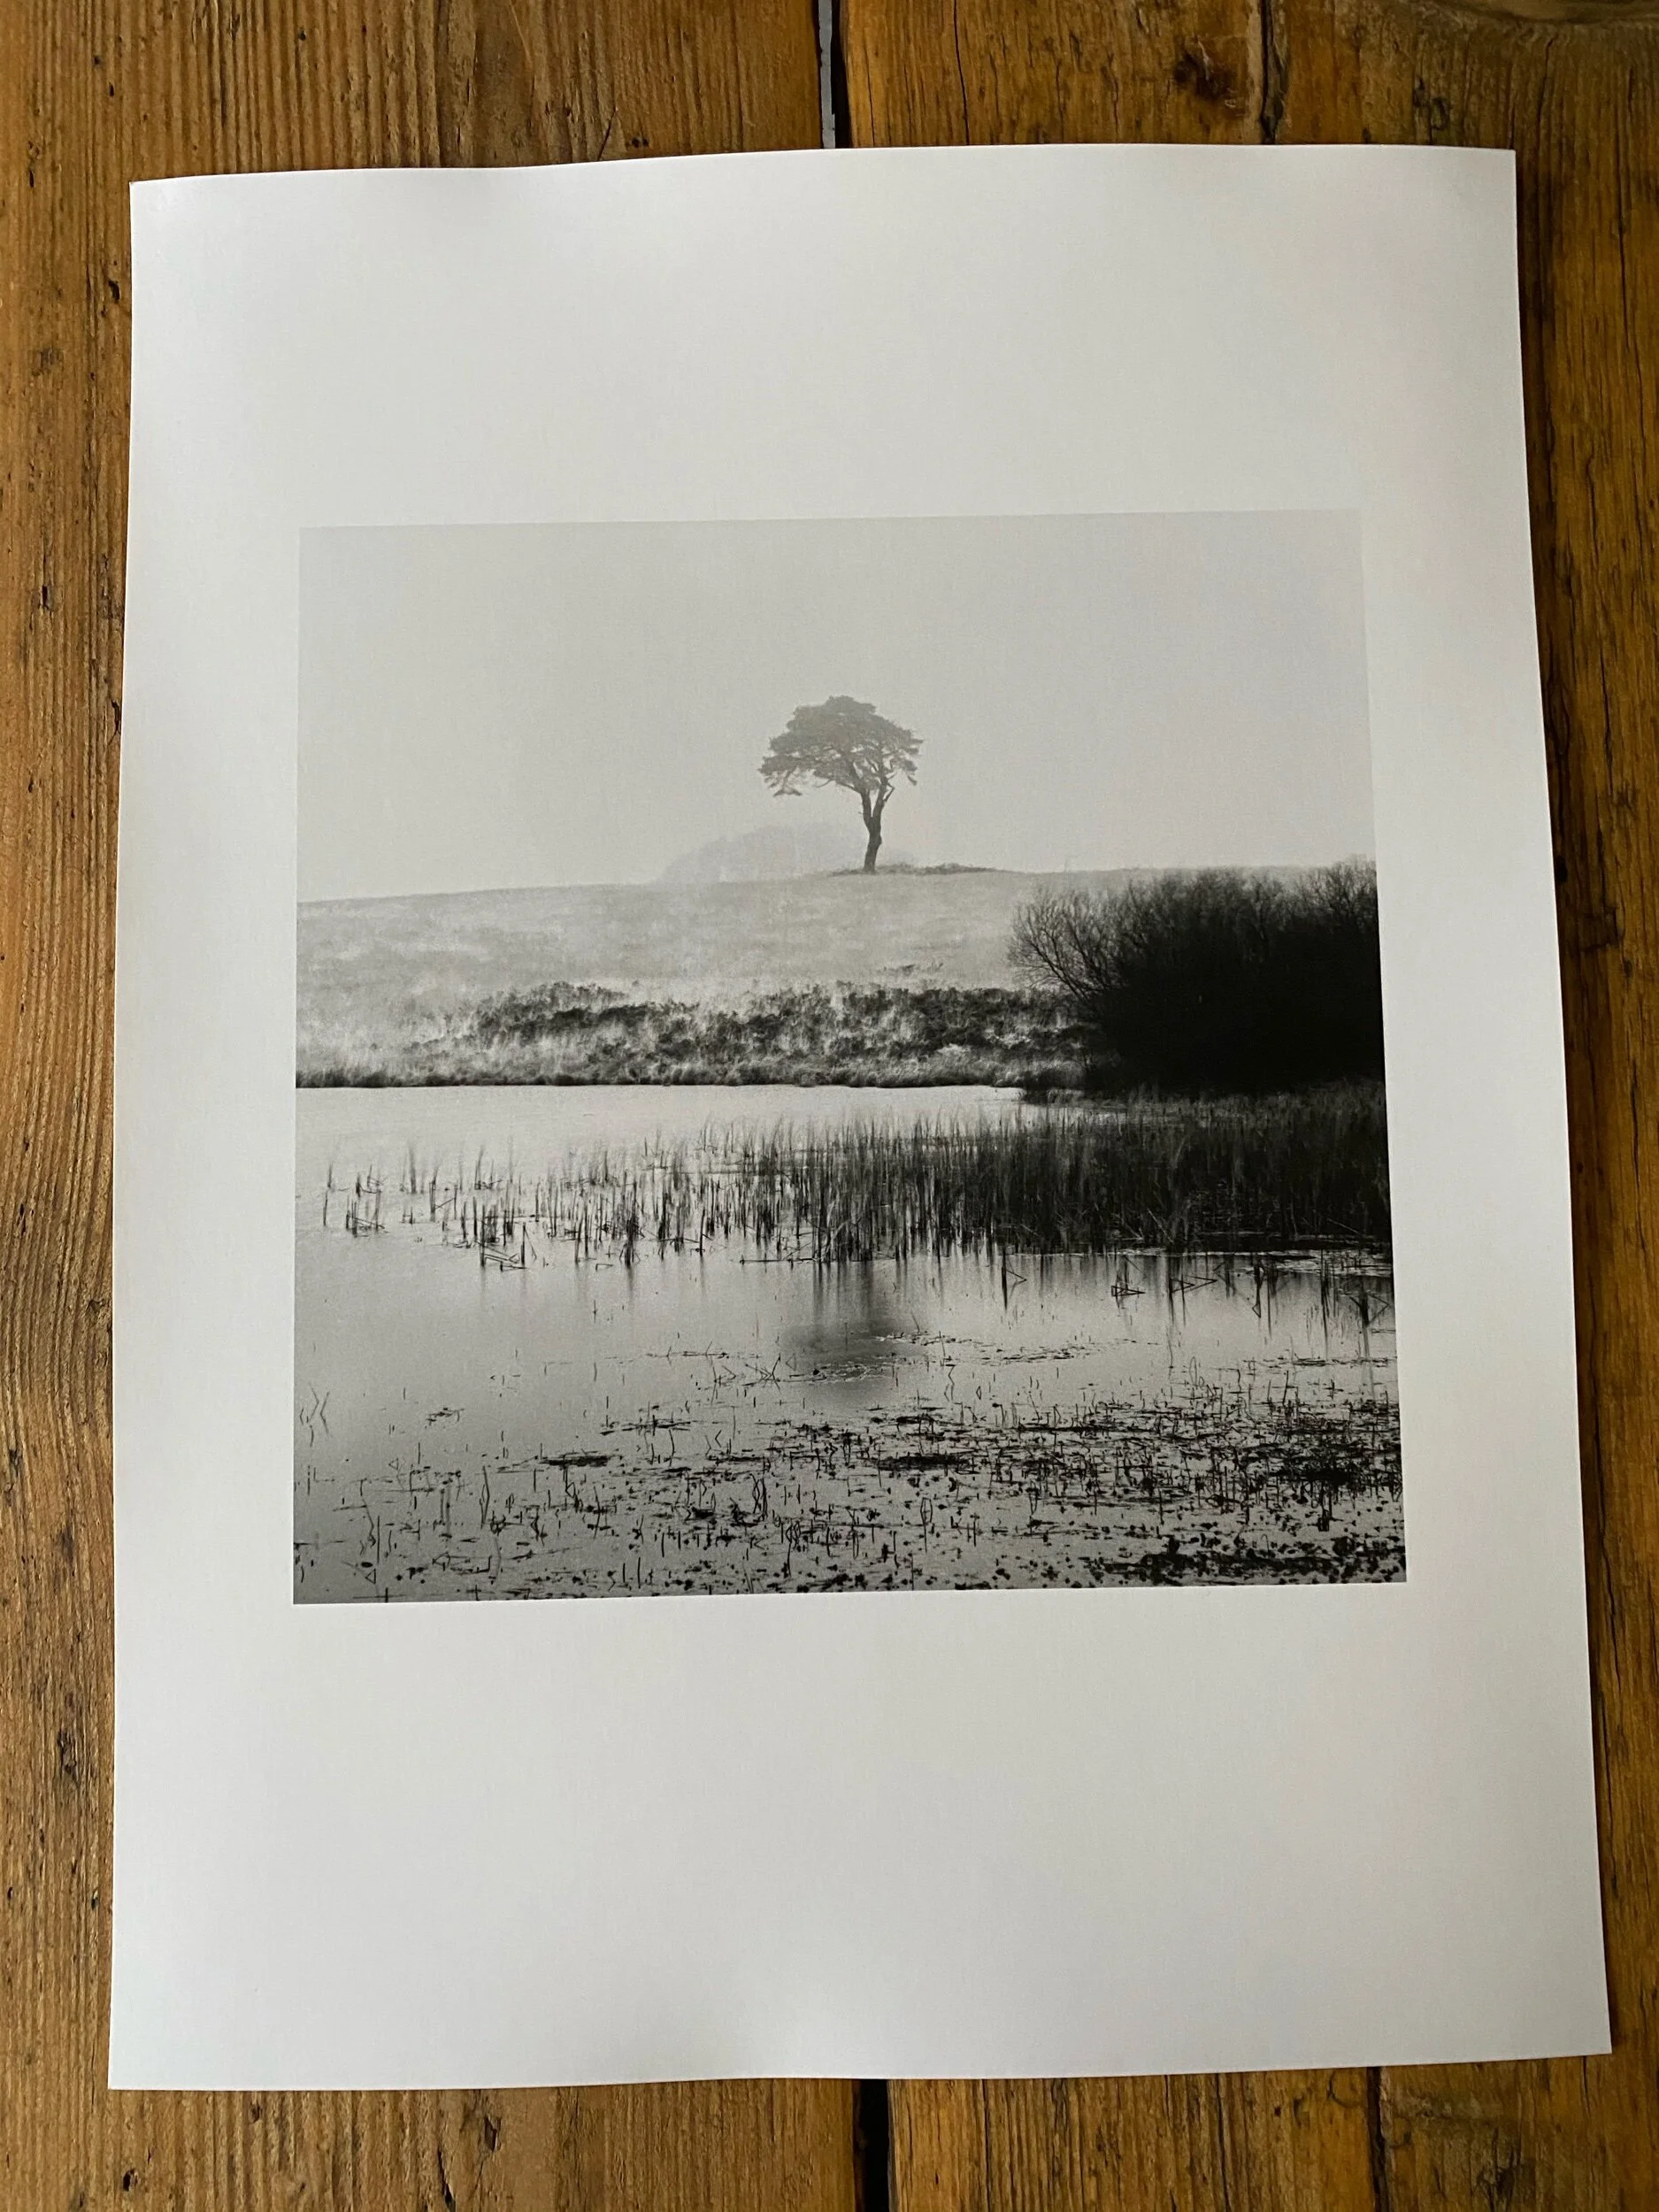
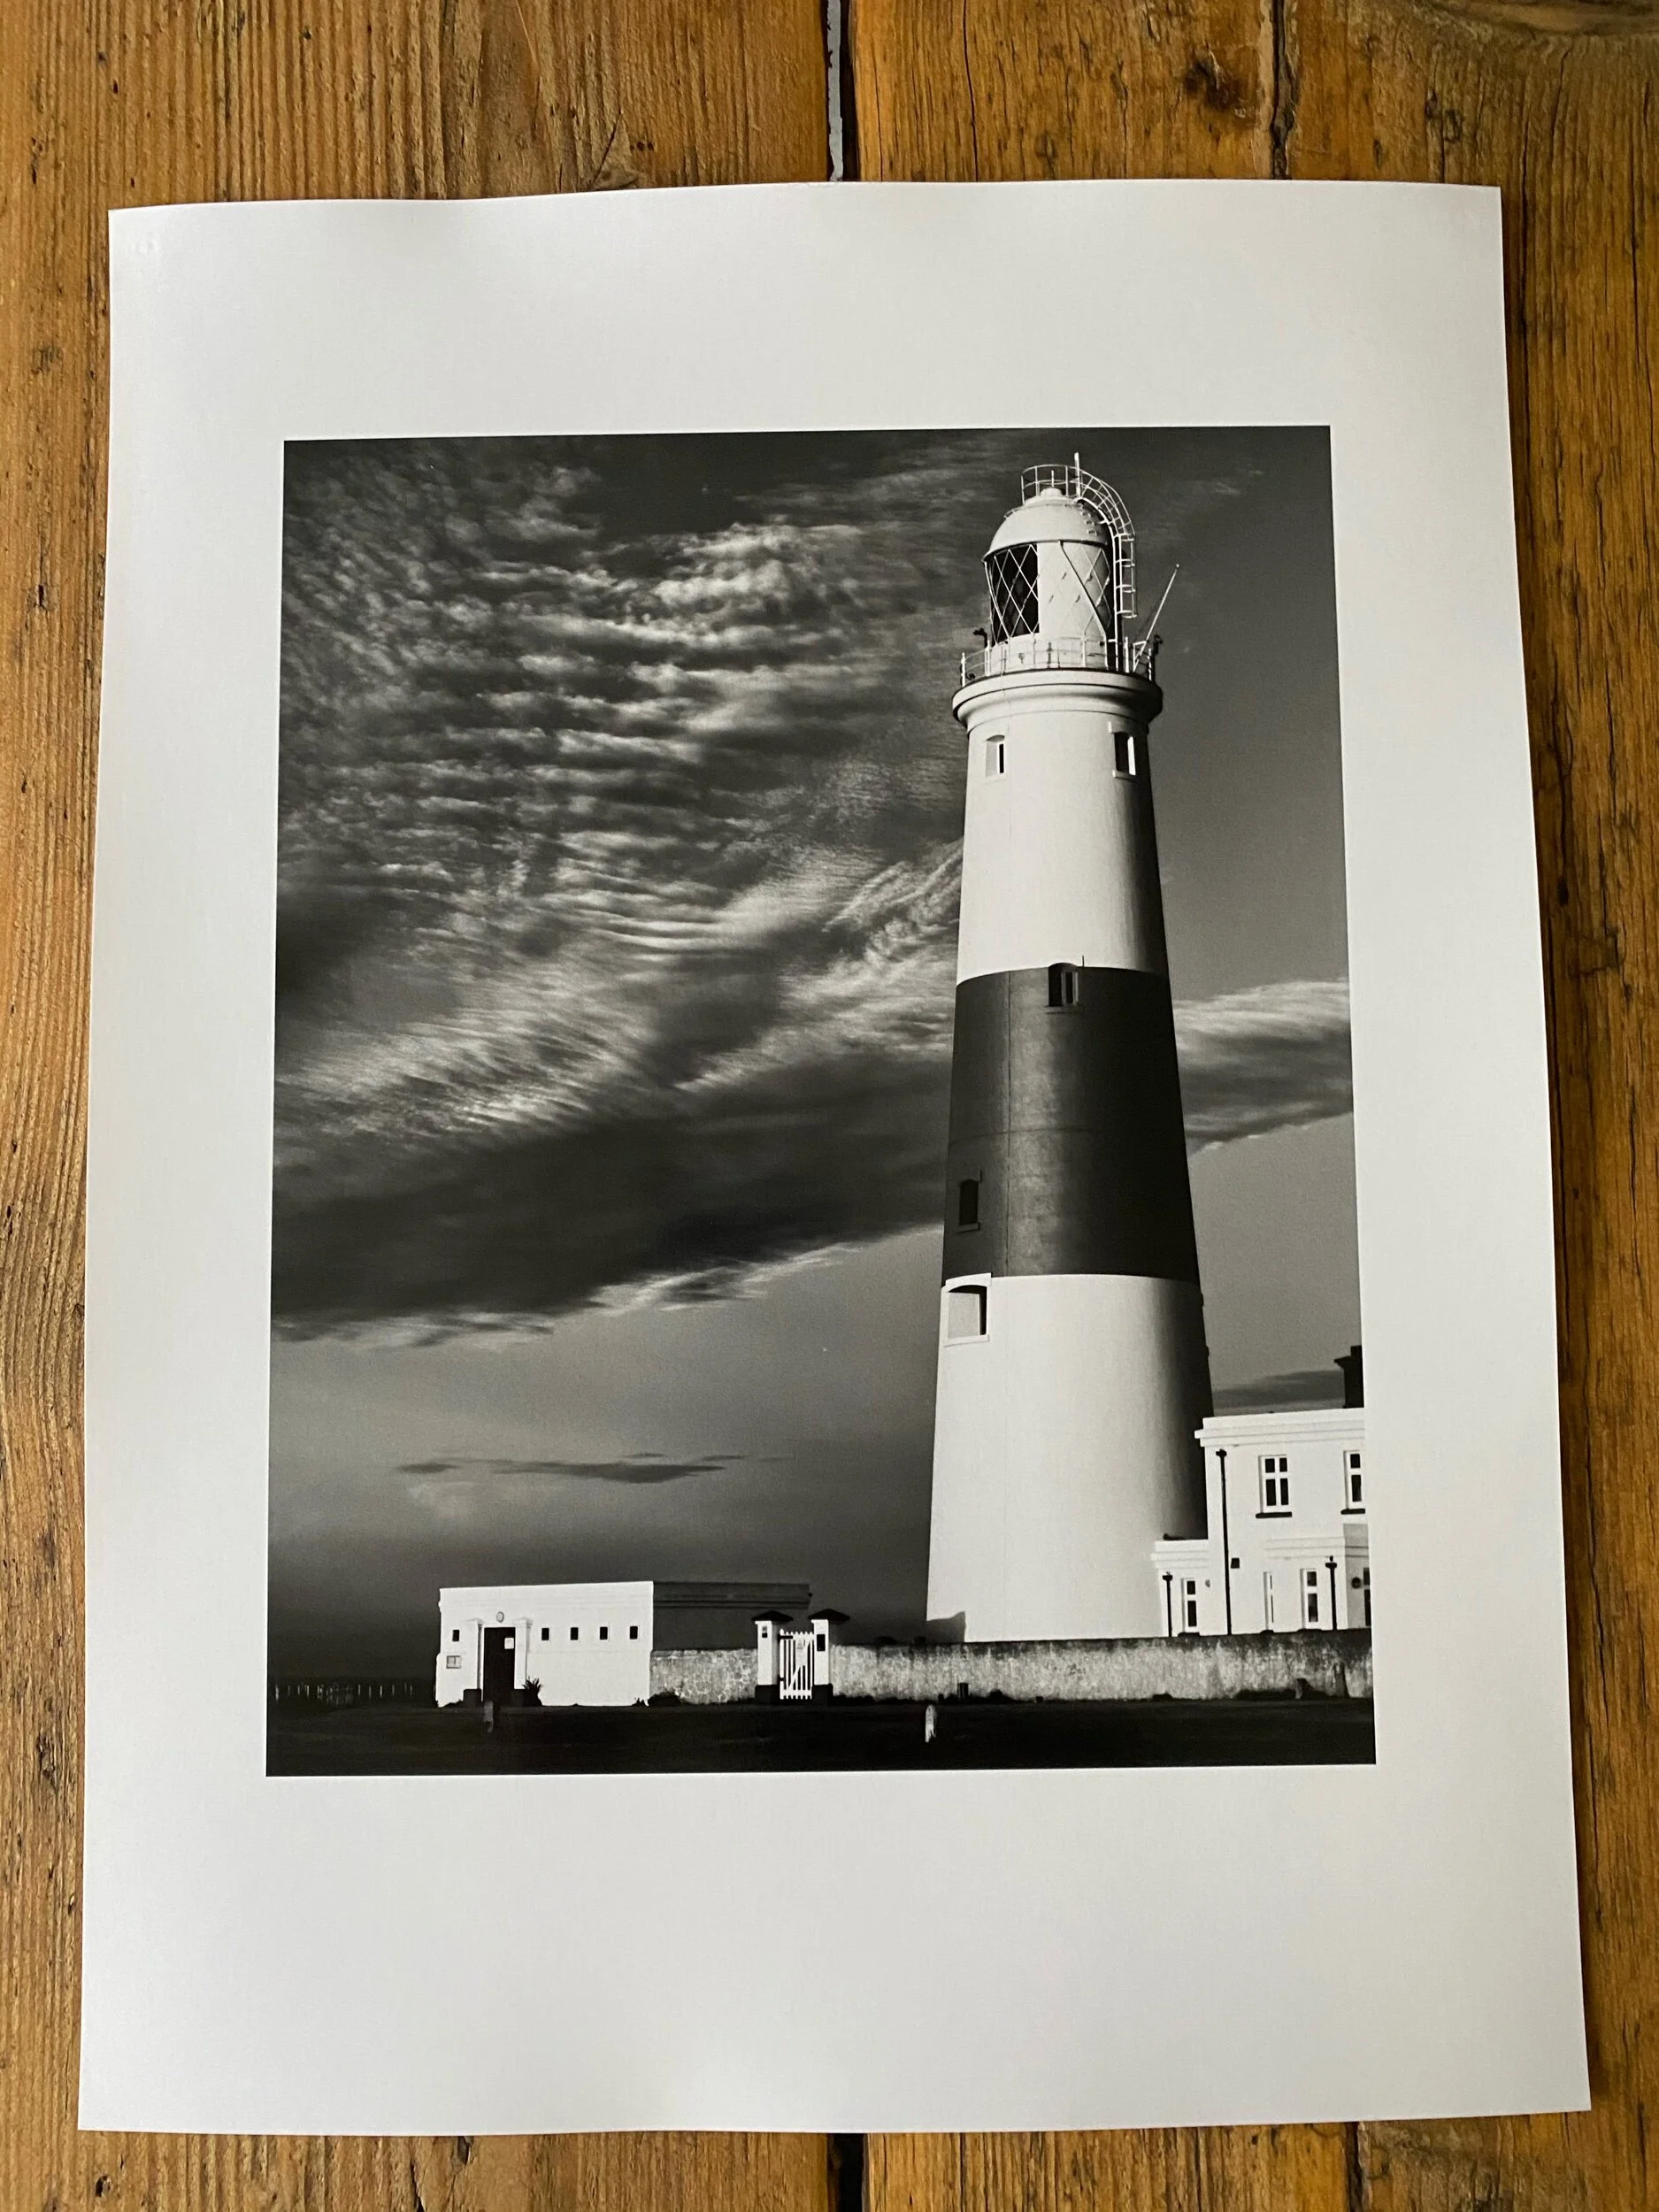
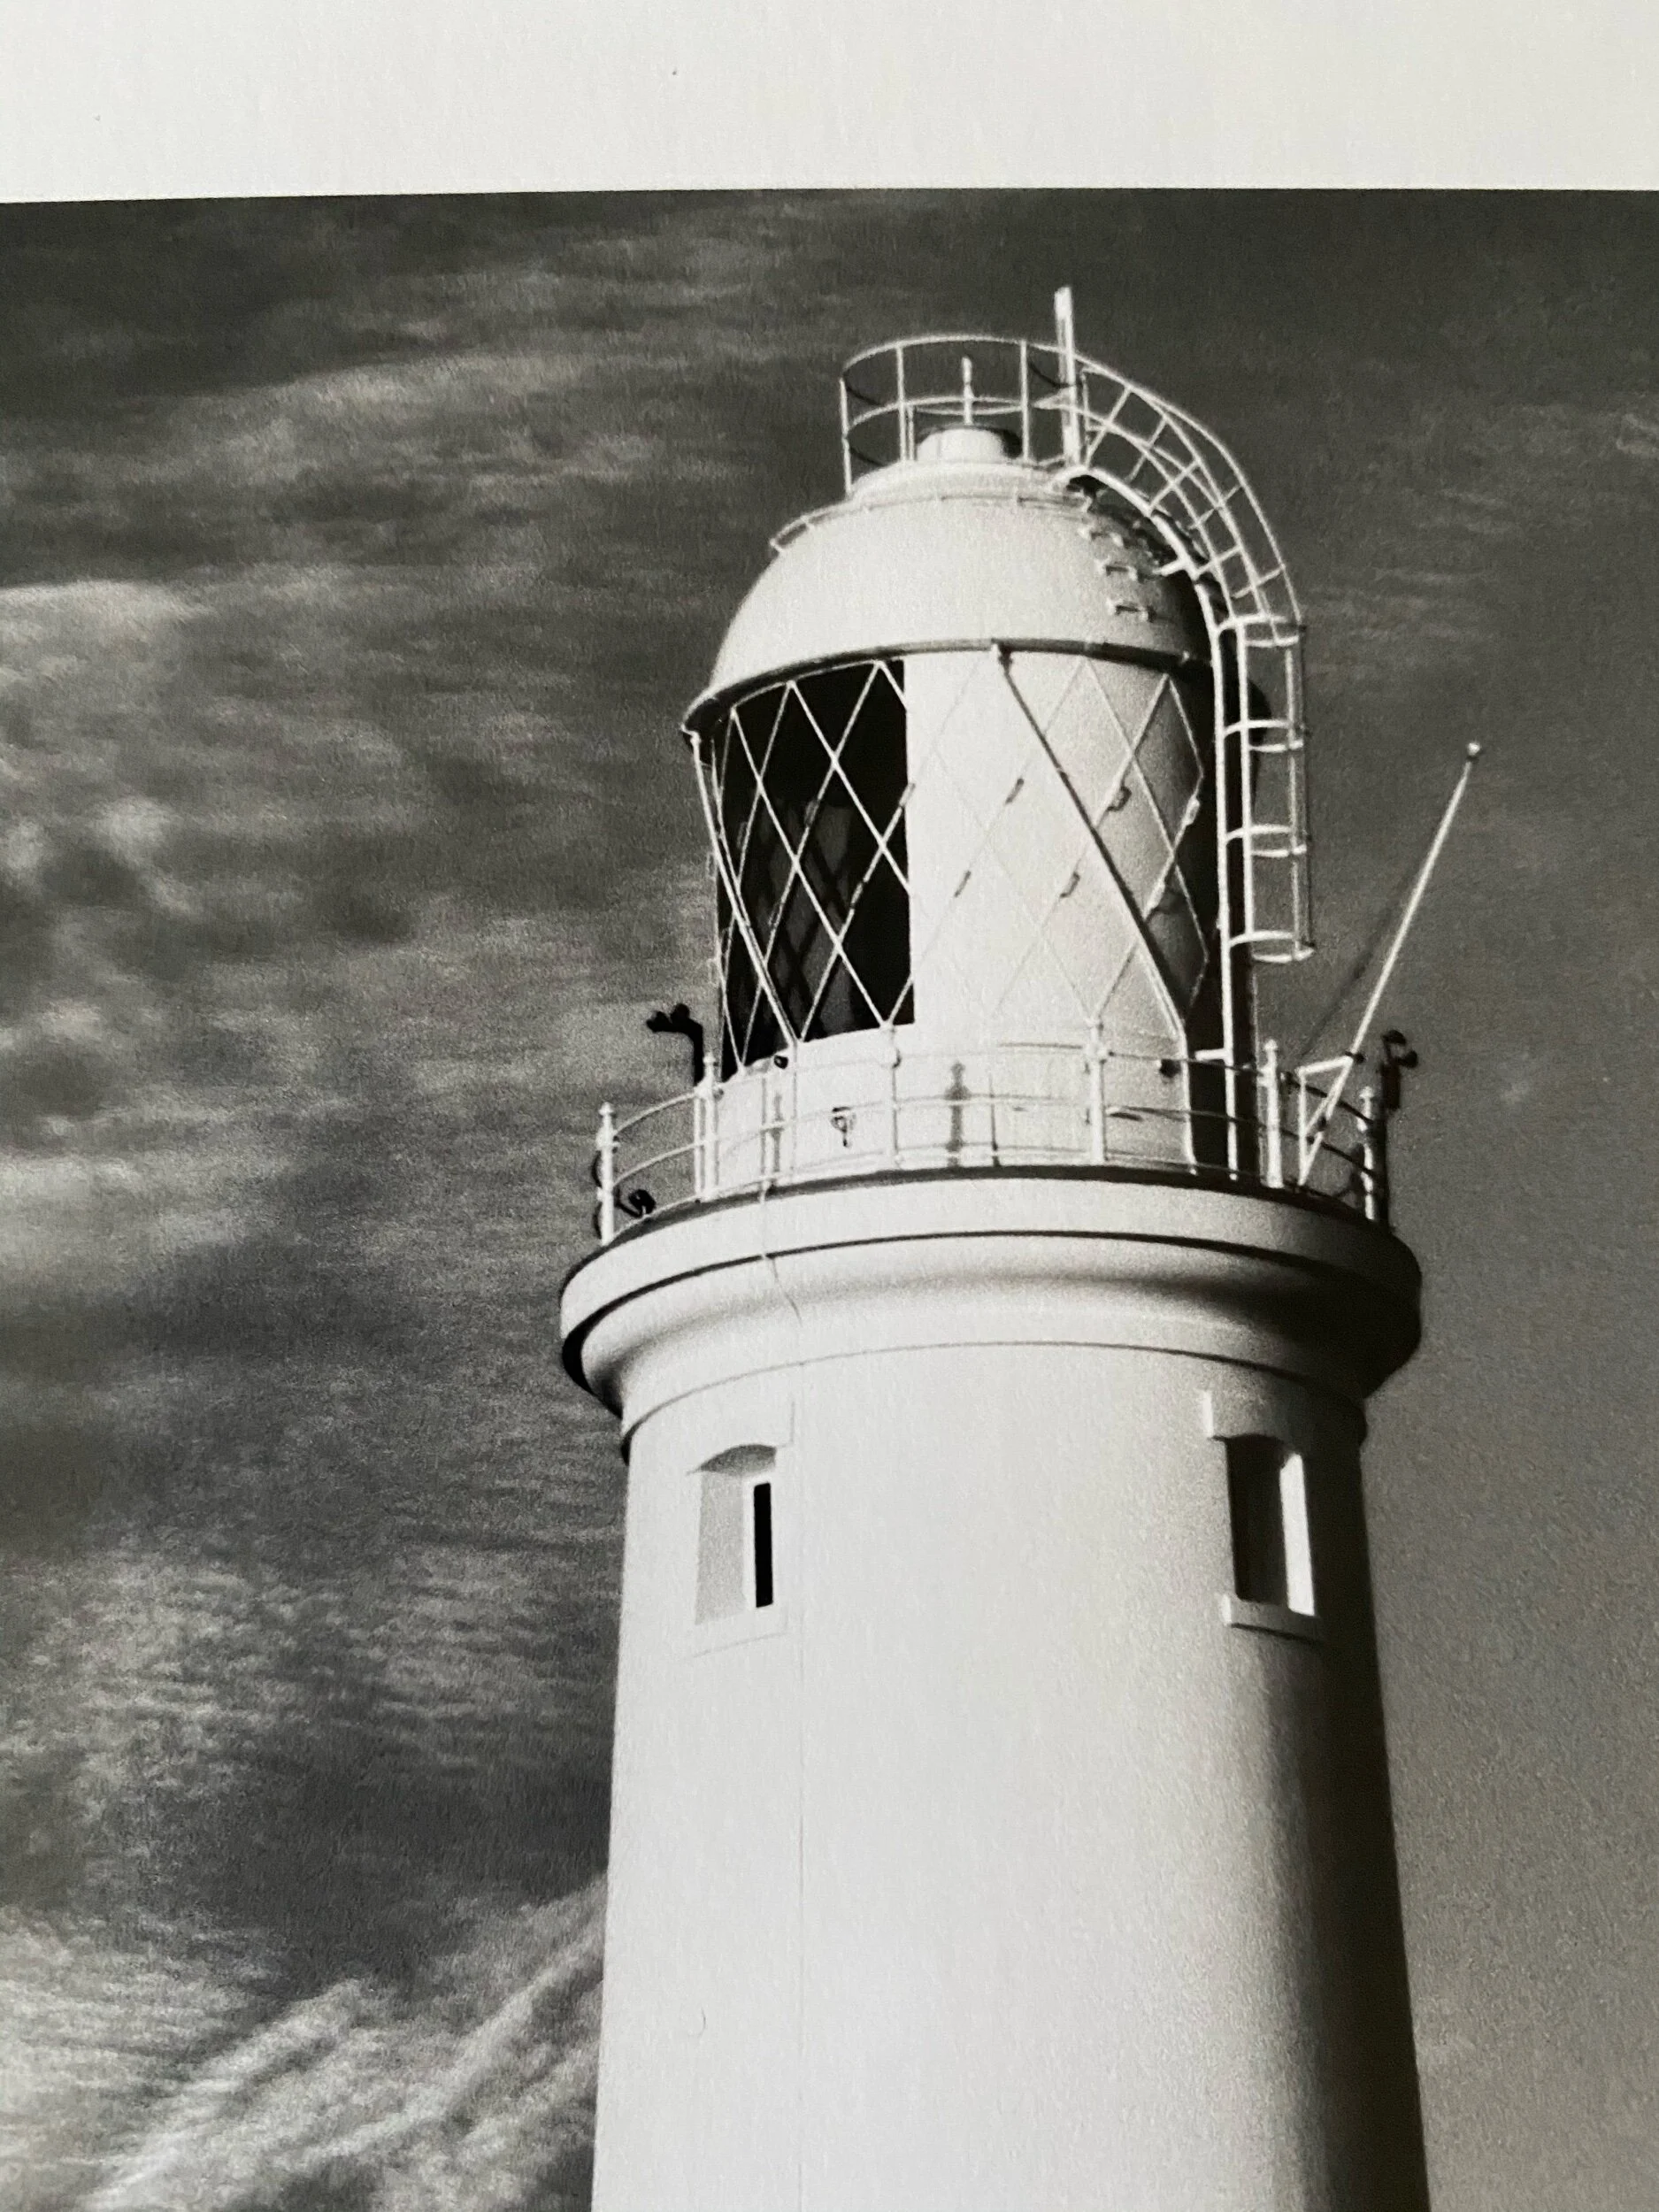
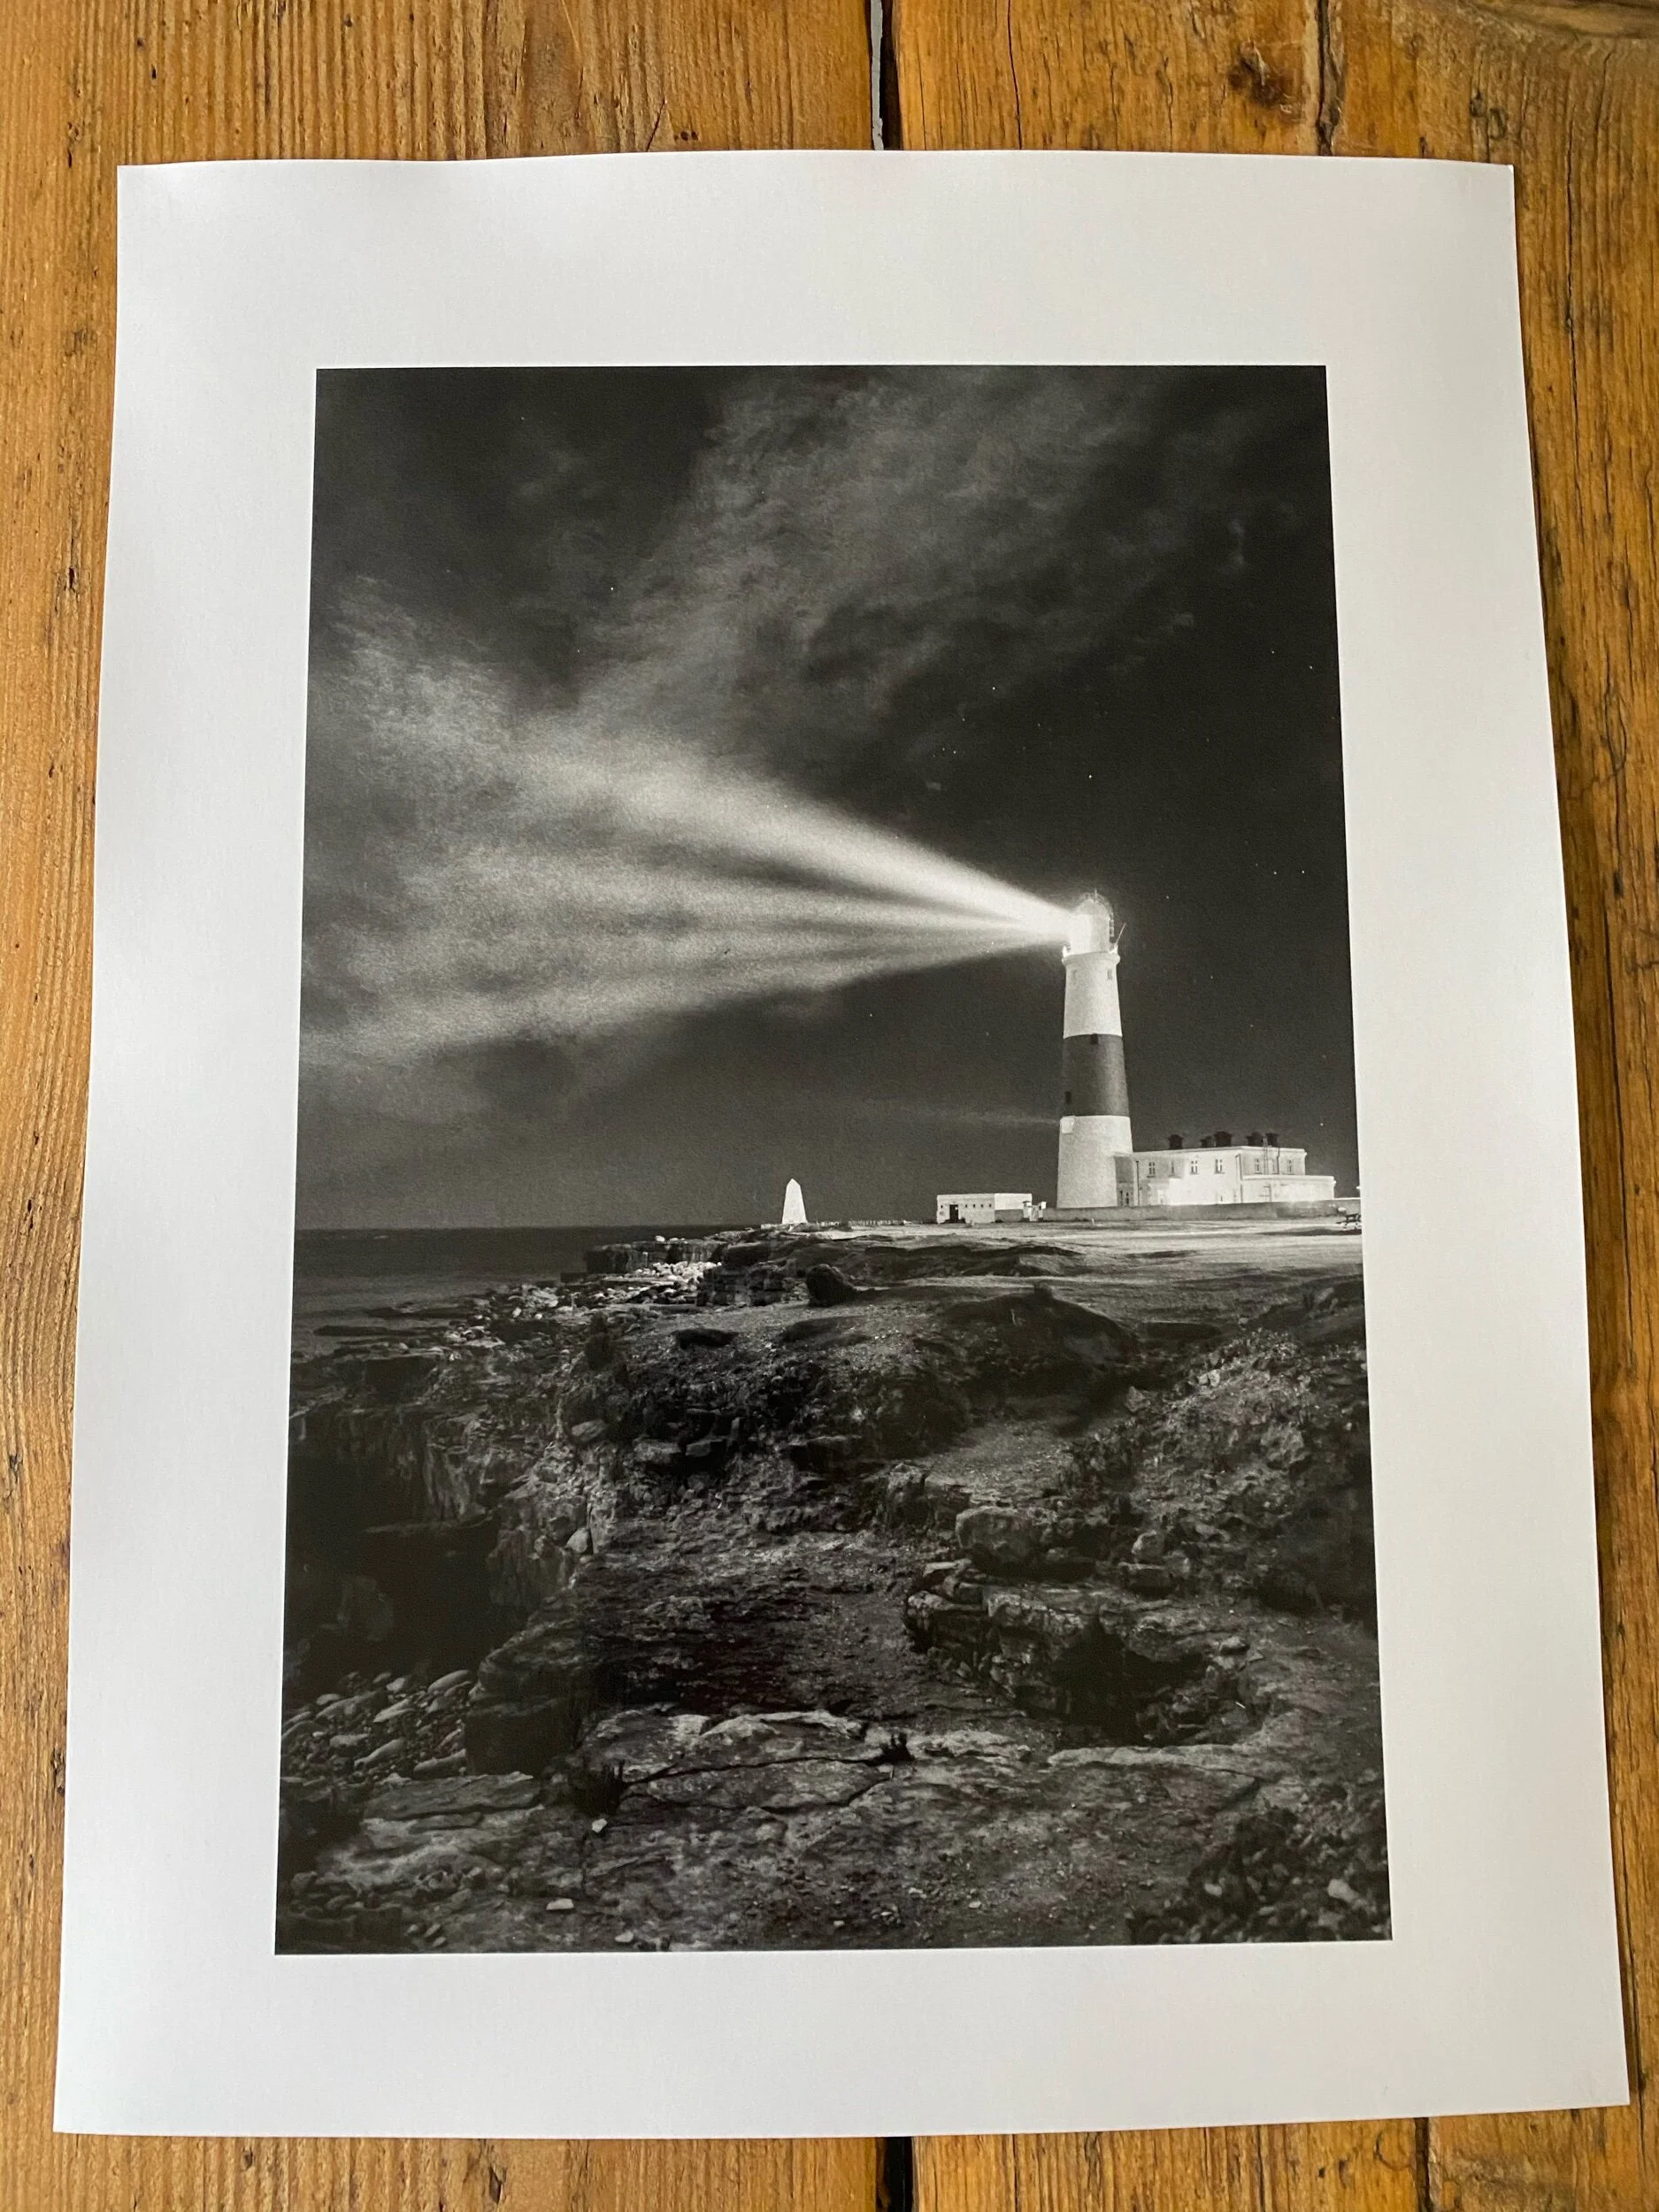
Here is a selection of prints at various stages of their production. Each print shown in the images is produced using Ilford Multigrade developer on Ilford Galerie fixed grade paper or Ilford Warmtone multigrade, then lightly toned in selenium.
I am sure that as with any process, The methods that I am using will evolve and no doubt improve. The fun is in the experimentation, making mistakes, learning from them and eventually succeeding.


The process of designing and building my darkroom has been a lot of fun, frustrating at times but immensely rewarding. It’s such a privilege to be able to walk down to the end of my garden and step into a room filled with images made by myself and photographers who I admire. The smell of chemicals and the red light of my darkroom provide me comfort, and a place to be alone with my thoughts while indulging in my passion for print making. I hope to be enjoying it for many years to come.